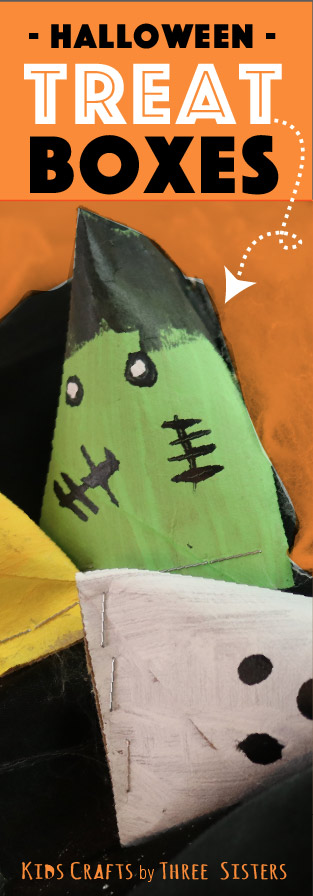
How to Make DIY Halloween Treat Boxes from Paper Rolls
 Halloween just isn't complete without a little Trick or Treat. Although the kids love playing tricks on my husband and I, they were really excited to make this halloween craft, because it involved CANDY! Halloween treat boxes to be exact.
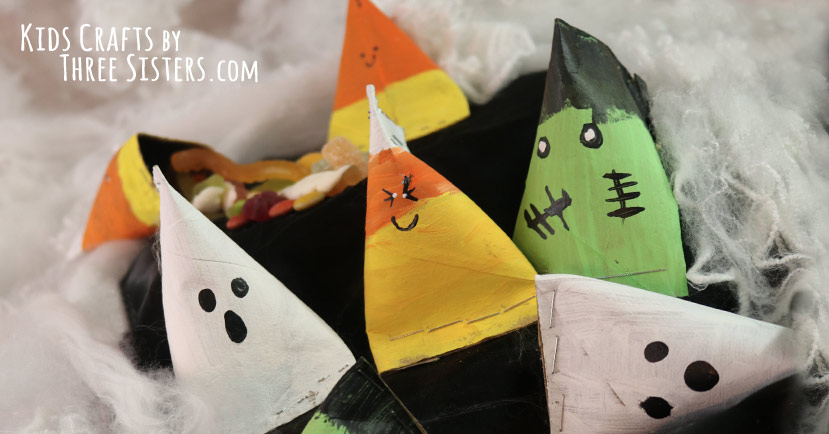
Best of all, we made them using items we had around the house. How about that for being cost-effective and cute? From a candy corn, to a ghost to frankenstein, these halloween treat boxes turned out amazing. We're sure they'll look adorable as you pass them out to teachers, friends OR display on your party table.
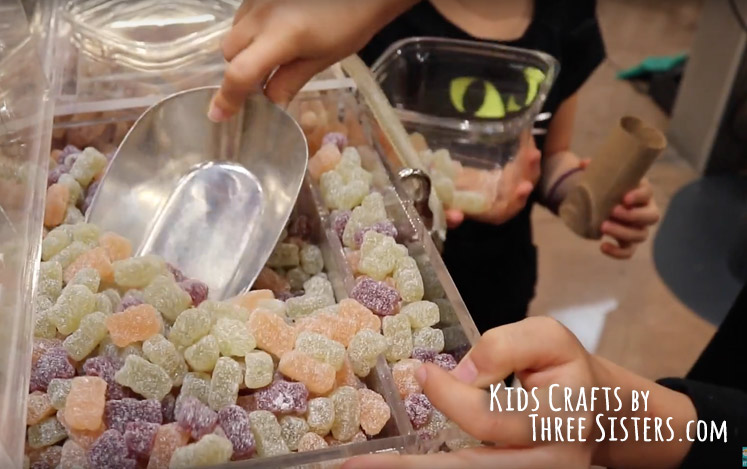
In terms of simplicity, this is probably one of the easiest halloween crafts we've ever done. However, the temptation of knowing a delicious surprise existed inside those boxes drove the kids crazy. Probably more so because they selected the candy themselves. We embraced their enthusiasm and watched them discuss and determine what treats would be inside the boxes.
Although we used bulk candy in our tutorial, you'll probably want to stuff yours with packaged candy or even a small toy!
So, if you're looking for a fun halloween craft to try with kids, this one is for you!
ITEMS NEEDED TO OUR MAKE HALLOWEEN TREAT BOXES:
• Paper rolls - from paper towels or toilet paper rolls
• Acrylic paint
• Wrapped candy or small toy
• Stapler
EASY HALLOWEEN TREAT BOXES FROM PAPER ROLLS!
STEP 1: Select your candy or small toy. Next, determine which of the halloween treat boxes you'd like to make and gather the appropriate paints. For example:
Frankenstein Candy Box - Green, Black & White Acrylic Paints
Ghost Candy Box - White & Black Acrylic Paints
Candy Corn Treat Box - Orange, Yellow, White & Black Acrylic Paints.
Now, we'll be focusing on the frankenstein treat boxes in this post, but the video details step by step painting instructions for the ghost and candy corn treat boxes. Regardless of which design you choose, the techniques to assemble and stuff the rolls are the same.
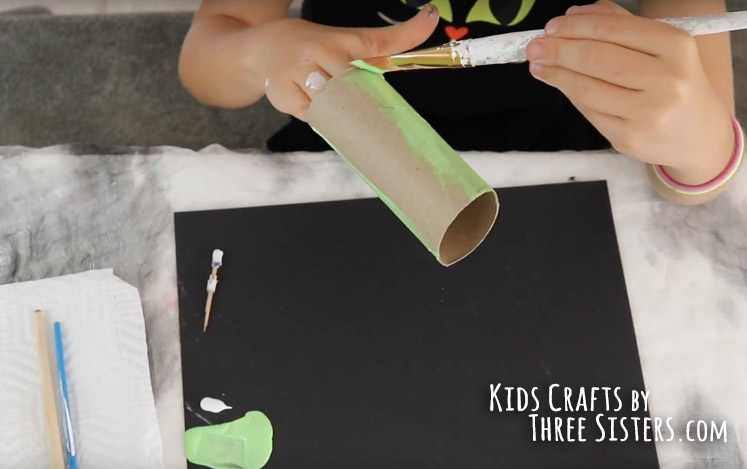
STEP 2: Start by cutting a paper towel roll in half or use empty toilet paper rolls. Paint the entire roll green and let dry.
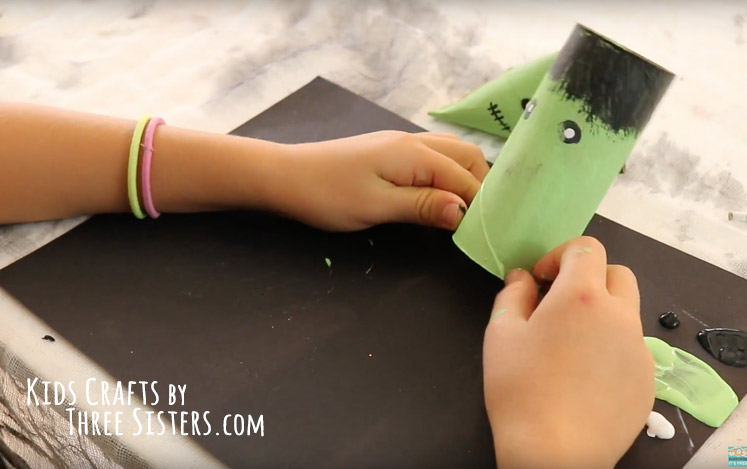
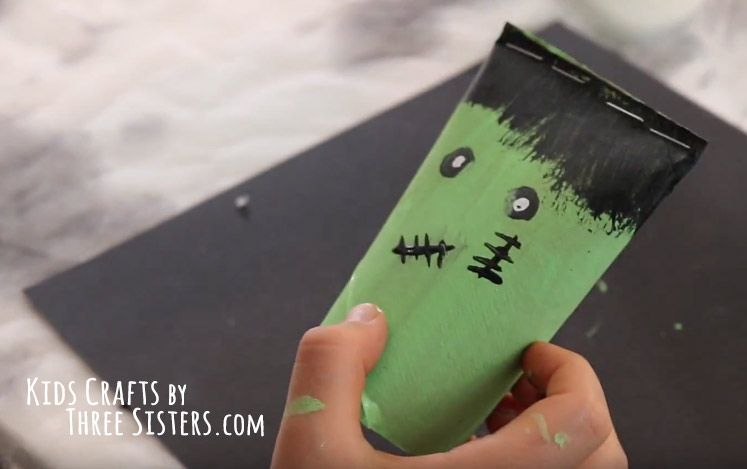
STEP 3: Now, give Frankenstein some hair! To do this, dip your paint brush in black paint and stroke the brush up about a third of the way on the paper roll. This works even better if you use a paint brush that is frayed or has tough bristles. If you paint with kids regularly you know what I mean 😉

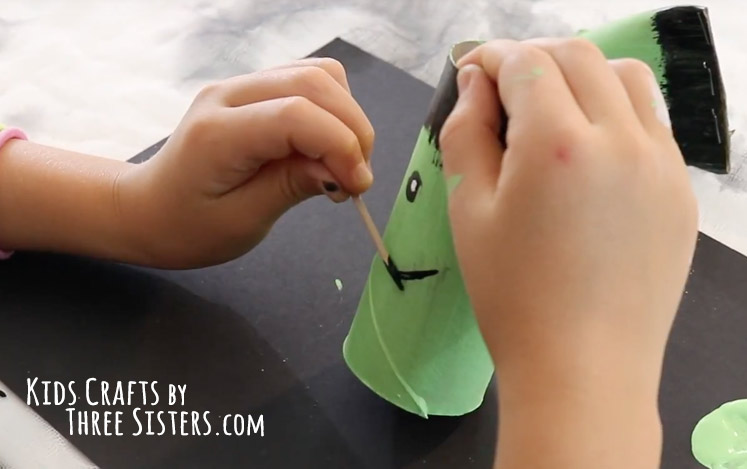
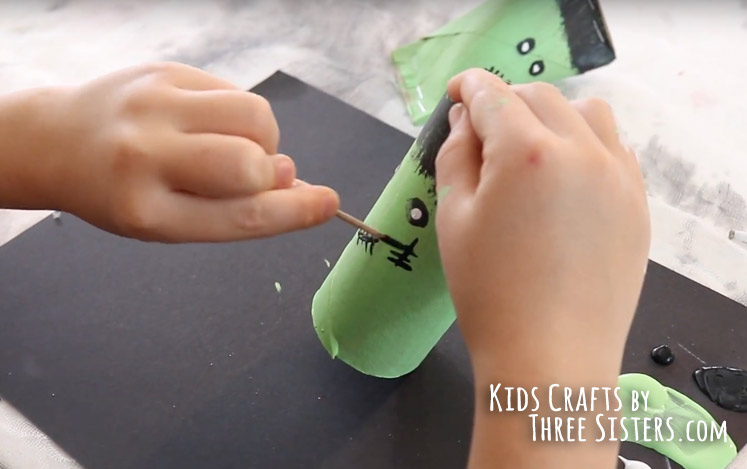
STEP 4: Next you'll want to add facial features such as eyes and stitches, then let dry. We used a toothpick for our stitches, but you can use whatever you have around the house.
TIP: For a super easy way to make eyes, dip the back of your paint brush in the paint and blot the end of the paintbrush on the toilet paper roll. We demonstrate this technique in the video.
STEP 5: Pinch the top of the treat box and staple across the edge.
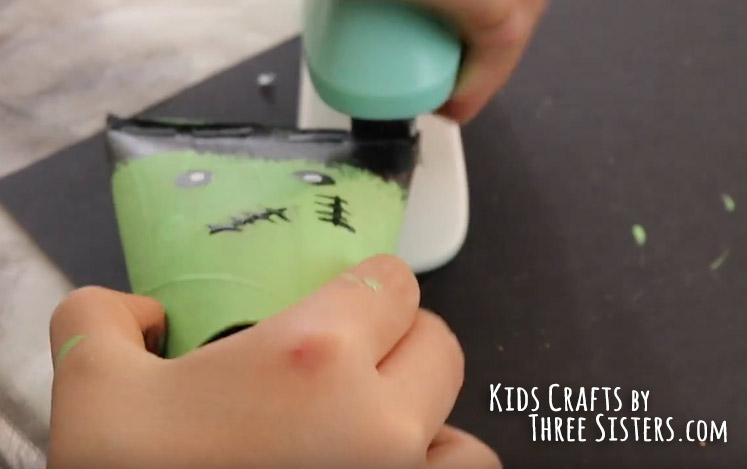
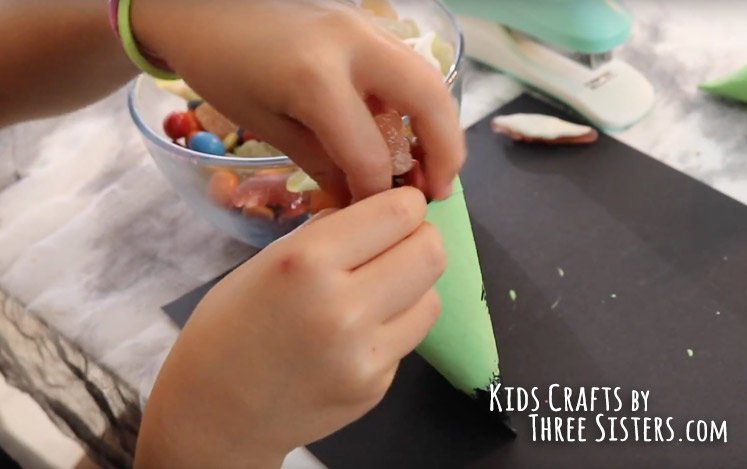
TIME FOR THE TREATS!
STEP 6: Stuff the Halloween Treat Box with candy or small toys.
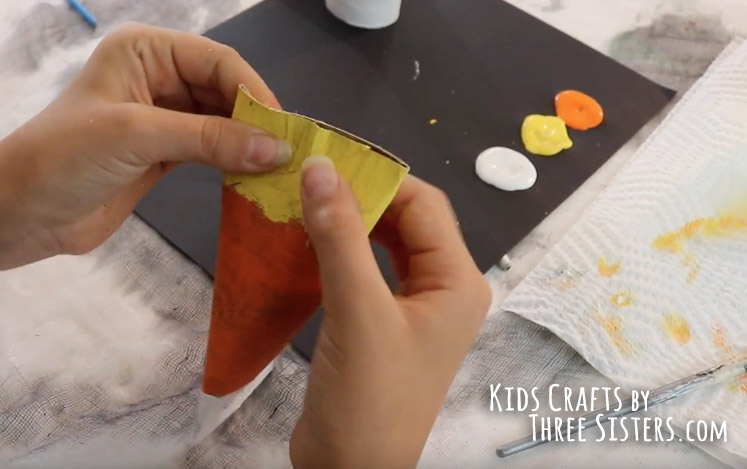
STEP 7: Pinch the other end of the treat box the opposite direction and staple closed. Here's a photo from the candy corn sample to better visually depict what we mean.
NOTE: The treat box should have a pyramid shape, not a pillow shape. This step ALSO detailed in the video!
If you'd prefer to watch a video, we've got you covered!
What others are reading
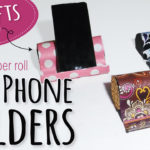 Easy DIY Phone Holder with Toilet Paper Rolls
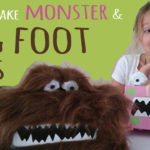 How to Make a Monster Box & Big Foot Box – Kleenex Box Craft
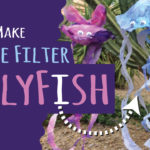 JellyFish Craft Made From Coffee Filters
 Easy Halloween Crafts for Kids to Make
 Egg Carton Craft – Flower Art – DIY Mother’s Day Wall Art
 Make Ice Circles an Easy Winter Craft
 How to Make a Reindeer Puzzle Ornament
 How to Make Ceramic Tile Coasters