
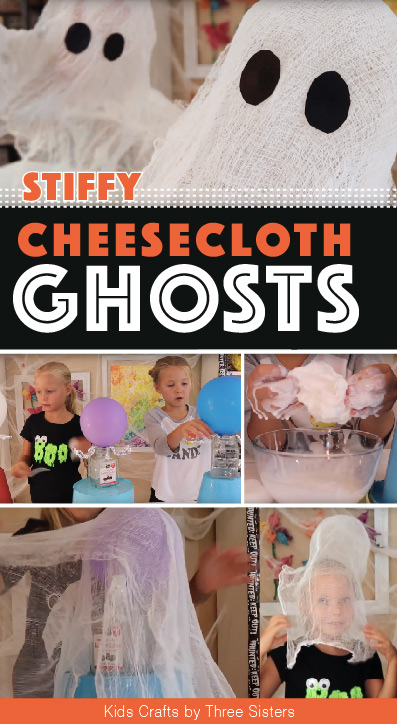
How to Make Cheesecloth Ghosts for Halloween
 I don't know about your kids, but my girls love making ghost crafts for halloween. Especially ones that can be hung on the patio for neighbors to admire. In fact, these Cheesecloth Ghosts turned out so stunning we hosted a pre-halloween party and made Cheesecloth Ghosts with friends!
The kids said this ghost craft was one of their absolute favorites and we're sure once you make them you'll be wondering why it took you so long too. These ghosts make wonderful halloween decor for the porch, house, classroom or even a library.
As far as durability, it's been almost a year since we made our cheesecloth ghosts and they're still in perfect condition. Honestly, the hardest part about this halloween craft was finding the cheesecloth.
The girls saw this original idea done by Cathie & Steve on Plaid Crafts YouTube Channel and asked to give it try. We're huge fans of Mod Podge & Cathie & Steve, so we give them credit for this craft. The actual product we'll be using to stiffen our Cheesecloth Ghosts is Plaid Stiffy Fabric Softener.
ITEMS NEEDED TO MAKE CHEESECLOTH GHOSTS:
• Cheesecloth - We found ours at Hobby Lobby.
• 1 Bottle of Plaid Stiffy Fabric Softener
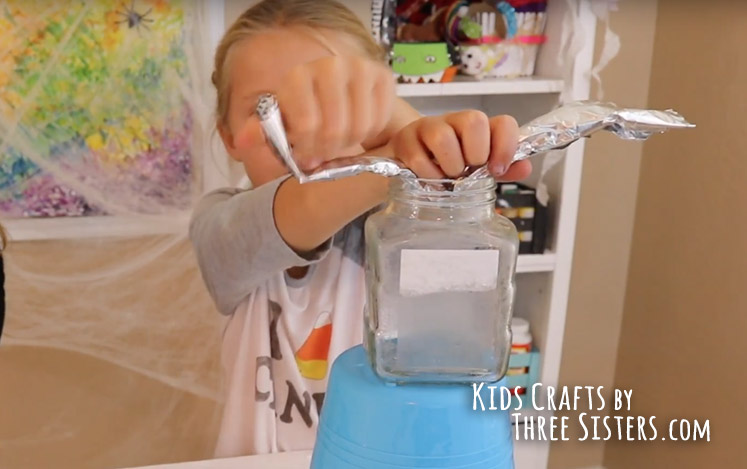
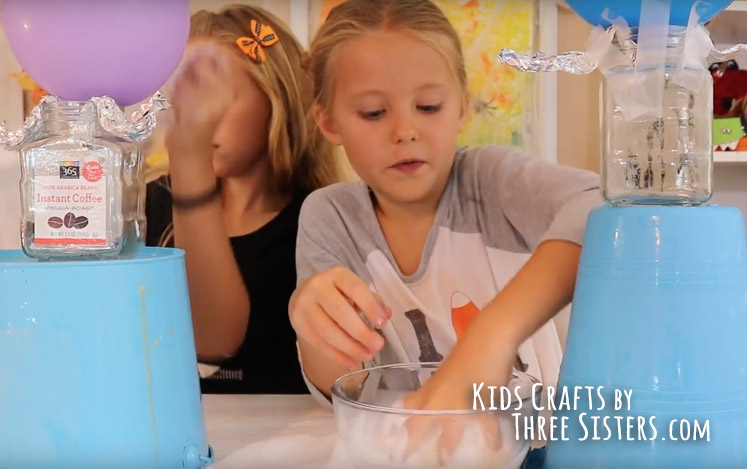
• Jars & buckets (body shape)
• Aluminum foil (ghosts arms)
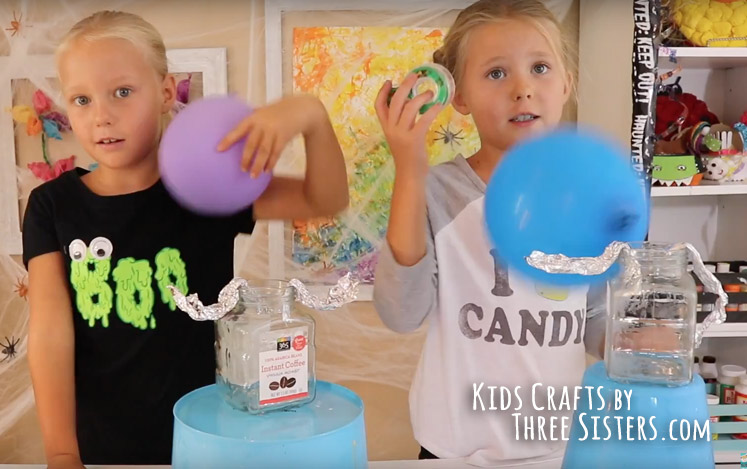
• Balloon (ghosts head)
HOW TO MAKE STIFFY CHEESECLOTH GHOSTS!
STEP 1: Start by determining how tall you want the body of your cheesecloth ghost. Then look around the house for buckets and jars to create the height. You can use anything around the house to stack. Just as long as your happy with the height.

STEP 2: Once the structure of your ghost body is complete, create the arms. Roll up a sheet of aluminum foil and stick it inside the jar or tape it to the jar. The aluminum foil pieces hanging on either side of the jar will become the ghosts arms.
NOTE: Get creative. Use a wire coat hanger or toilet paper rolls if you don't have aluminum foil.
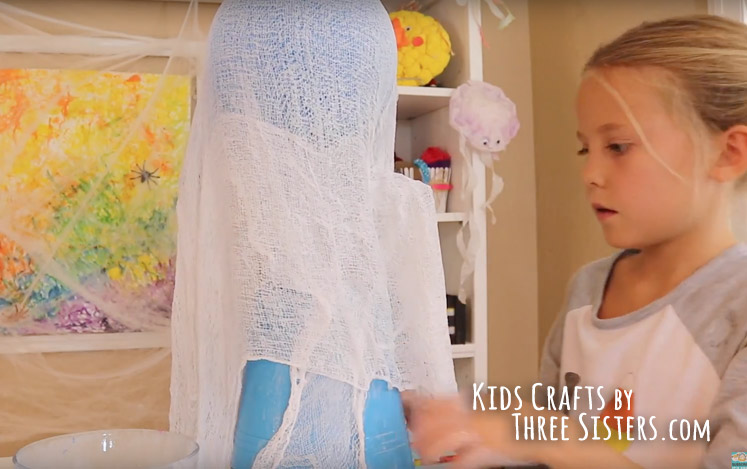
STEP 3: Next up is the head. We're going to use a balloon for the head; however feel free to use a ball or anything else round in your house. We taped the balloon to the side of the jar so the balloon didn't move when we draped the cheesecloth over the structure.
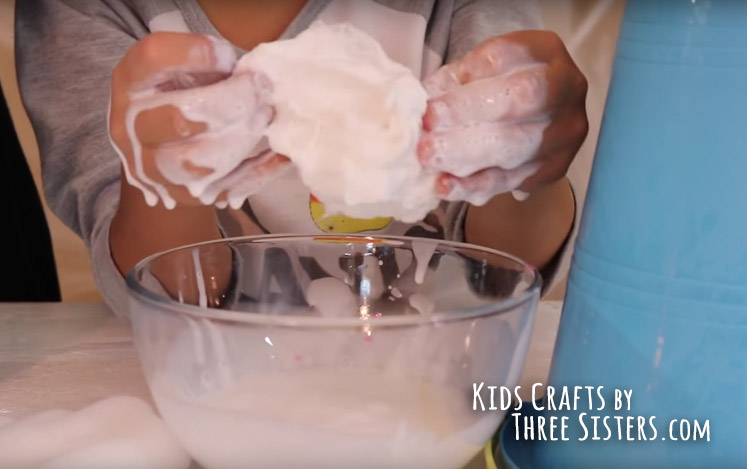
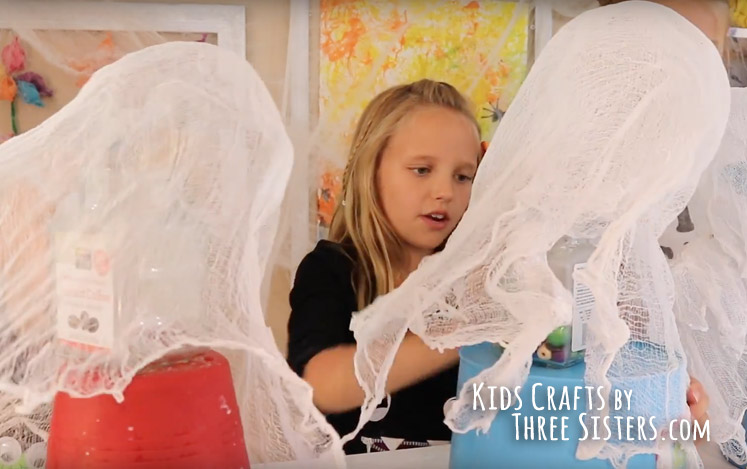
STEP 4: Cut your cheesecloth to the desired length then dip the cloth into the mixture of Stiffy Fabric Stiffener. Make sure the entire cheesecloth is wet. Squeeze out the remaining liquid. Unfold the cheesecloth and begin draping over the ghost structure.
NOTE: While draping the cheesecloth be sure to tuck the fabric over the aluminum foil to accentuate your ghosts arms.
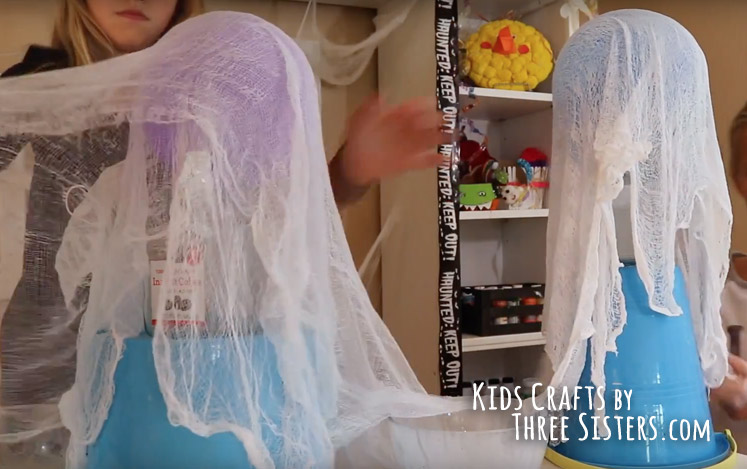
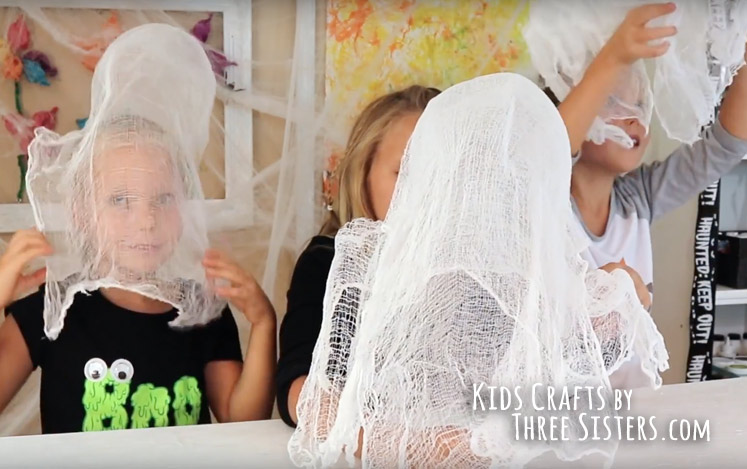
STEP 5: Let your cheesecloth ghosts dry overnight. By morning the fabric will be stiff.
NOTE: Slowly peel away the fabric from the materials holding up your ghost. You'll be left with a very stiff structure that looks like a ghost 😉
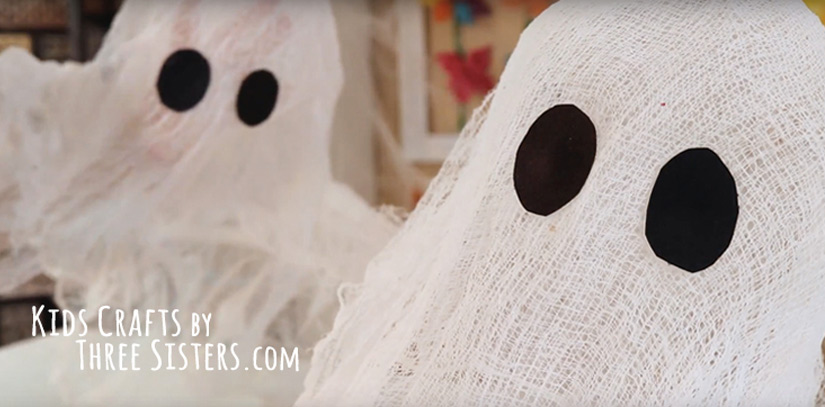
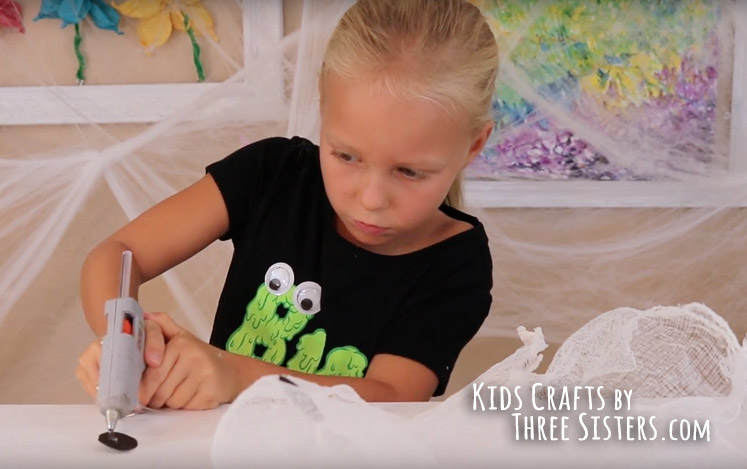
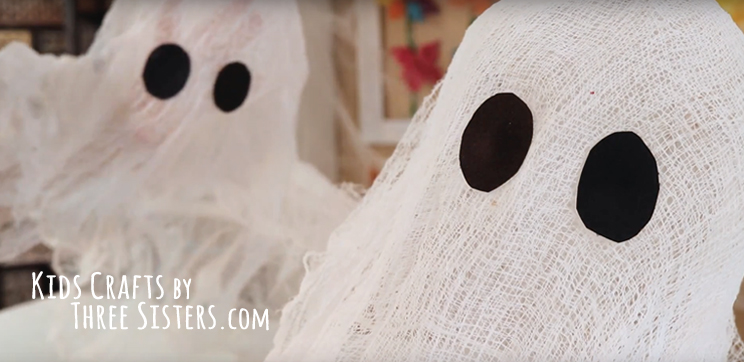
JUST ADD EYES!
STEP 6: The last accent your Cheesecloth Ghosts need are eyes. Cut out two black ovals and hot glue them to the head or Paint them on with Black Acrylic Paint. Remember, there's not right or wrong way to make eyes. Use whatever you have around the house.
Hey, and if you're one of those people who prefer learning by watching a video, we've got you covered...
What others are reading
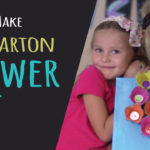 Egg Carton Craft – Flower Art – DIY Mother’s Day Wall Art
 Kids Crafts – How to Make Yarn Orbs – DIY Room & Party Decor
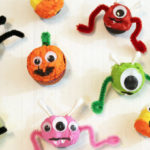 Easy Halloween Crafts for Kids to Make
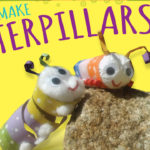 Toilet Paper Roll Craft – Caterpillars
 DIY Popsicle Bath Bomb Recipe
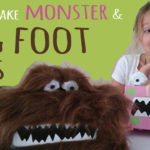 How to Make a Monster Box & Big Foot Box – Kleenex Box Craft
 How to Make a Pine Cone Monster Halloween Wreath
 How to Make Bug Magnets – Bug Crafts


[…] Source/Tutorial: Kids Crafts by Three Sisters […]
Thanks for including us!
Could you maybe use Tomato Cages instead of all the jars and such. You would probably have to bend the top of the cages stems so they wouldn’t poke through the cheesecloth tho, don’t ya think.
I’m sure you could do that too. What a great idea.