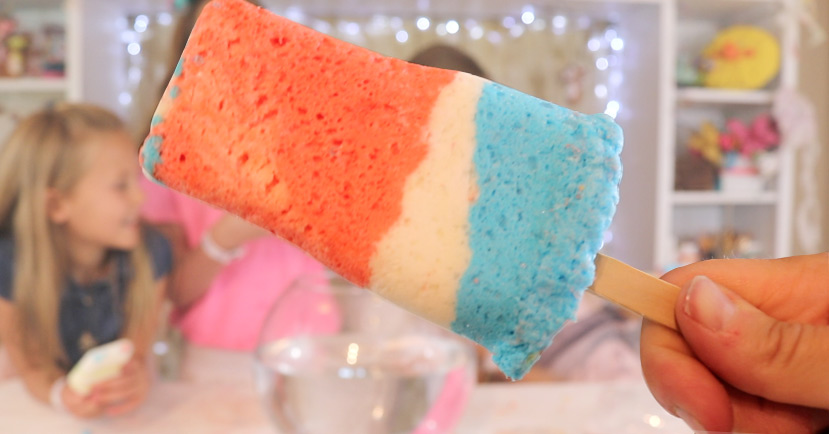
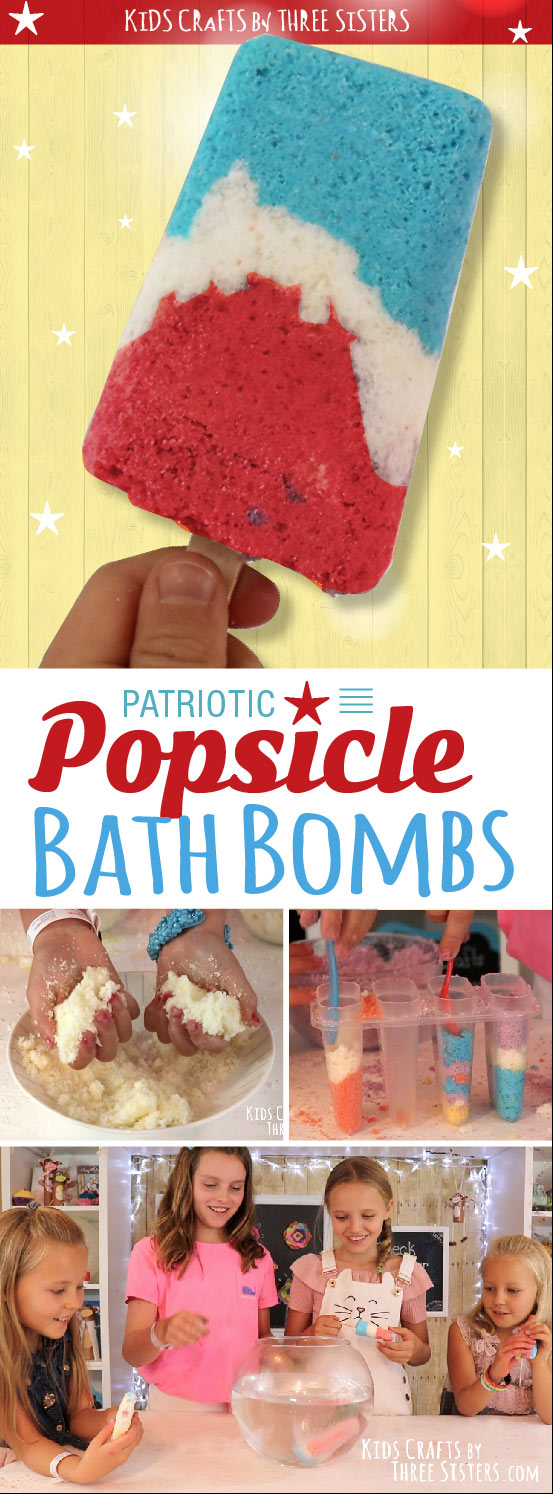
DIY Popsicle Bath Bomb Recipe
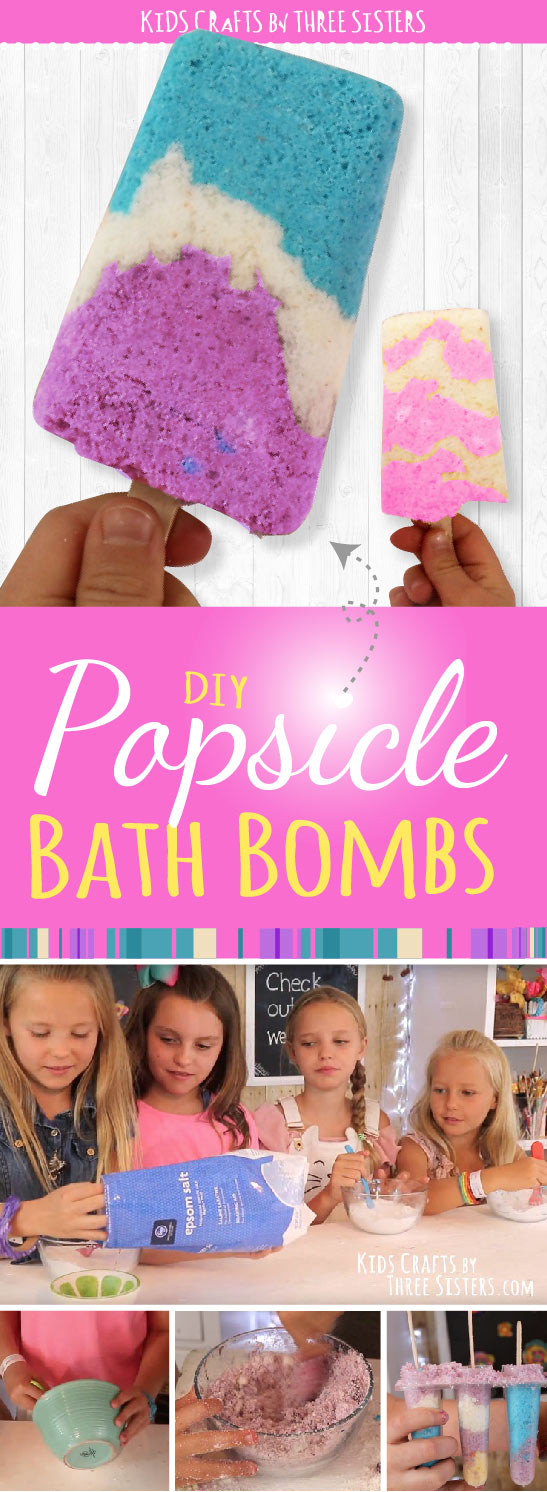 Learn how to make these adorable bath bombs with our DIY popsicle bath bomb recipe. Today we combined two of the kids favorite items: popsicles and bath bombs! The great thing about this bath bomb recipe is that you can adjust the colors for any occasion. Make them patriotic for memorial day and 4th of July OR layer bright colors together for a unicorn inspiration. We actually were surprised that nobody had a web post for popsicle bath bombs, so we decided to give it a try!
Last month we made lush inspired bath bombs using natural food coloring from Whole Foods. In this recipe we used skin safe, bath bomb colorant from How to Look Pretty. We actually noticed, and so will you, how much more vibrant the colors were in our DIY popsicle bath bomb recipe!
This bath bomb recipe uses citric acid, which is the secret ingredient that makes your bath bombs fizz. Ahhh, who wouldn't want a fizzy bath bomb? RIGHT? The kids absolutely loved making these DIY popsicle bath bombs. In fact, we made extra batches for friends and family and had to share with you!
DIY POPSICLE BATH BOMB RECIPE:
• 1/2 cup of baking soda
• 1/2 cup citric acid - buy it online here.
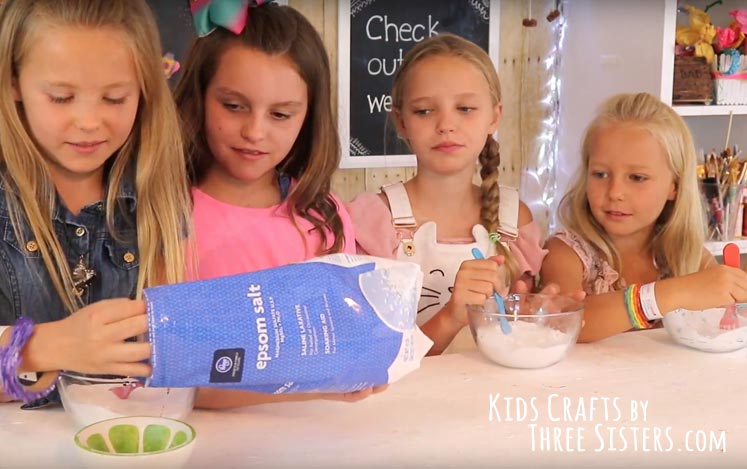
• 1/2 cup epsom salt
• 1 teaspoon water
• 2 teaspoons KidsSafe® essential oils
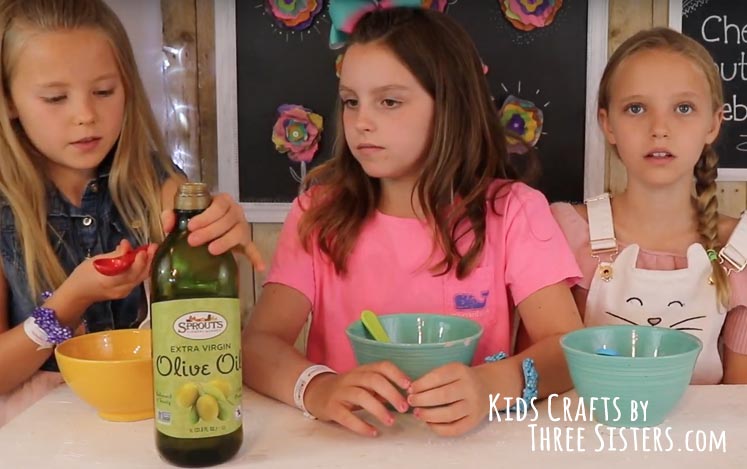
• 3 teaspoons olive oil
• Skin Safe Colorant from How to Look Pretty.
• Bowl
• Whisk
• Jar
• Popsicle Mold
• Popsicle Sticks
Use whatever popsicle mold you have around the house, just be sure to grease it with a little bit of Olive or Coconut Oil. This will ensure your popsicle bath bomb will come out of the mold.
HOW TO MAKE OUR POPSICLE BATH BOMB RECIPE!
STEP 1: Mix all your dry ingredients into one bowl and whisk them together.
STEP 2: Mix all your wet ingredients into a jar, bowl or glass.
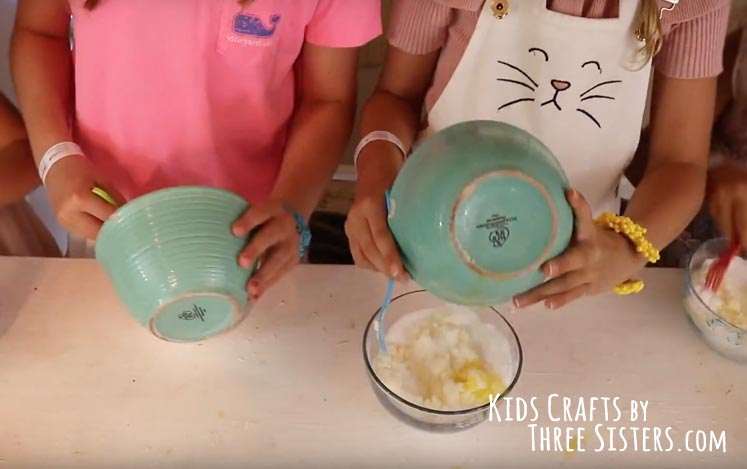
STEP 3: Slowly pour your wet mixture into the dry ingredients a little at a time. If you do it too fast you'll activate the citric acid causing the mixture to fizz. So do it slowly.
NOTE: Pay special attention to the parts of water to oil. It's natural to want to add a little more water or oil; however proceed with caution. If you put too much water in your mixture the citric acid will activate or fizz. If you put too much oil in your bath bomb recipe the mixture will be too soft and so will your final bath bombs. We know because it's happened to us before 😉
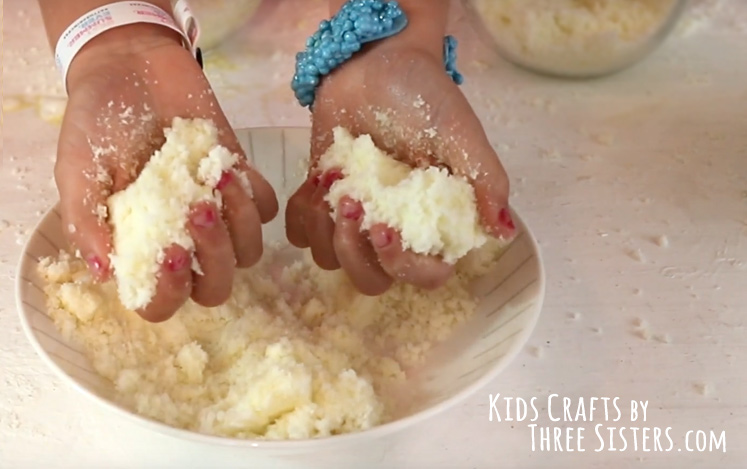
NOW, KNEAD THE BATH BOMB MIXTURE!
STEP 4: When you've combined your wet ingredients into the dry ingredients, start kneading the mixture by hand. Do this for about 2-3 minutes. You want the texture of your bath bomb mixture to be sandy in appearance and touch. A good rule of thumb is if you can squeeze a handful of the mixture together and it clumps, similar to dough, it's ready.
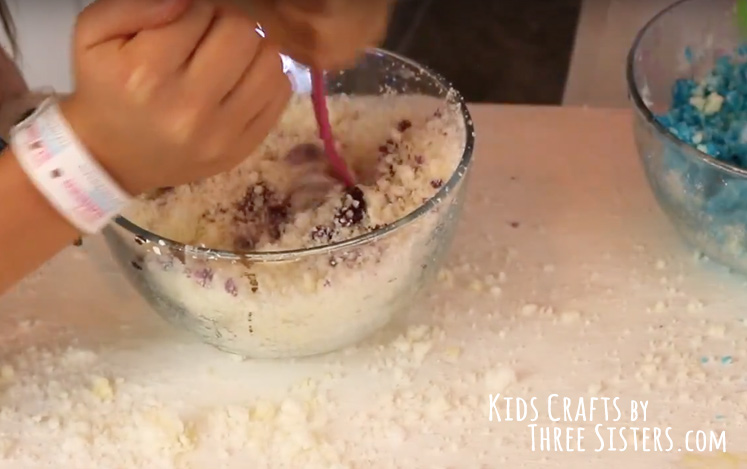
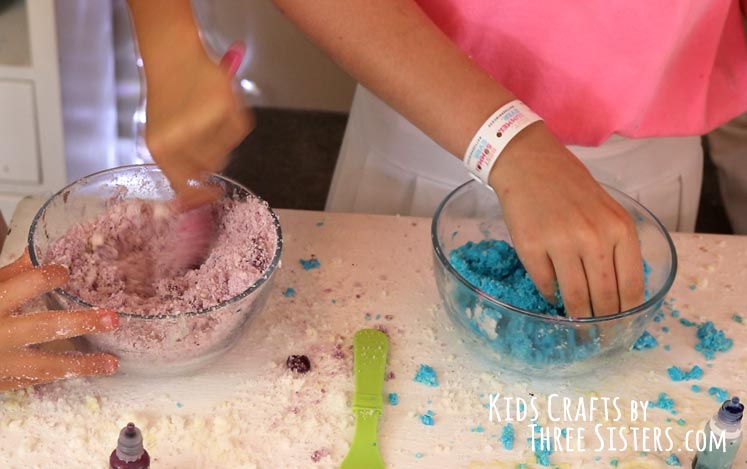
STEP 5: Since we're making popsicle bath bombs with layered colors, we separated our bath bomb mixture into several bowls to make 4 different colors. Begin coloring your bath bomb mixture by adding one drop at a time then stirring. Repeat that step until you get the desired color.
NOTE: If your bath bomb colorant contains water, do it slowly. You don't want to active the citric acid.
GREASE THE POPSICLE MOLDS!
STEP 6: IMPORTANT! Make sure to grease the inside of your popsicle mold before packing your bath bomb mixture inside. We did this by putting a little bit of olive oil on a paper towel and rubbing the inside of the popsicle molds. This step helps remove the popsicle bath bomb from each mold.
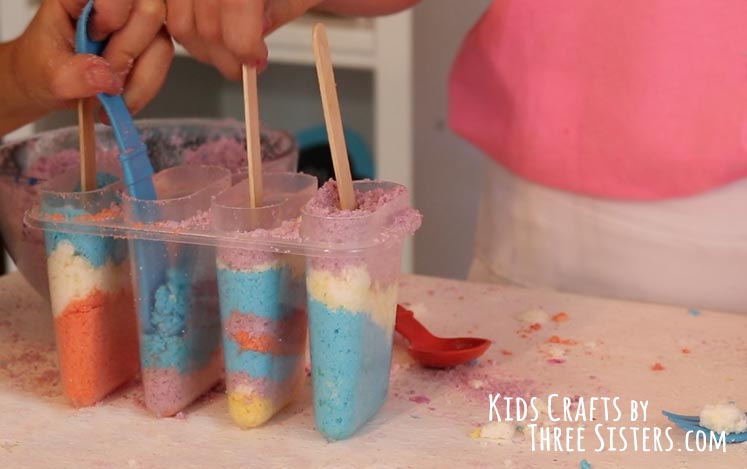
STEP 7: Now begin layering your colors into the mold. We did a mixture of patriotic bath bombs and summer colored bath bombs. Make sure to press the mixture down tight especially between layers. As demonstrated in the video.
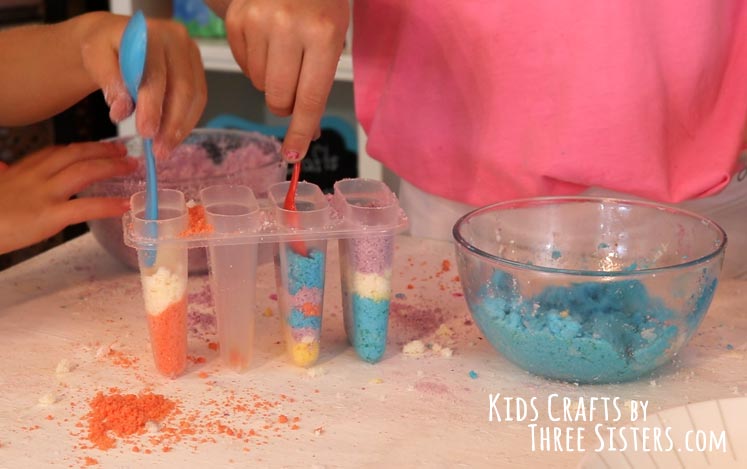
STEP 7: When your popsicle molds are filled half way, insert a popsicle stick into each mold then continue filling with the bath bomb mixture.
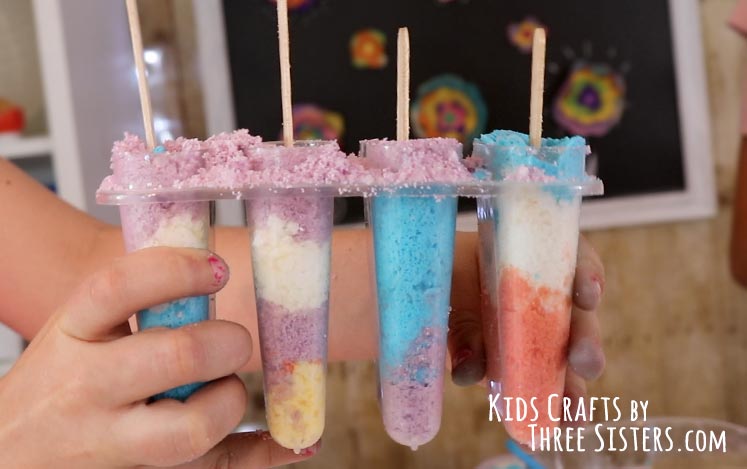
STEP 8: This is what our popsicle bath bombs look like in the mold. Put them in the freezer overnight.
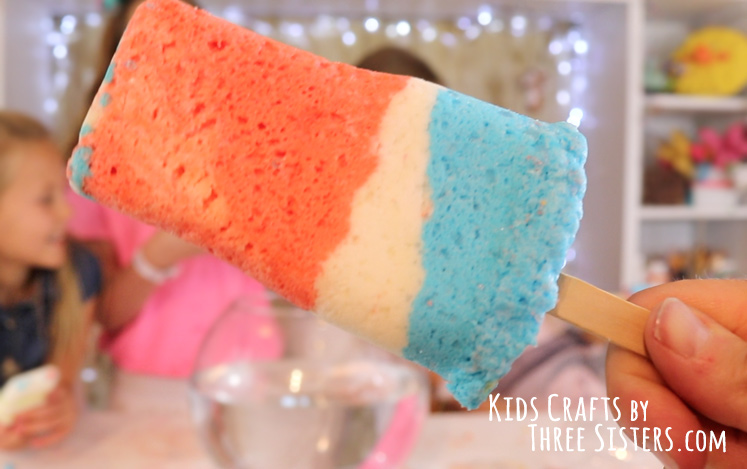
STEP 9: Take the popsicle molds out of the freezer and let them sit for about 4 minutes. You can also wrap your hand around the bottom of the mold and let your body heat thaw out the bath bomb a bit. To loosen the popsicle bath bomb further, gently tap the outside of the popsicle mold with a spoon. If necessary slide a butter knife down each side of the mold. Wiggle the popsicle bath bomb back and forth while slowly pulling up.
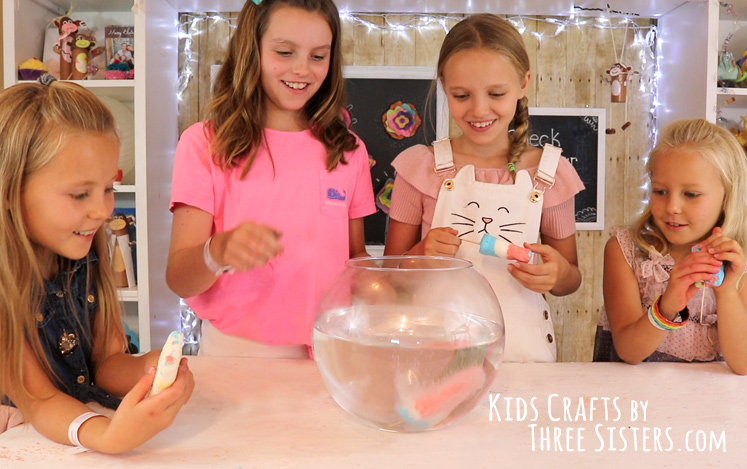
STEP 10: DROP IT IN WATER AND WATCH IT FIZZ! Shown in the video below.
 We detail every step in making our DIY Popsicle Bath Bomb Recipe in the video below. So, if you prefer to watch a tutorial instead of reading step by step instruction, we've got you covered.
What others are reading
 JellyFish Craft Made From Coffee Filters
 How to Make Slime Ball Popsicle Stick Bracelets
 How to Make Toilet Paper Roll Wall Art – Butterflies & Flowers
 Egg Carton Craft – Flower Art – DIY Mother’s Day Wall Art
 How to Make Popsicle Stick Bracelets
 How to Make DIY Dinosaur Soap with Kids
 How to Make Crunchy Slime with Beads
 Easy Halloween Crafts for Kids to Make