

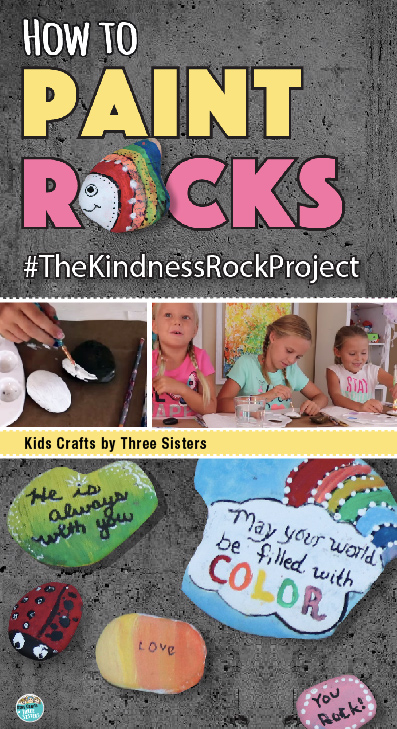
How to Paint Rocks for The Kindness Rocks Project
 A months ago we joined a beautiful movement called The Kindness Rocks Project. We read about it on one of our favorite craft blogs Mod Podge Rocks. If you haven't visit this website yet, we definitely recommend it. This blog is full of cool crafts and gift ideas for ModPodge lovers! Yep, that's us.
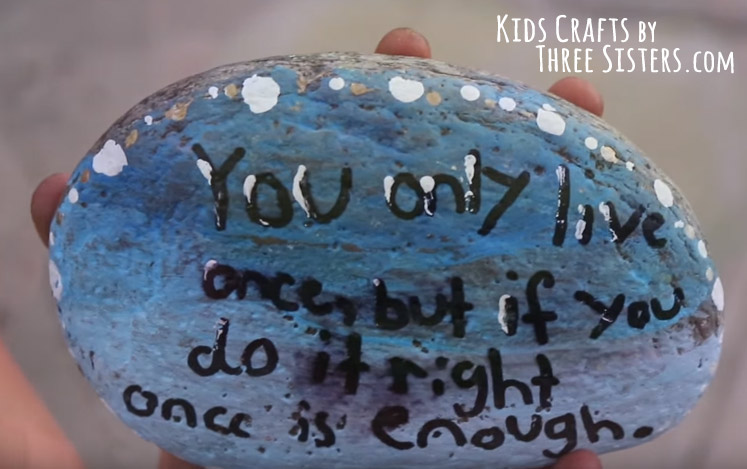
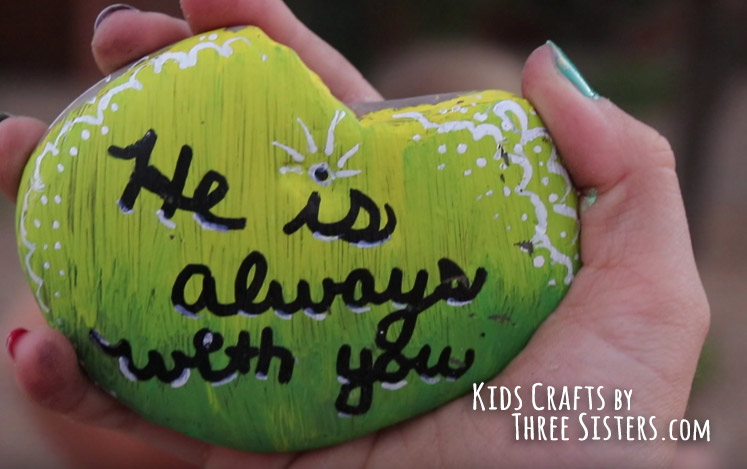
In any event, the idea behind The Kindness Rocks Project is very simple. Paint rocks with inspiring messages or designs then leave them around your neighborhood for people to pick up or admire.
The kids personally found the Kindness Rocks Project incredibly uplifting and apparently so did the neighborhood. 24 hours later, we couldn't find any of our painted rocks left on the path. Isn't that concept amazing? We made something for a total stranger from love and kindness. Then they picked it up and took it with them!
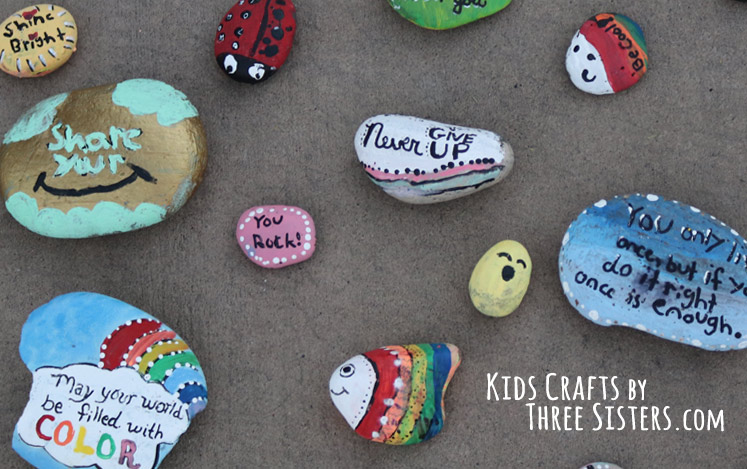
This is an amazing kids craft to do with friends, neighbors or family! We even left our painted rocks near the door of neighbors who were ill with messages of "Get Well", "Miss You", "He is Always with You", etc. That's what the Kindness Rocks Project is all about "LOVE", "HOPE", "ENCOURAGEMENT".
If kids are too young to write inspiring messages, have them paint animals or abstract designs on the rock. You can always add text to the rock with a black sharpie marker later. Our children enjoyed the rock painting and couldn't wait to scatter them around the neighborhood.
There's really no wrong way to paint rocks, so feel free to experiment. We're going to show you the method that worked best for us!
ITEMS NEEDED TO PAINT ROCKS FOR THE KINDNESS ROCKS PROJECT:
• Rocks - Find them around the neighborhood or buy them at a store.
• Acrylic paint in the colors of your choice
• Paintbrushes
• Acrylic Spray
• Outdoor Mod Podge
• Sharpie Markers
HOW TO PAINT ROCKS for THE KINDNESS ROCKS PROJECT!
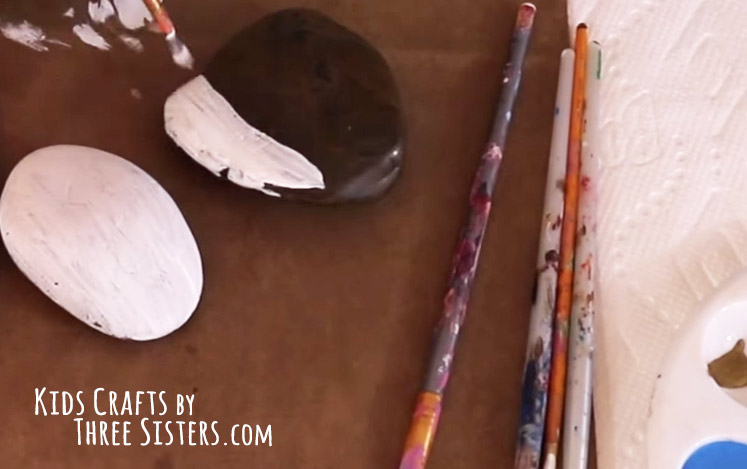
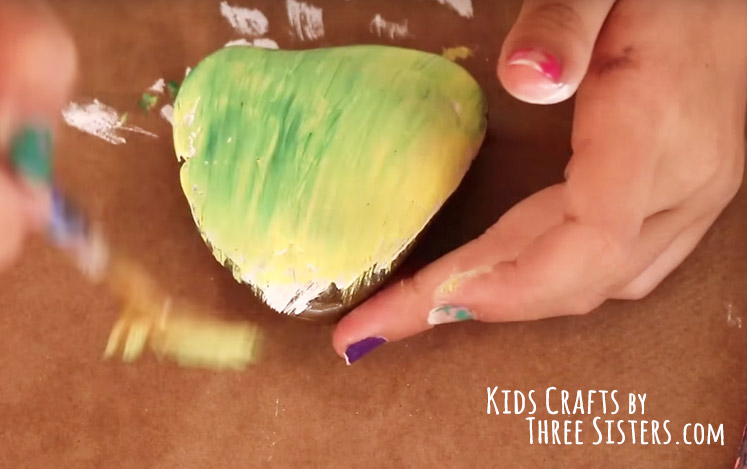
STEP 1: Start by painting the background of your design first. If the kids are painting on a dark rock paint the background white. If they are painting an animal, such as a lady bug or a rainbow fish, begin layering the colors on the rock.
NOTE: If you found your rocks outside, like we did, make sure to clean them then let them dry before painting.
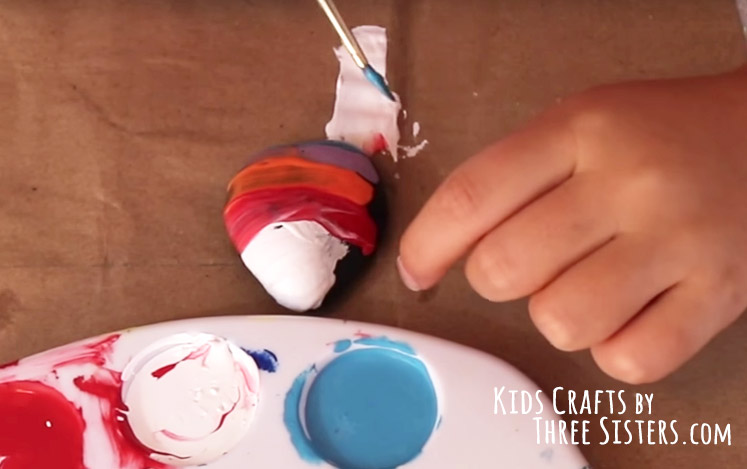
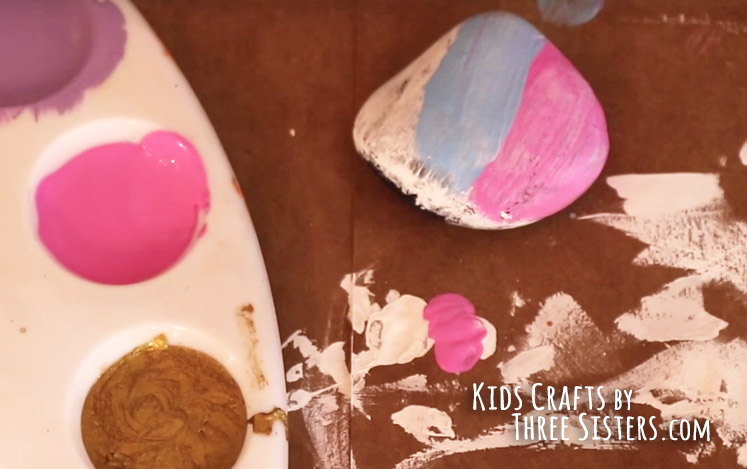
STEP 2: Continue layering and blending the acrylic paints until your satisfied with the background design.
NOTE: To make an ombre or color blend, paint bright colors in the background first. Then slowly add darker more saturated colors from the bottom up.
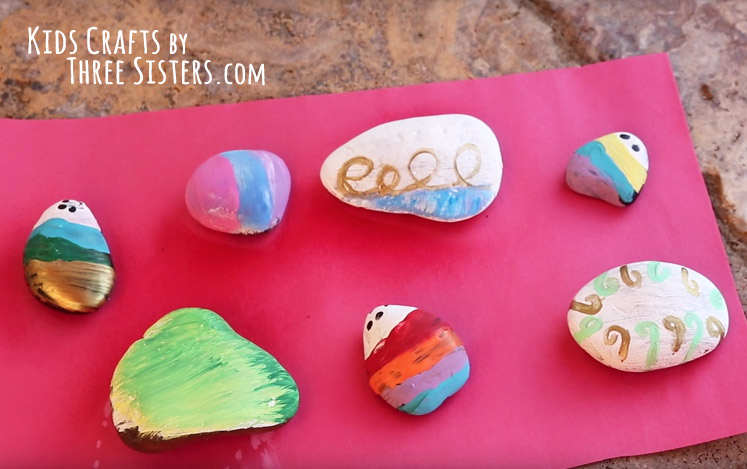
STEP 3: Think about adding swirls or polka dots for a whimsical appearance. We demonstrate this step in our video on How to Paint Rocks for The Kindness Rocks Project.
NOTE: This technique makes fun symmetrical dots, so dip the backside of your paintbrush into paint and dab around the rock.

STEP 4: Before writing your inspirational messages on the painted rocks, you should spray them with an acrylic sealer. This will help protect your Kindness Rocks from moisture, snow, rain, etc. Let them dry for about 15 - 20 minutes.
NOTE: It's a good idea to wear something over your mouth while spraying the rocks. And even better if you can have an adult help with this step 😉

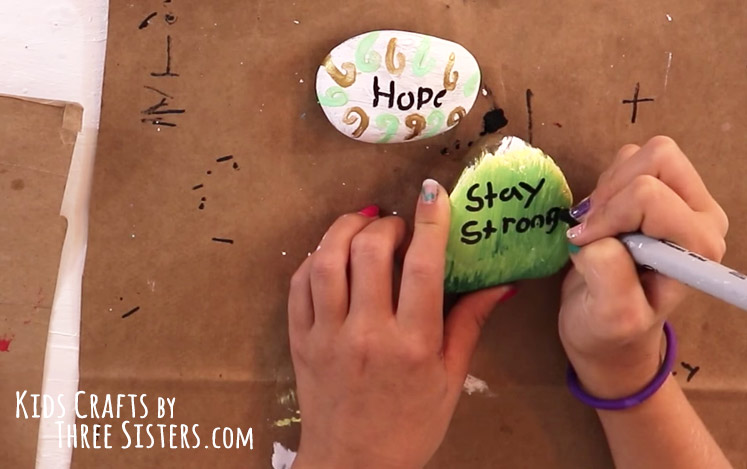
NOW THE FUN PART, WRITE YOUR INSPIRATIONS!
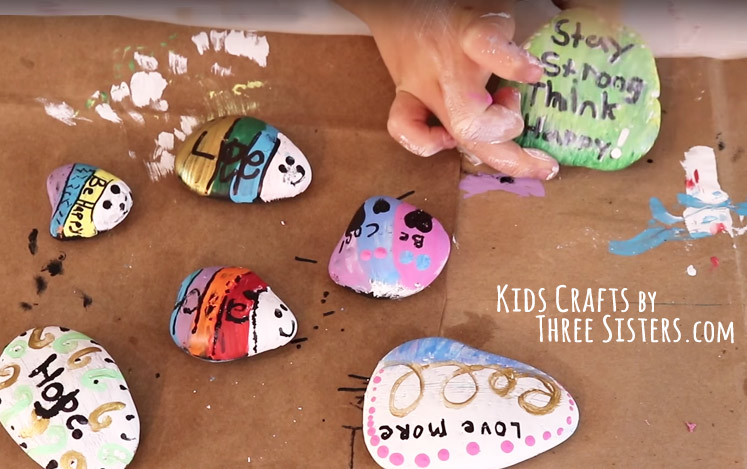
STEP 5: Using a regular Sharpie Marker, write inspirational sayings on your Kindness Rocks. Think about writing them in cursive or highlighting the text with white ink to make the words appear 3-d.
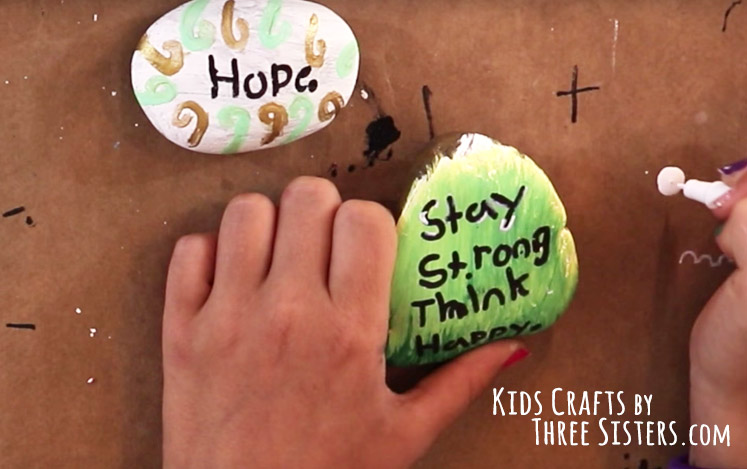
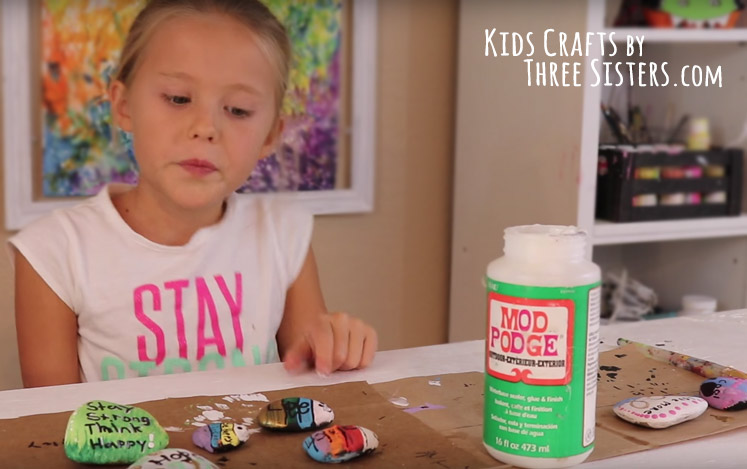
STEP 6: The last step to protecting your Kindness Rocks from sun & rain is to give them a generous coat of Outdoor Mod Podge. We LOVE Mod Podge because it's a sealer as well as a glue. This step will ensure your inspirational saying remains on your rock and last longer for whoever picks them up!
NOTE: All Mod Podge formulas go on white, but dry clear. So don't worry about ruining your beautiful rock design.
STEP 7: SPREAD THE KINDNESS! Probably the best part about this rock painting craft is spreading the rocks around the neighborhood for people to pick up. We placed ours in a public park and pathway. If you're thinking about putting them on private property, you may want to get permission first.
Hey, and if you're one of those people who prefer learning video, we've got you covered...
What others are reading
 Yarn Pom Pom Cupcake Craft
 How to Make Toilet Paper Roll Wall Art – Butterflies & Flowers
 How to Make Bug Magnets – Bug Crafts
 Popsicle Stick Bracelets: an easy and affordable, DIY jewelry craft
 Mixed Media Art for Kids Using Junk
 Toilet Paper Roll Craft – Caterpillars
 How to Make Slime Ball Popsicle Stick Bracelets
 How to Make a Popsicle Memory Game