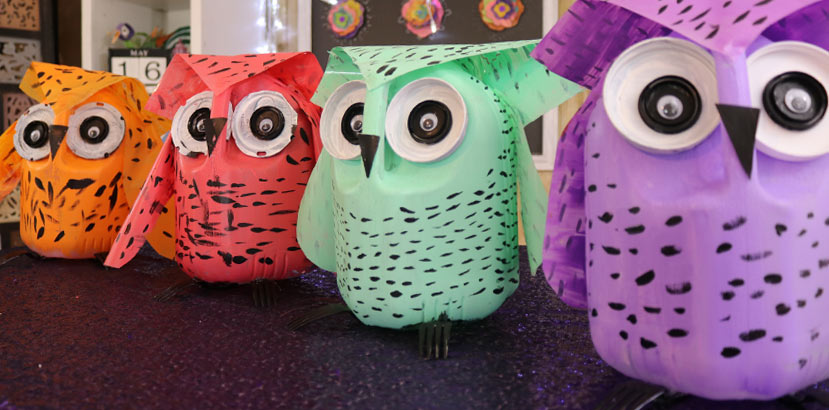
Earth Day Owl Milk Jug Craft
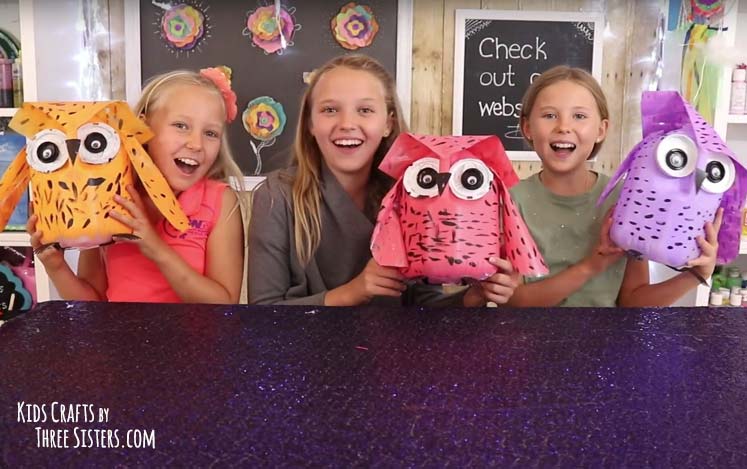
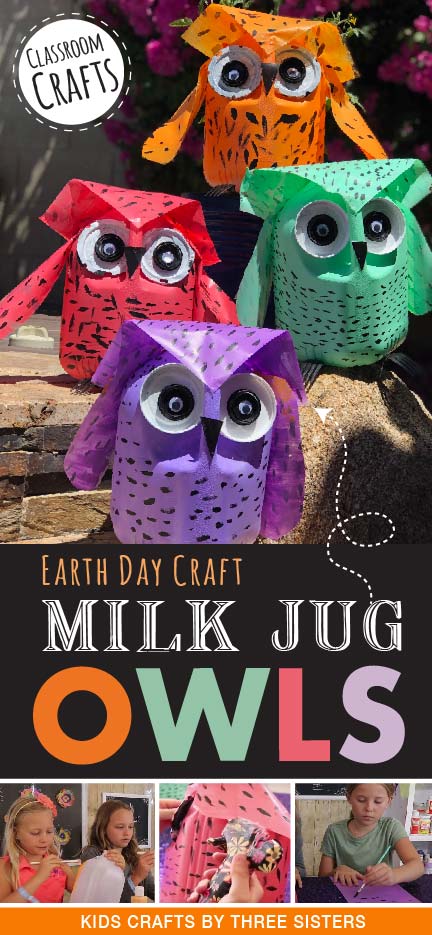 Today we're going to have a HOOT by showing you how to make these adorable Milk Jug Owls. If you know anything about our blog, it's that we LOVE recycling and repurposing items around the house to create arts and crafts. Yes, we're the family on the street that keeps jar lids, empty egg cartons, toilet paper rolls and milk jugs. Obviously we had an abundance of jugs, so it should be no surprise that we're bringing you this bright and cheery milk jug craft.
This project would make a perfect classroom craft for earth day or fun summer craft to make for Grandma's garden. Just put rocks in the open top of the milk jug before attaching the head of the owl. The weight of the rocks will keep the milk jug grounded.
Also, although we use one main paint color for each owl, it would probably turn out pretty cool if you painted the face one color and rest of the body another. We filmed a step by step video of our milk jug craft, which is visible HERE. Our owl milk jug uses plastic sheet protectors for the wings and head, so they can be displayed outside. However; you can use paper if you plan on keeping your owl milk jug craft indoors.
Now, we always like to give credit where it's due thus, we originally saw a DIY version of a milk jug snow owl by Leeza B. on Instructables. You can view it here. Serious props and credit to Leeza!
ITEMS NEEDED TO MAKE OUR OWL MILK JUG CRAFT
• 1 milk jug or water jug
• 2 large jar lids
• 2 Smaller jar lids (we used the top of water jugs)
• 2 Googley eyes
• 2 plastic forks (black if you can)
• 1 Plastic Sheet Protector (will become the head & wings)
• Martha Stewart Family Friendly Acrylic Paint (Black and one other color)
• Hot Glue Gun
• Glue Sticks
STEPS TO MAKE THIS FUN EARTH DAY CRAFT:
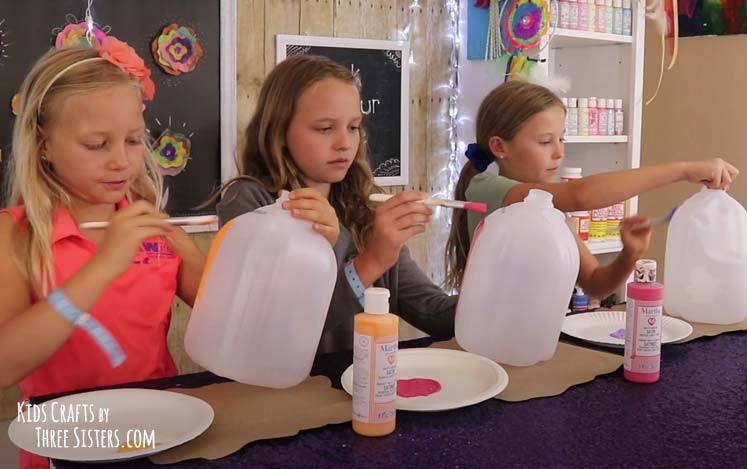
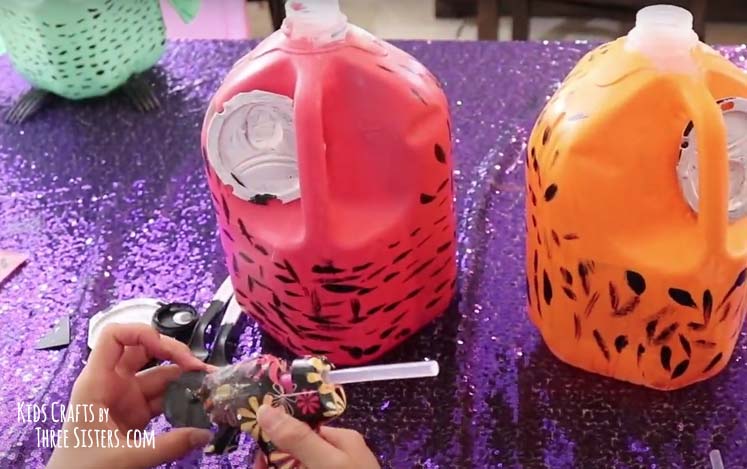
1: Paint the entire exterior of your milk jug with paint and let dry.
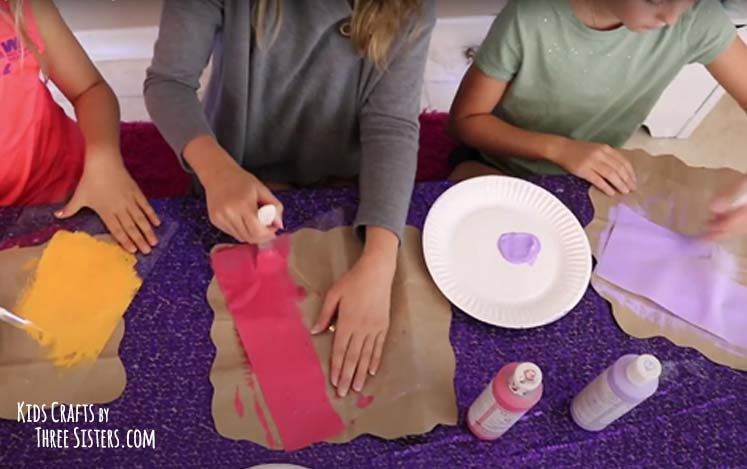
2: While the milk jug is drying, paint the plastic sheet protectors. You will need to paint two plastic sheet protectors. One will become the head of the owl and the other will become the wings.
NOTE: We trimmed the three hole punches off one sheet protector and cut them apart so we had 2 sheets. If your milk jug craft will be sitting indoors, then you can use paper instead of plastic sheet protectors.
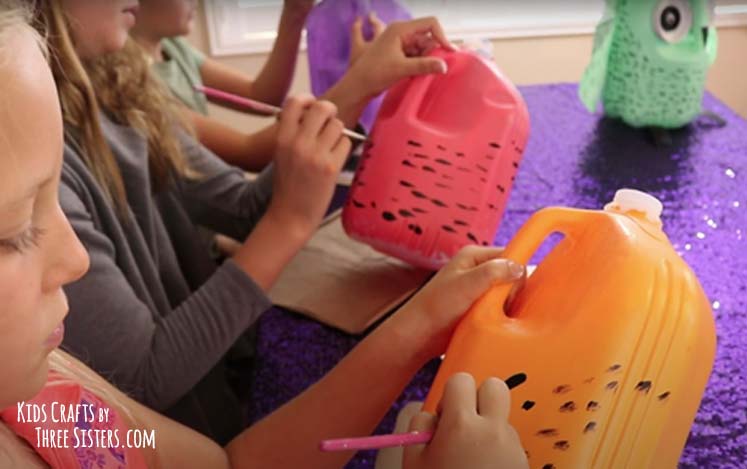
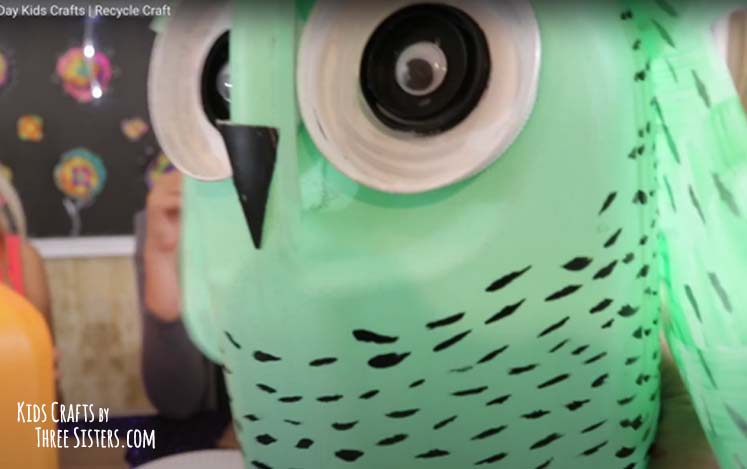
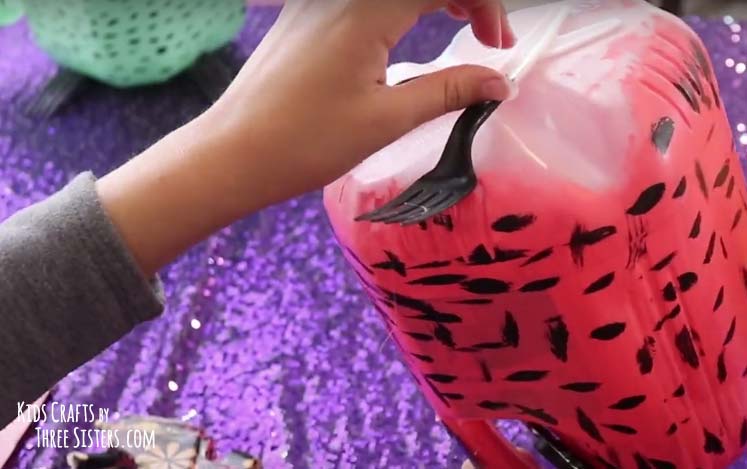
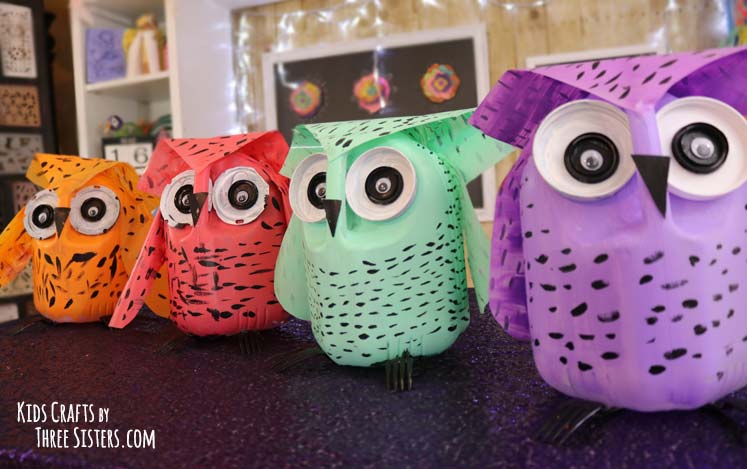
3: Take a thin paint brush and dip it in black paint. Make hash marks around the entire jug EXCEPT where the eyes and beak will be glued then set aside the milk jug to dry. Leaving this space open gives the illusion of the owl's face. See the second photo below as an example of how the absence of hash marks frames the owl face.
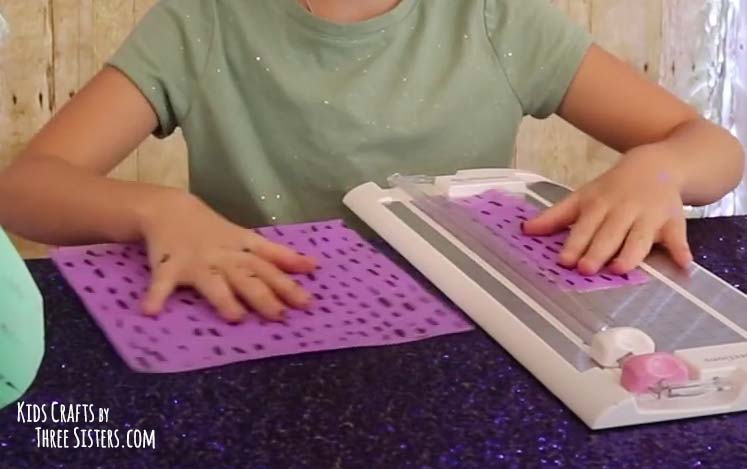
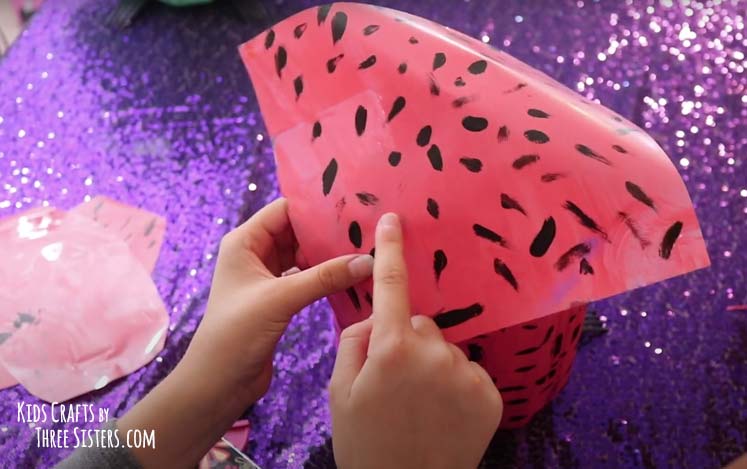
4: Make horizontal dashes on each plastic sheet protector then set aside to dry.
NOTE: Remember you should have two individual sheet protectors painted with hash marks. One which will be trimmed for the head and the other for the wings.

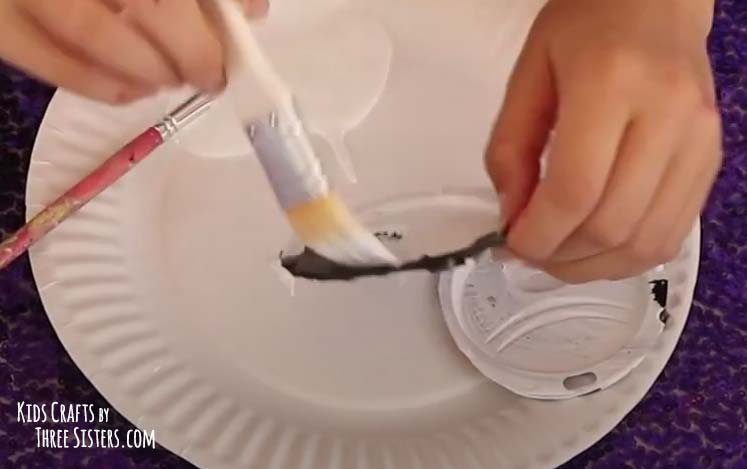
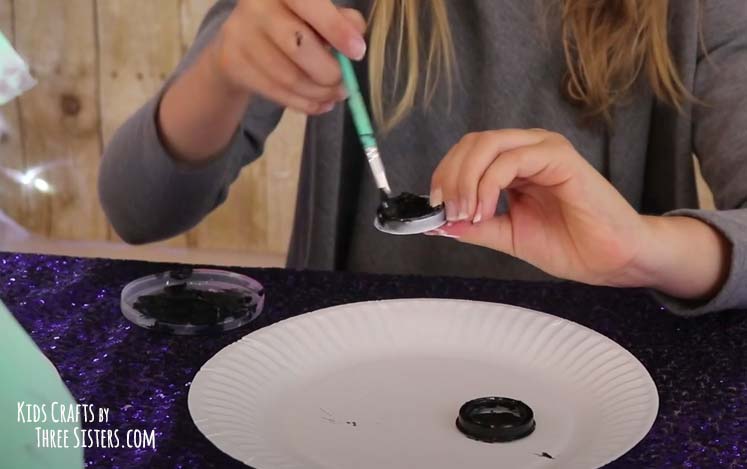
5: Now, grab your large lids and paint them white and your smaller lids and paint them black.
NOTE: If you can find lids already white or black then that would be easier. However, sometimes you just have to work with what you have. Thus we needed to paint our black lids white and our white caps black.
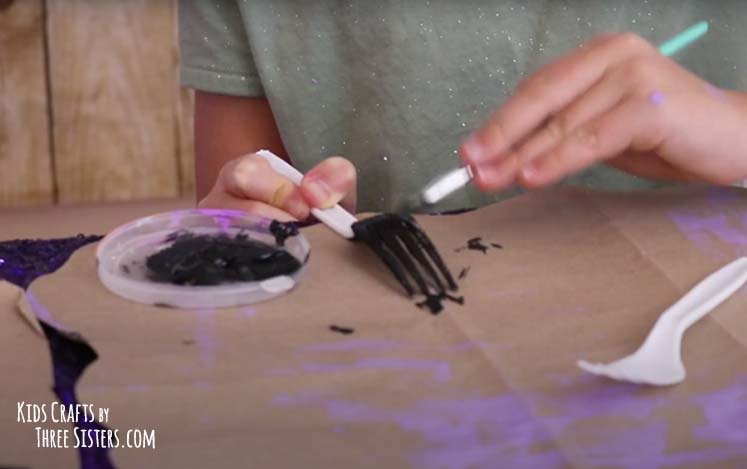
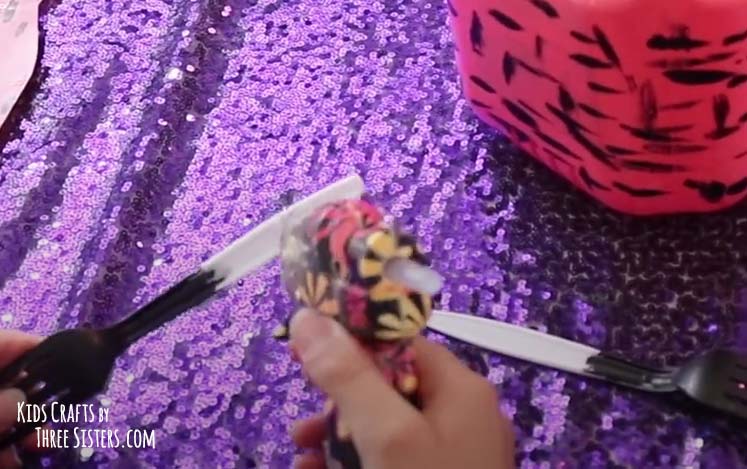
6: Your owls feet (claws) will be made from plastic forks. Paint half of the fork black from the forks to the stem.
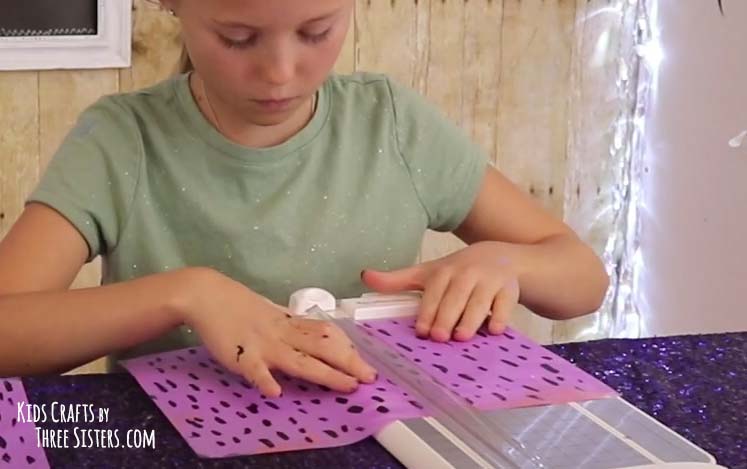
7: To create the head of the owl, cut one sheet protector into a rectangular shape. Ours was approximately 9.75"w x 8.5"h. Although we used a paper cutter, you can use scissors to cut your sheet protector.
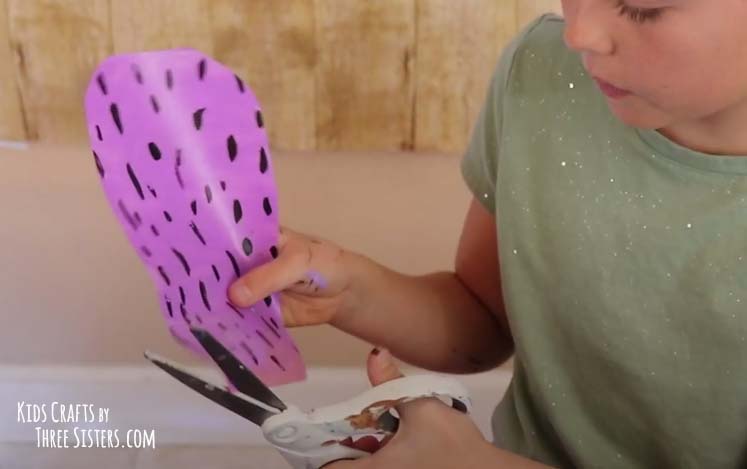
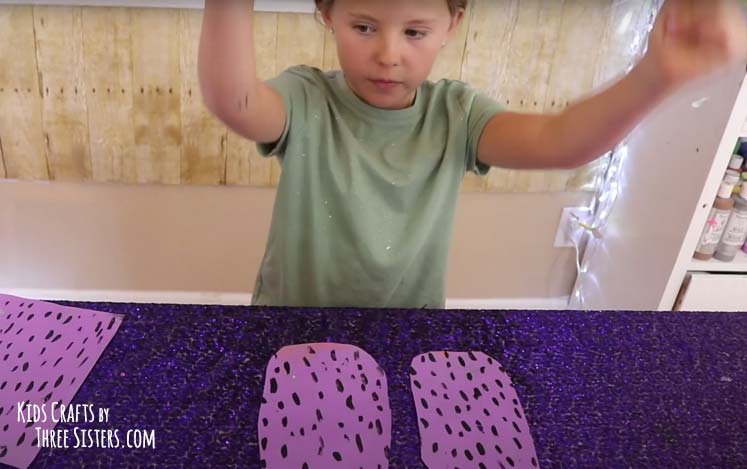
8: To make the wings of the owl, take one of your sheet protectors and cut it in half. Once the wings are cut in half round the corners of your wings and make them slender if needed. See the second and third pictures below.
9: For the owl beak, we cut a small triangular piece of another milk jug and painted that black.
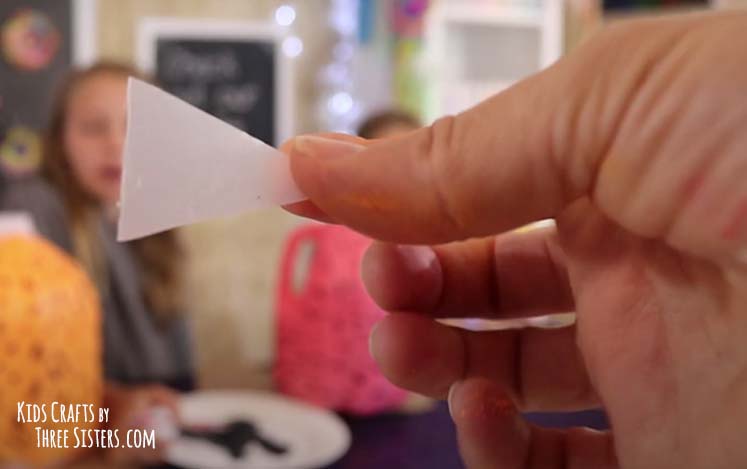
NOW THAT ALL OF OUR PIECES ARE PAINTED AND DRIED, LET'S ASSEMBLE OUR OWL MILK JUG!
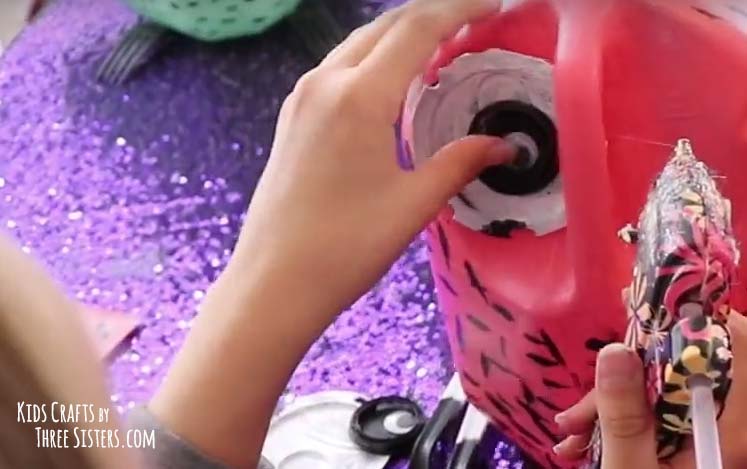
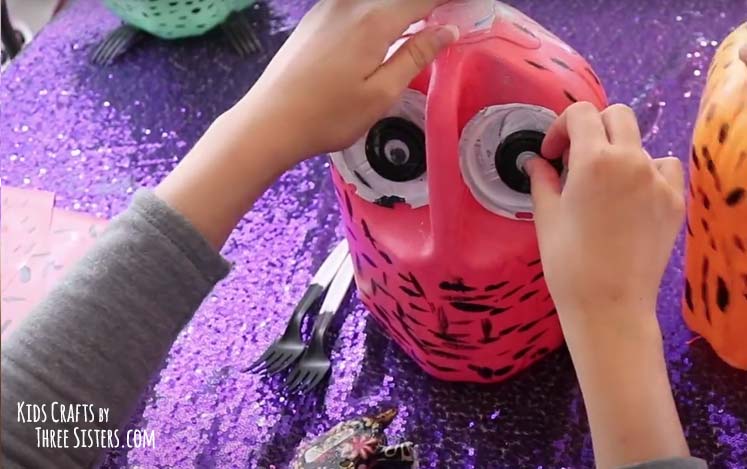
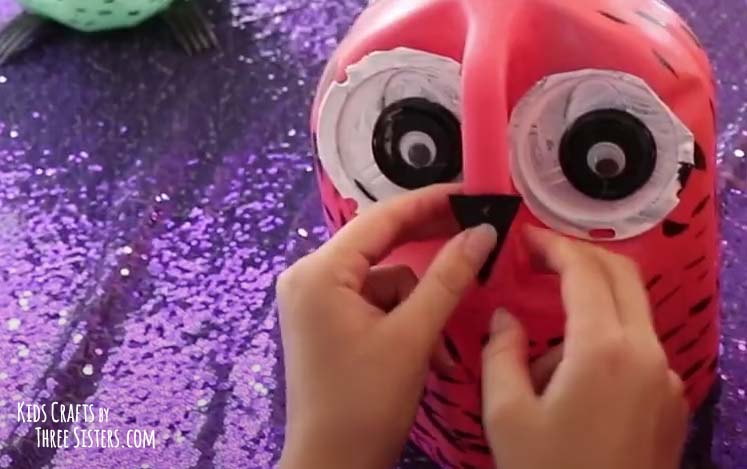
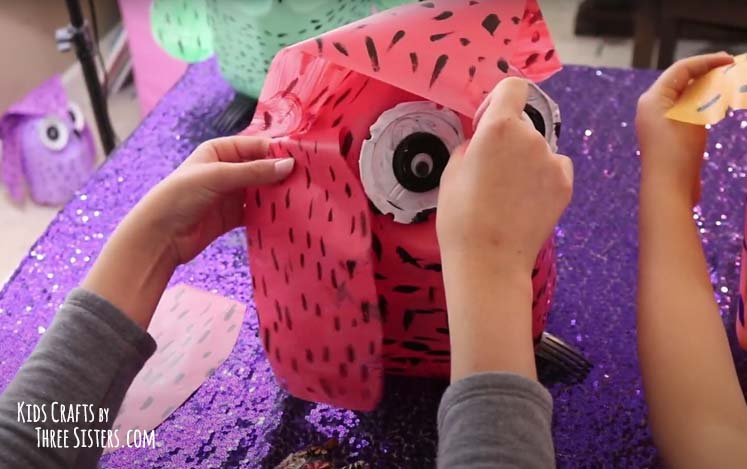
11: Begin by hot gluing your large white jar lids to the face of the milk jug. Then glue the smaller black jug lids in the center and finally the googley eyes. Repeat this on the left and right side of your milk jug.
12: To place the beak on the owl, position the base of the triangle at the bottom edge of the black circles.
13: To attach the feet, you'll need to turn the forks upside down and glue then in a criss-cross pattern. From there you can glue them to the milk jug. See the video below for detailed instructions.
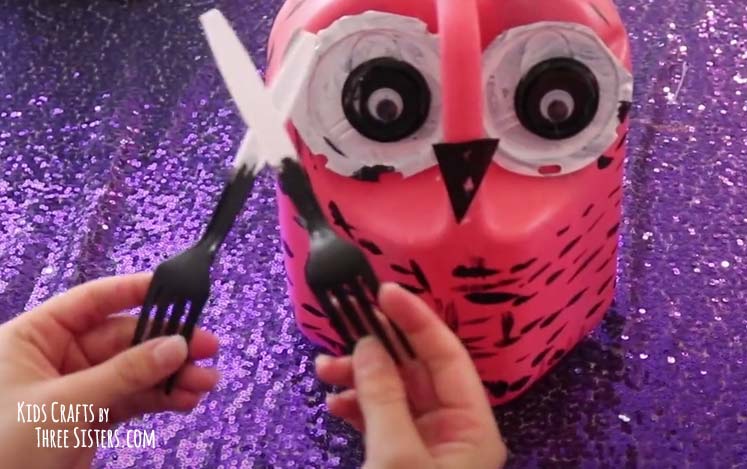
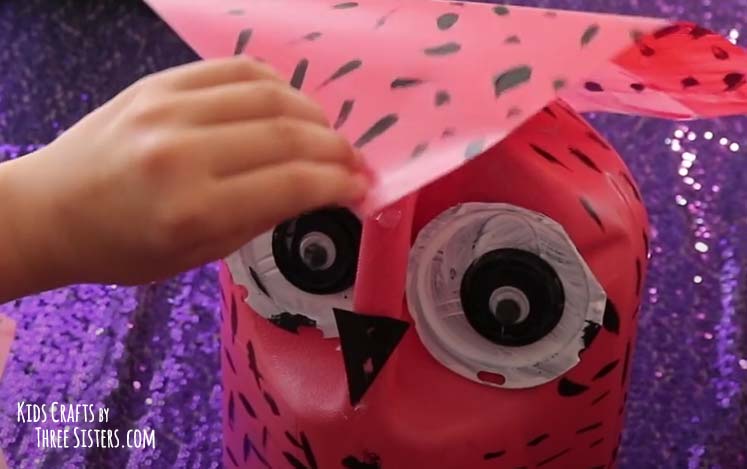
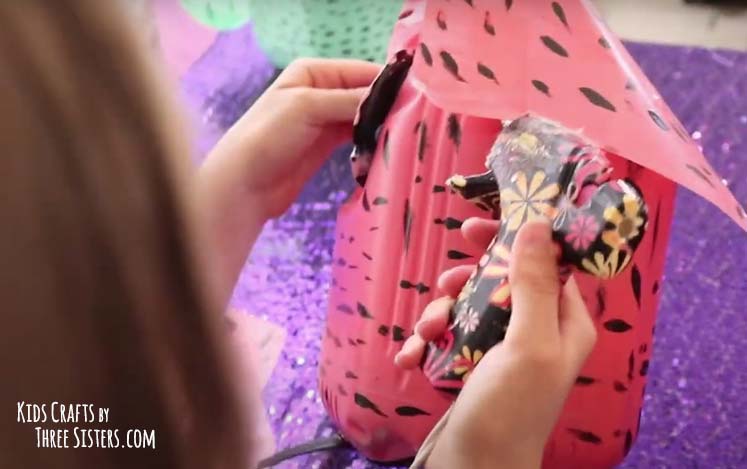
13: The next step is to glue the square shaped sheet protector to make the head of the owl. Put a small dab of hot glue on the handle of the milk jug towards the top of the black circle and adhere one corner of the sheet protector at that spot. Next you'll want to put a dab of hot glue on the back side of the milk jug to attach the back of the sheet protector. Then finally put two dabs of hot glue on the back sides of the milk jug to create a shoulder type affect. View images below.
14: Next up we'll attach the wings. Simply add another dab of hot glue to the left than right side of the milk jug and attach the wings.
THIS IS THE FINAL RESULT!
Give it a try and let us know how your owl milk jug craft turns out. If you'd prefer to watch how we made ours, we made video tutorial for YouTube on HOW TO MAKE MILK JUG OWLS!
What others are reading
 How to Make Popsicle Stick Bracelets
 How to Make Paper Plate Lollipops
 How to Make Cheesecloth Ghosts for Halloween
 How to Make a Pine Cone Monster Halloween Wreath
 How to Make a Reindeer Puzzle Ornament
 How to Make Slime Ball Popsicle Stick Bracelets
 How to Make Fluffy Slime with Saline Solution
 Easy String Art for Kids