Easy DIY Phone Holder with Toilet Paper Rolls
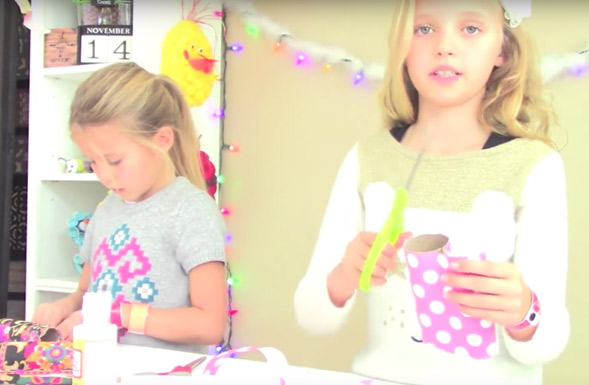
Toilet paper rolls are one of our favorite materials to use in crafts. There versatile and available just about anytime we need some. Yeah, we never toss out toilet paper rolls. And after you see this craft, you might not want to as well. Today we're turning them into DIY phone holders! You heard me right, with just two toilet paper rolls & wrapping paper or paper napkins you can make a gift that special someone will treasure. Who doesn't love a handmade gift by kids?
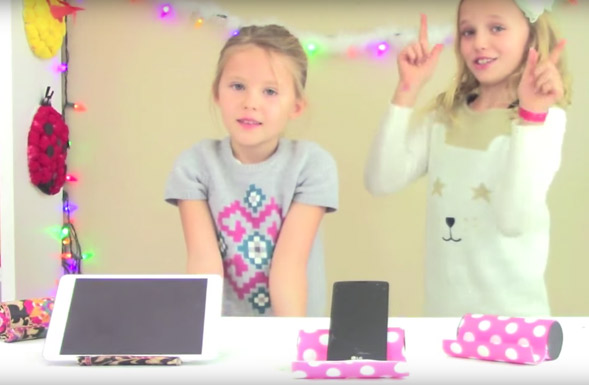
 In addition to holding Mom & Dad's cell phone, we also discovered that our toilet paper roll holders would also hold our mini I-pad in a horizontal position. Double score!
This kids craft is super easy to make and an ideal gift for a friend or loved one on any occasion. So, give it a try and let us know in the comments below, how your DIY Phone Holder turned out.
ITEMS YOU'LL NEED TO MAKE OUR DIY PHONE HOLDER:
• 2 Empty toilet paper rolls
• Scissors
• Mod Podge®
• Hot Glue Gun
• Paper napkin or a small piece of wrapping paper
STEPS TO CREATE OUR DIY PHONE HOLDER:
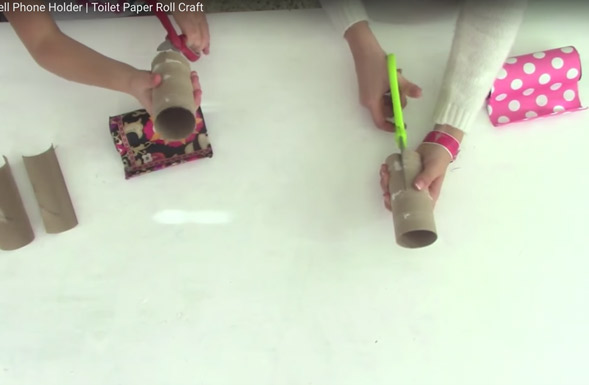
STEP 1: Begin by cutting one toilet paper roll into two equal halves. This will ultimately because the bottom brace that holds the phone or mini I-pad.
STEP 2: With your two halves cut, hot glue one side and stack them so they sit right inside one another. We did this to make the holder sturdy.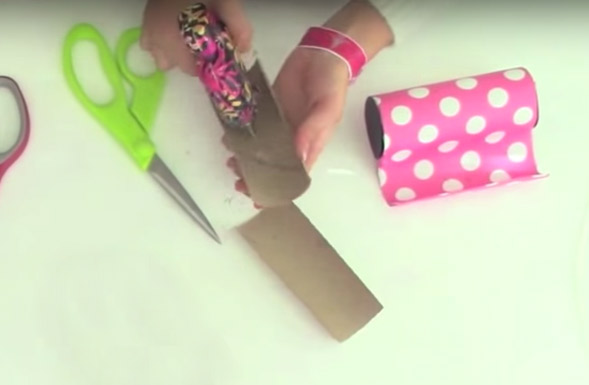
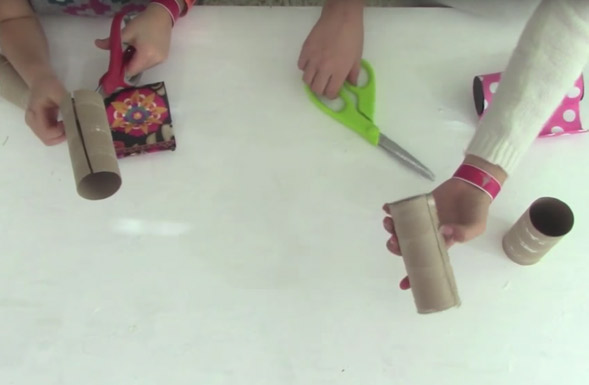
STEP 3: Now take the other toilet paper roll and make 1 cut all the way across.
YOU'RE DOING GREAT, KEEP GOING...
STEP 4: To finish the base of our DIY phone holder, put a line of hot glue along the edge of the halved toilet paper rolls. Quickly tuck the hot glued edge into the toilet paper roll which is cut open. Press and hold firmly for about 10 seconds. SHOWN IN THE VIDEO.
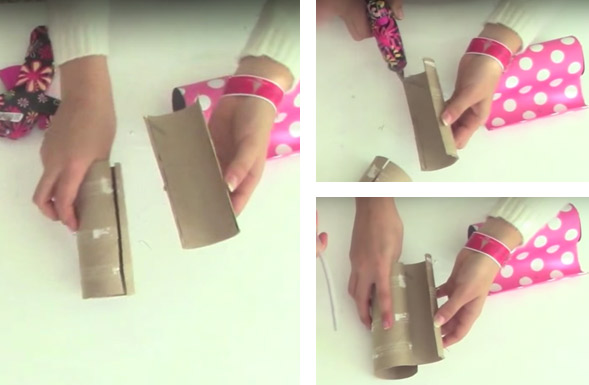
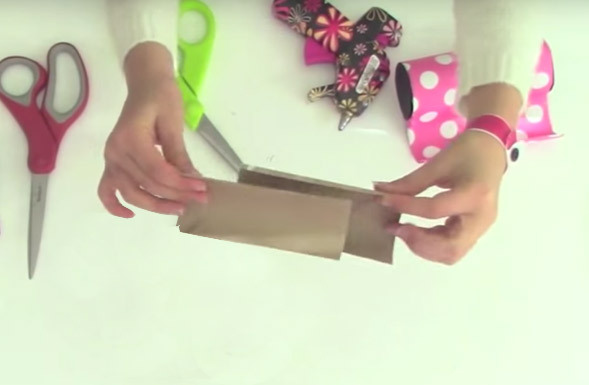
STEP 5: Flip the toilet paper roll base over and place one more strip of hot glue on the back side to close the opening. To make the structure extra sound, put one final strip of hot glue ton the back as seen in the image below to the right.

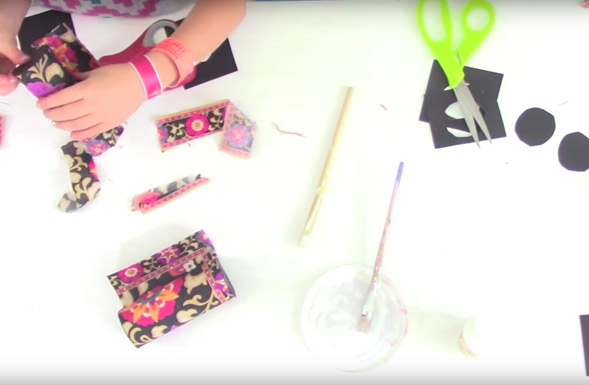
STEP 6: Grab your paper napkin or small piece of wrapping paper and start decorating your DIY phone holder. To prevent air bubbles and achieve the smoothest results possible, we applied Mod Podge® in small sections and rubbed the material as we went along.
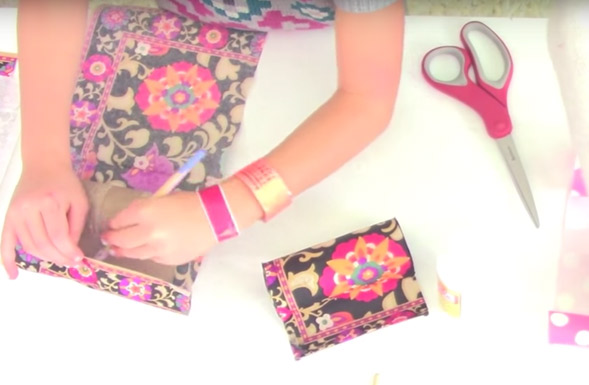
STEP 7: Trim any wrapping paper ends hanging over the phone holder. NOTE: It's okay, if your paper napkin rips a little as your decoupaging, just add a little glue over it for a vintage look.
STEP 8: Finally, we need to add pretty end caps. We traced the end of the toilet paper roll on Black construction paper. Simply cut them out and hot glue the Black circles to the end of the DIY phone holder.
STEP 9: Enjoy!
What others are reading
 How to Face Paint a Bunny, Dog & Cat using Arteza Face Paint for Kids
 Fall Pumpkin Craft Centerpiece Made From Books
 How to Make Bug Magnets – Bug Crafts
 Make Ice Circles an Easy Winter Craft
 How to Make Popsicle Stick Bracelets
 How to Make Nail Polish Washer Necklaces
 How to Make Cheesecloth Ghosts for Halloween
 Kids Crafts – How to Make Yarn Orbs – DIY Room & Party Decor