Fall Pumpkin Craft Centerpiece Made From Books
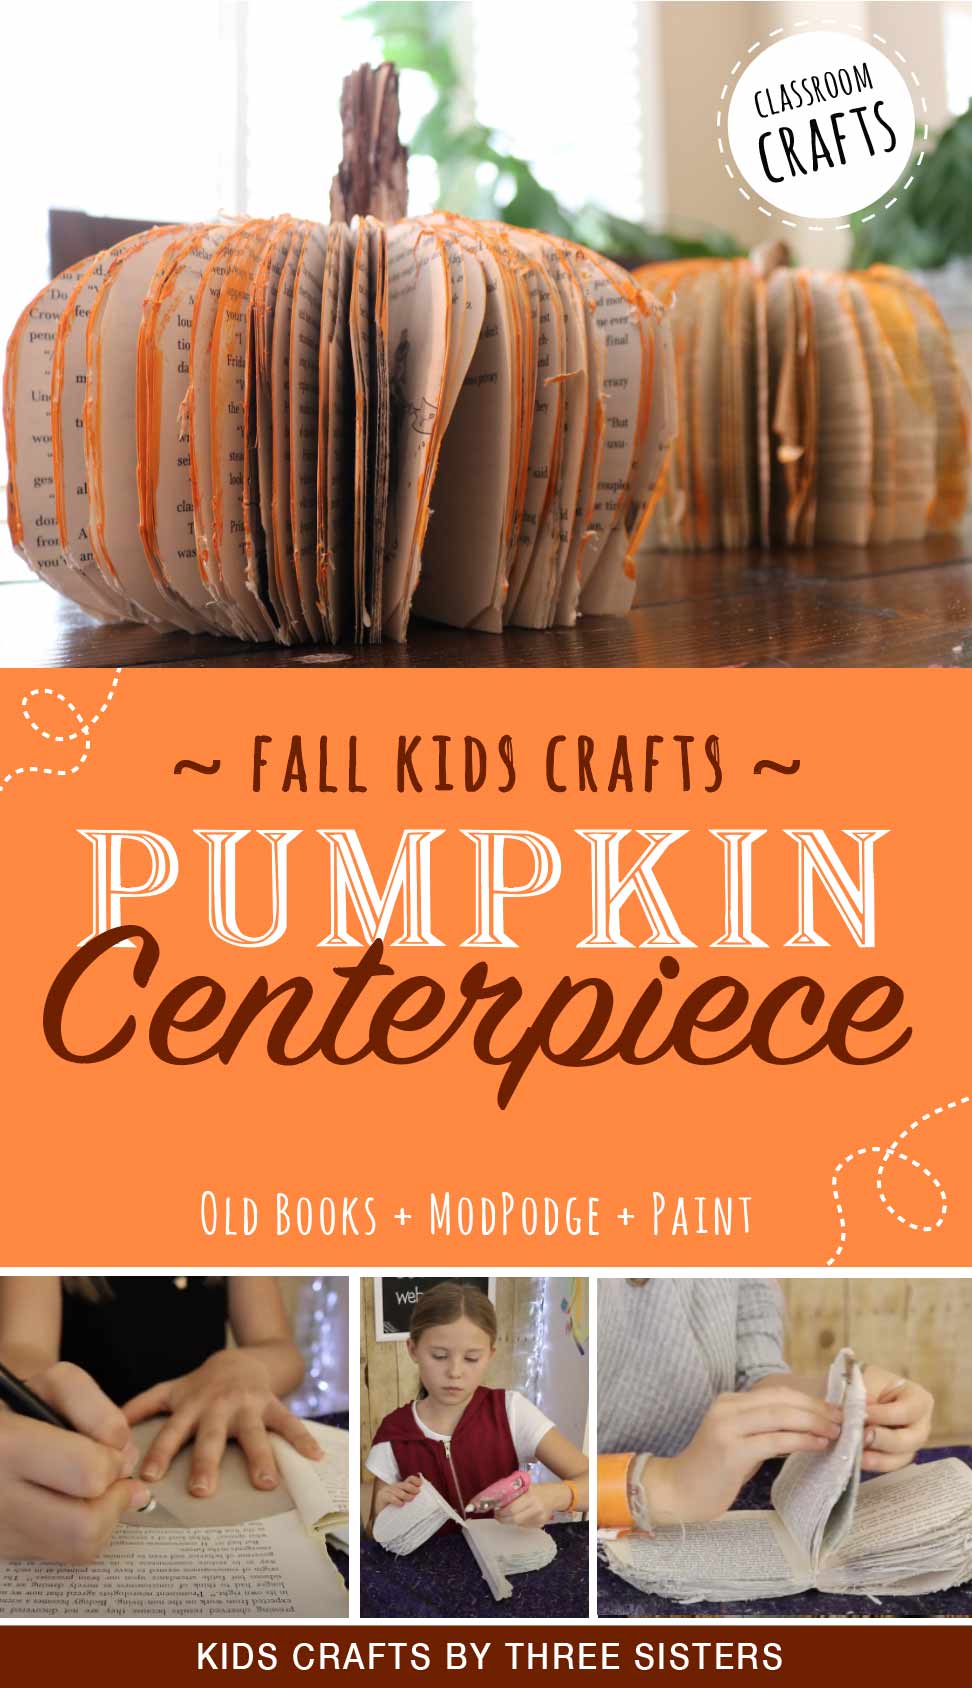 Thanksgiving is quick approaching and grandma tasked us to come up with the rustic fall pumpkin craft to adorn her table. Lucky for her, we had one. We recently made these super cool pumpkin centerpieces from old books. They've been a big hit in our neighborhood and would be a great project for older kids in classrooms.
We used books from the local thrift store on this fall pumpkin craft, but you can use whatever you have around the house. While it doesn't matter if your book is hard cover or soft cover, you definitely want the total number of pages to be around 400. This will give your pumpkin centerpiece the fullness necessary to resemble a pumpkin.
If you'd prefer to use books that are 200 pages, that's fine, just cut two books and hot glue the spines together to achieve the fullness of a bigger book. We filmed a step by step video on how to make this Fall Pumpkin Craft HERE. One final note, because we do use an exacto blade for this fall pumpkin craft, it's ideal for older kids or classroom art projects.
The kids really enjoyed this project, because it made a beautiful keepsake for years to come. Plus ,they were happy to see the joy on Grandma's face when we gave her our pumpkin centerpieces.
ITEMS NEEDED TO MAKE OUR FALL PUMPKIN CRAFT CENTERPIECE:
• 1 book around 400 pages or 2 books around 200 pages
• 1 cardboard stencil (half a pumpkin shape)
• Mod Podge
• 1 hot glue gun
• Orange and brown acrylic paint
STEPS TO MAKE OUR FALL PUMPKIN CRAFT CENTERPIECE:
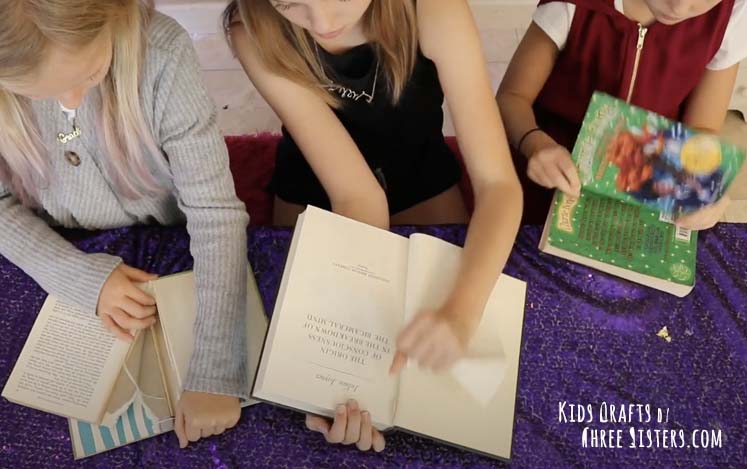
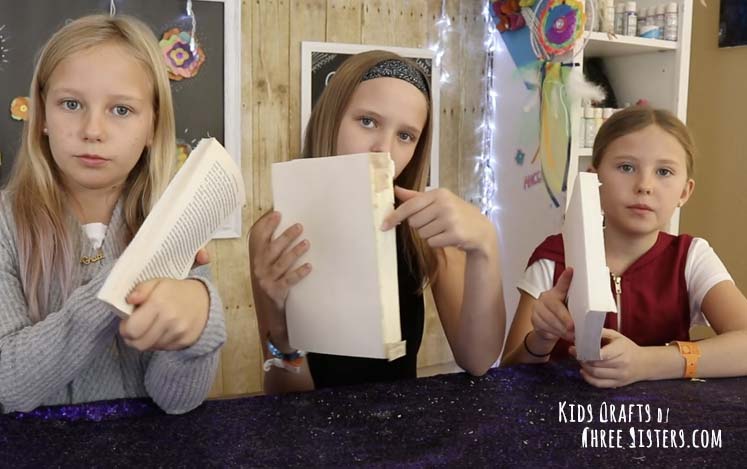
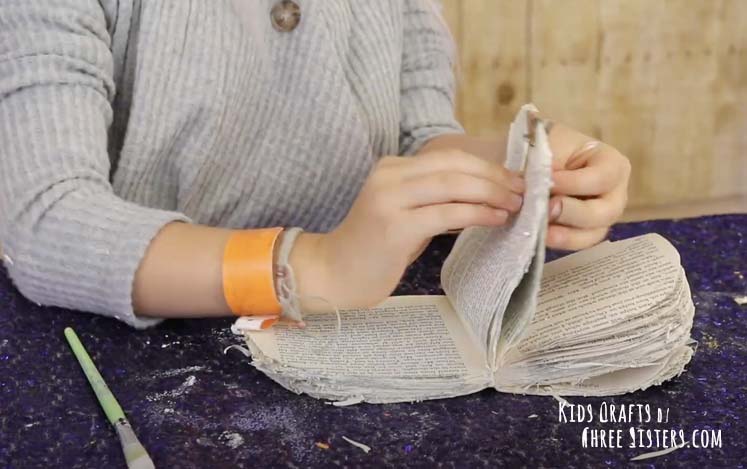
1: Remove the cover of your book, so all you have remaining are the spine and interior pages.
NOTE: You'll need either 2 books around 200 pages or one book around 400 pages. It doesn't matter whether the book has a hard cover or soft cover. Either way, remove the cover and know the remaining pages will become your pumpkin.
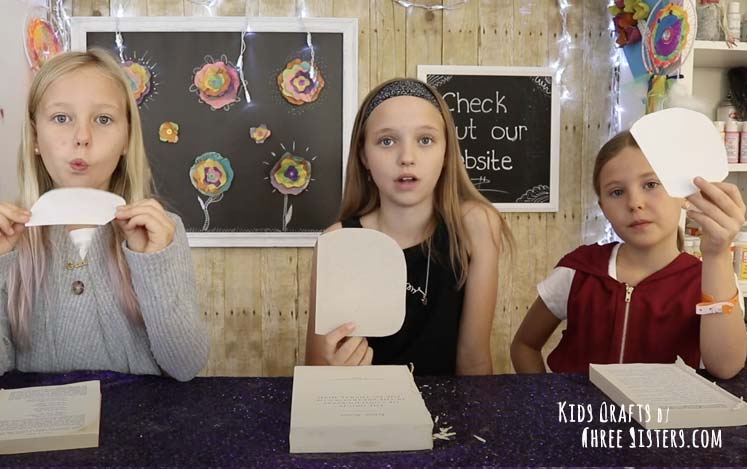
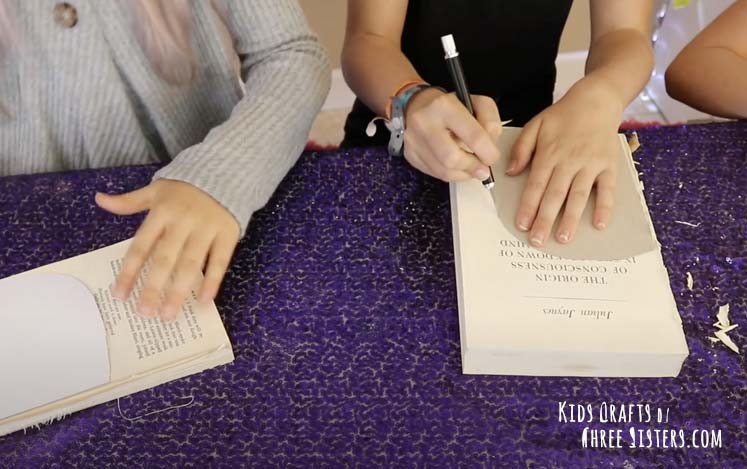
2: Next, you'll create a cardboard stencil using just half the shape of a pumpkin. One half will have a straight edge the other curved. We drew ours by freehand, no need to download a template. Remember for this fall pumpkin craft, pumpkins come in all shapes and sizes, so you really can't go wrong.
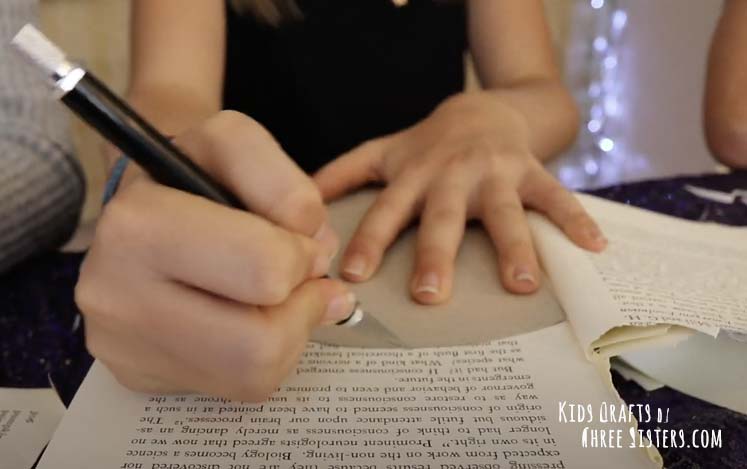
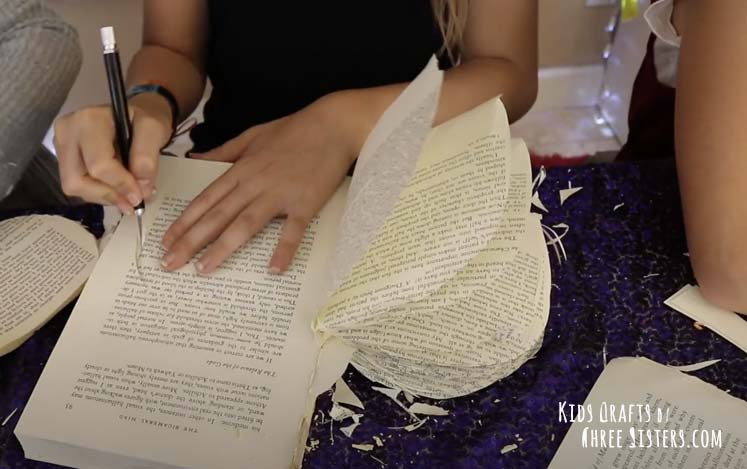
3: Position the straight edge of your template in the spine of the book and begin cutting around the stencil with your exacto blade. Repeat this process through your entire book.
NOTE: You can choose to cut through the spine of the book OR leave the spine (which we recommend). If you leave the spine, it actually becomes the handle of the pumpkin. We detail this step in the video. Furthermore, we thought it was going to take a long time to cut the pages, but it only took 20 minutes!
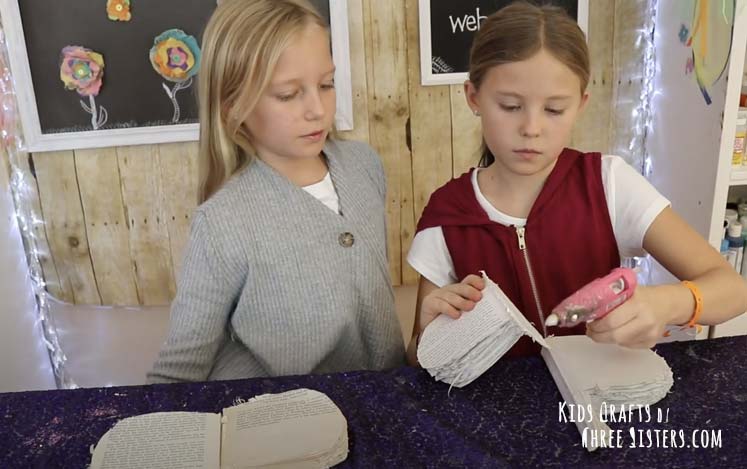
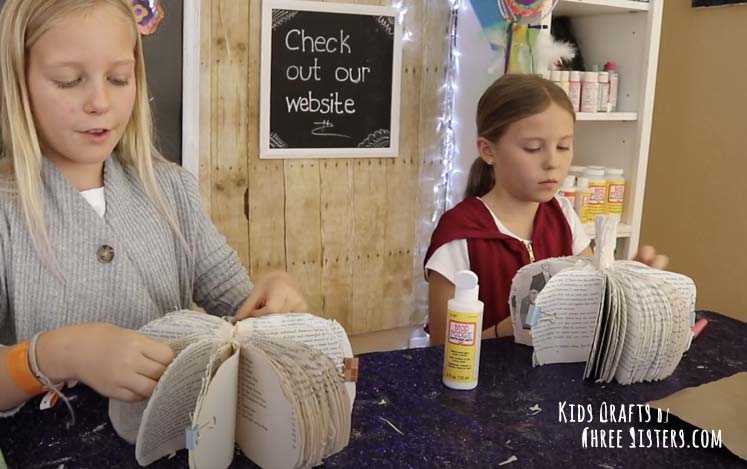
4: If you cut two books at 200 pages, you'll want to use a hot glue gun and attach the two spines together. If you cut 1 book averaging 400 pages, skip to Step 5.
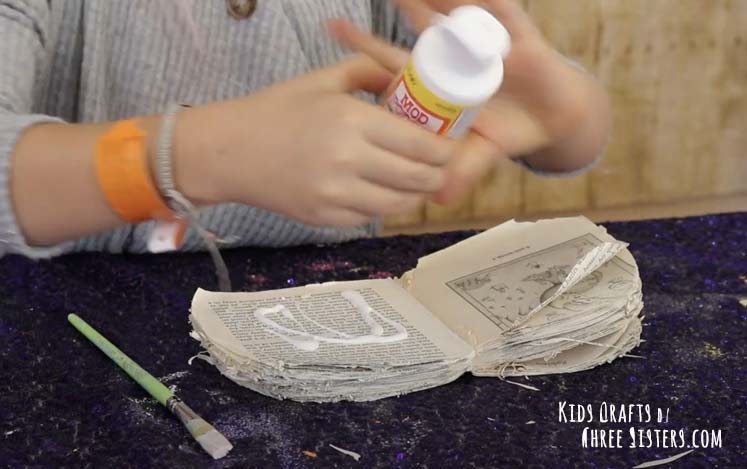
5: The next step is to Mod Podge your book pages together and attach a binder clip to the page for about 20 minutes.
NOW THAT ALL PUMPKIN IS ASSEMBLED, LET'S DECORATE!
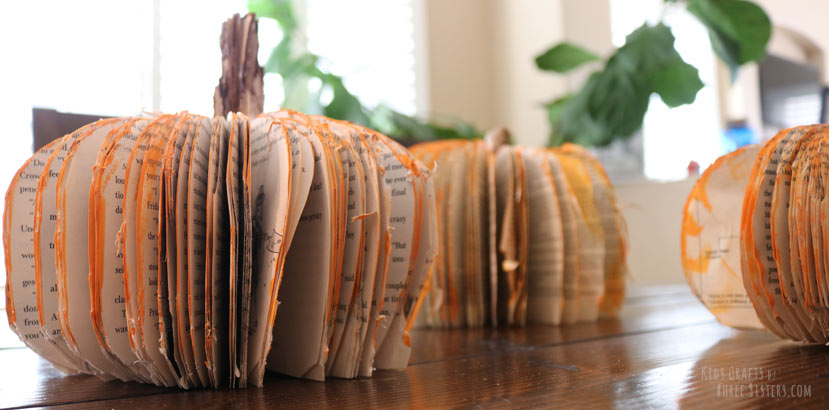
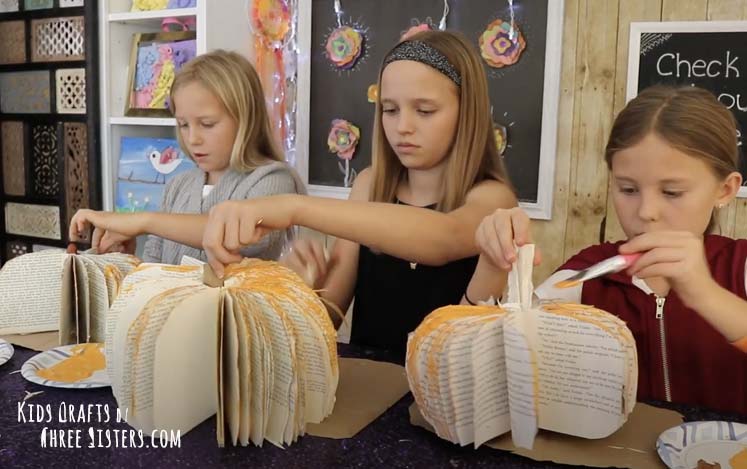
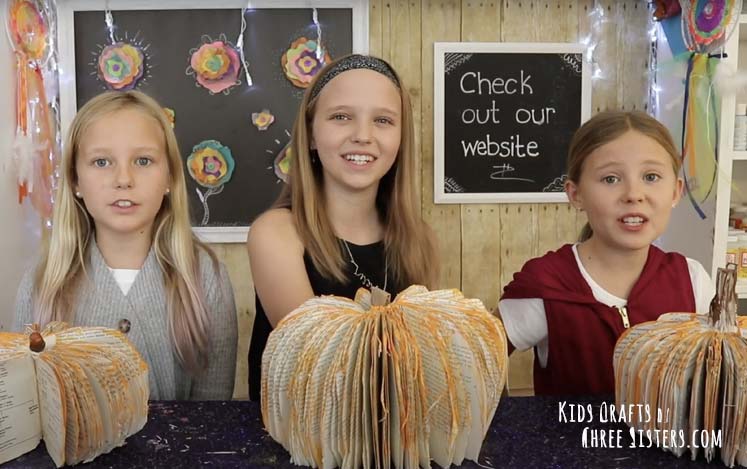
6: Begin by fanning out the pages of your pumpkin. You see in the photo below, Reese's pumpkin has the spine of the book which makes a lovely stem.
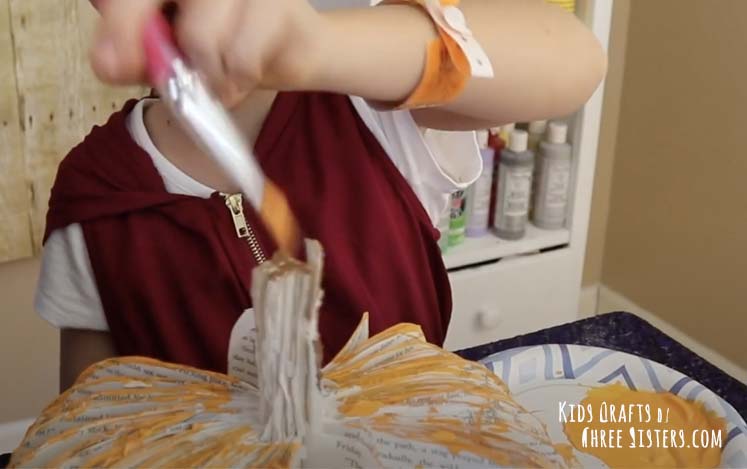
7: With your orange acrylic paint, just dust the edges of the pages to accentuate the resemblance of a pumpkin. At this point if your pumpkin doesn't have a stem, you can use whatever you have around the house to make one. Riley crumbled up paper from a paper bag and hot glued it in the center, while Grace decided opted to hot glue an acorn in the middle of hers.
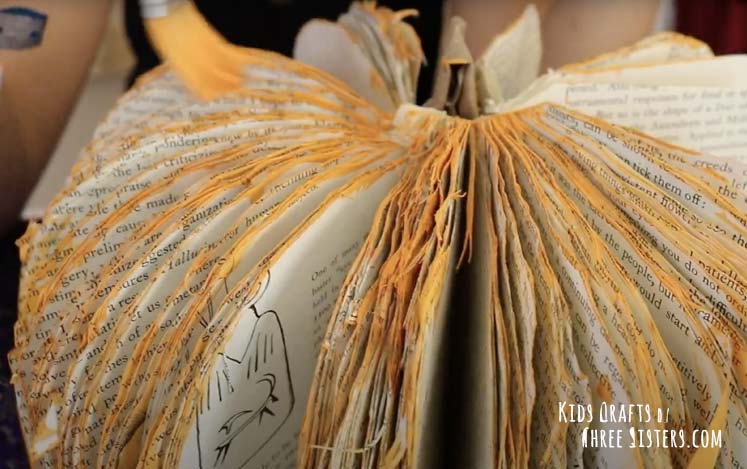
8: If you didn't cut off the spine of your book, paint your stem brown.
THIS IS THE FINAL RESULT!
Give it a try and let us know how your fall pumpkin craft turns out. If you'd prefer to watch how we made ours, we made video tutorial for YouTube on HOW TO MAKE A PUMPKIN CENTERPIECE FROM BOOKS!
What others are reading
 How to Make Slime Ball Popsicle Stick Bracelets
 Easy String Art for Kids
 Toilet Paper Roll Craft – Caterpillars
 Kids Crafts – How to Make Yarn Orbs – DIY Room & Party Decor
 How to Make Nail Polish Washer Necklaces
 How to Make Bug Magnets – Bug Crafts
 How to Make a Pine Cone Monster Halloween Wreath
 Egg Carton Craft – Flower Art – DIY Mother’s Day Wall Art