
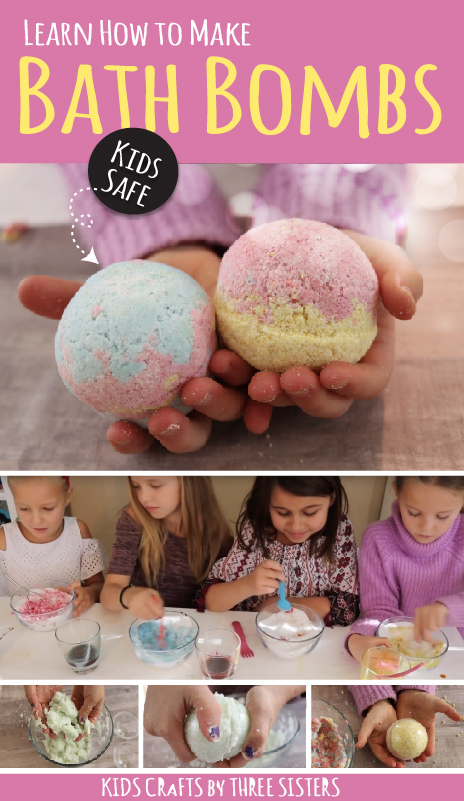
How to Make easy DIY Bath Bombs with Kids
This week we made DIY bath bombs using an easy recipe which is perfect for kids. Inspiration for these babies came from the ever popular Lush Bath Bomb.
Now, our bath bomb recipe using Citric Acid, which is the substance that makes the bath bombs fizz, but we've heard you can opt to use lemon juice in place of that ingredient. I think we'll try that in another post. Also, because our bath bombs recipe is intended for kids we used organic food coloring and KidsSafe® essential oils. No need for yucky chemicals floating in the tub.
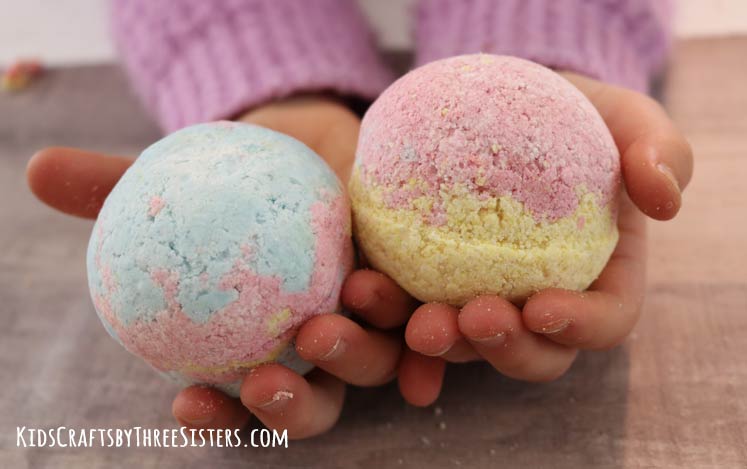
 Make these DIY bath bombs with the kids and wrap them in a little bag or cellophane for gifts for friends, family & teachers. The girls had a lot of fun with this kids craft. We made about 4 different colors and during the process they thought it would be neat to mix and layer their colors together to make multi-color or rainbow bath bombs. They also commented how much fun it would be to pop a toy in the center as a surprise. Similar to how we did on our Dinosaur Soap Eggs. Needless to say they tested them right away and were delighted to see the fizz and smell the fragrance from the oils.
ITEMS NEEDED TO MAKE DIY BATH BOMBS WITH KIDS:
• 1 cup of baking soda
• 1/2 cup citric acid - buy it online here.
•1/2 cup epsom salt
• 1 teaspoon water
• 2 teaspoons KidsSafe® essential oils
• 3 teaspoons olive oil
• Natural food coloring from Whole Foods
• Bowl
• Whisk
• Jar
• Bath bomb mold
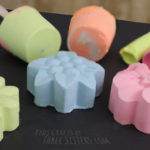
You can use just about whatever you have around the house for a bath bomb mold: plastic ornament that splits in half, plastic egg, soap mold, silicon molds, etc. Our recipe yields about 4-5 bath bombs. However; that can vary based on the bath bomb molds you use.
HOW TO MAKE YOUR OWN BATH BOMBS!
Inspired by Lush Bath Bombs
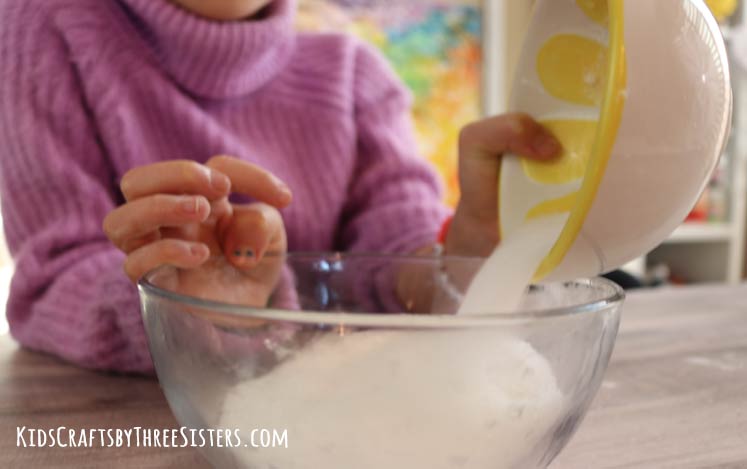
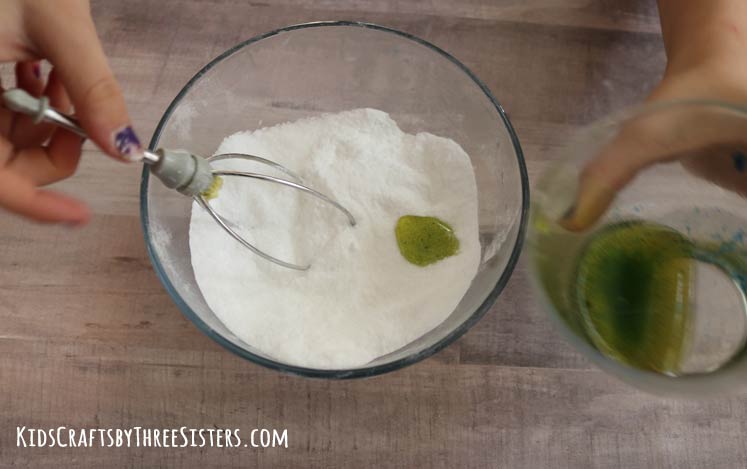
STEP 1: Mix all your dry ingredients into one bowl and whisk them together.
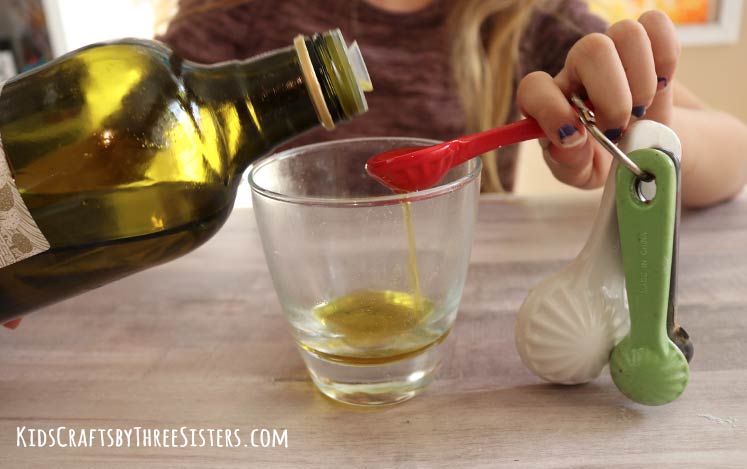
STEP 2: Mix all your wet ingredients into a jar, bowl or glass.
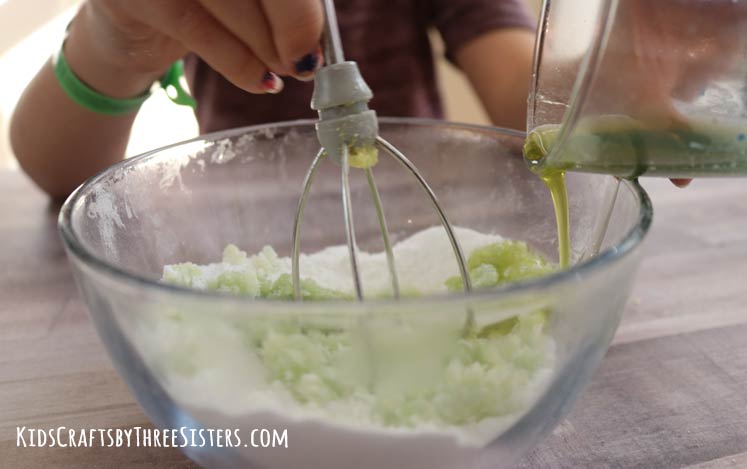
STEP 3: Slowly pour your wet mixture into the dry ingredients a little at a time. If you do it too fast you'll activate the citric acid causing the mixture to fizz. So do it slowly.
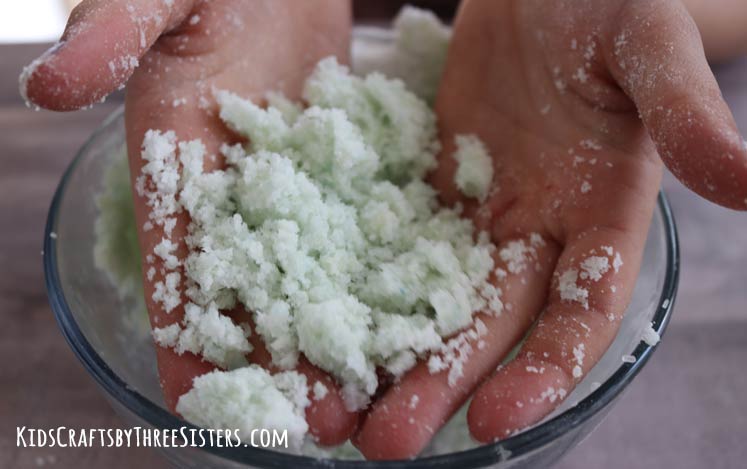
NOW THE FUN PART, KNEADING THE BATH BOMB MIXTURE!
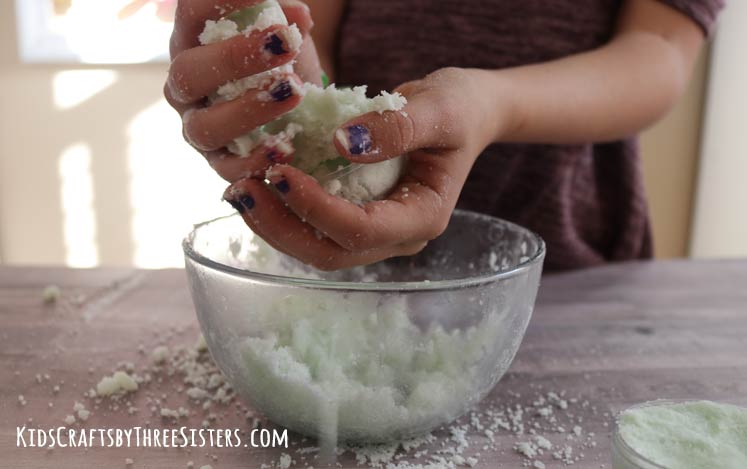
STEP 4: When your wet ingredients are mixed with the dry ingredients you can start kneading the mixture by hand. The texture will be sandy in appearance and touch.
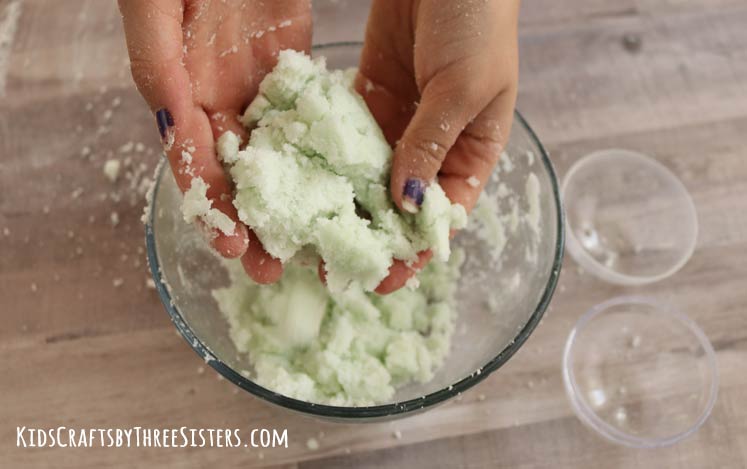
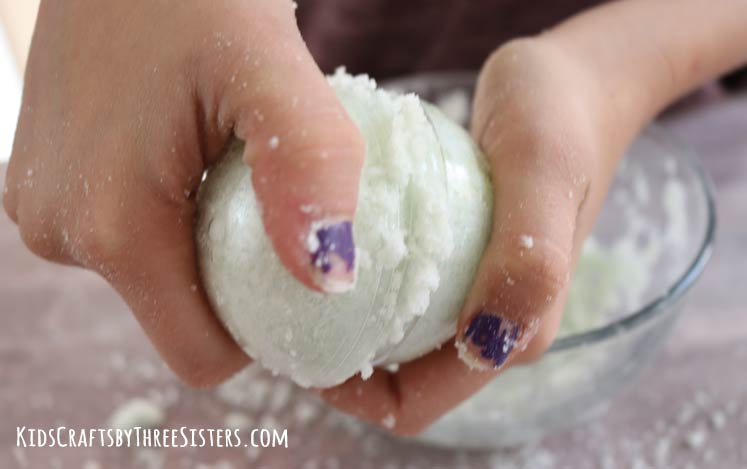
STEP 5: Continue to knead the bath bomb mixture for about a minute or two. When it starts to clump together, almost like dough, it's ready to pack into the bath bomb molds. If your bath bombs crumble then the mixture was too dry. Simply add a little more oil and reshape.
STEP 6: Lightly pack your bath bomb mixture into one side of the mold. If you pack it too tightly the bath bomb sides won't mold together. As demonstrated in the video.
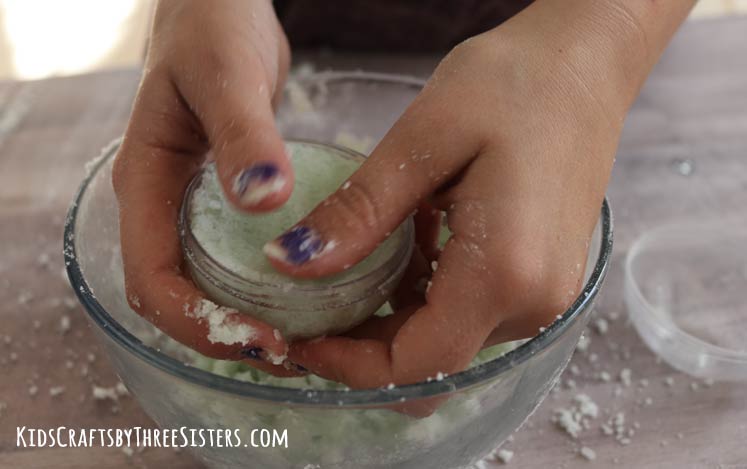
STEP 7: Stuff the second side of the mold lightly and screw the two sides together over the bowl so the excess bath bomb mixture falls off.
STEP 8: This is what the bath bomb will look like in the mold. Put this in the freezer for 30 minutes or let it stay in there overnight. The longer they stay in the freezer the better.
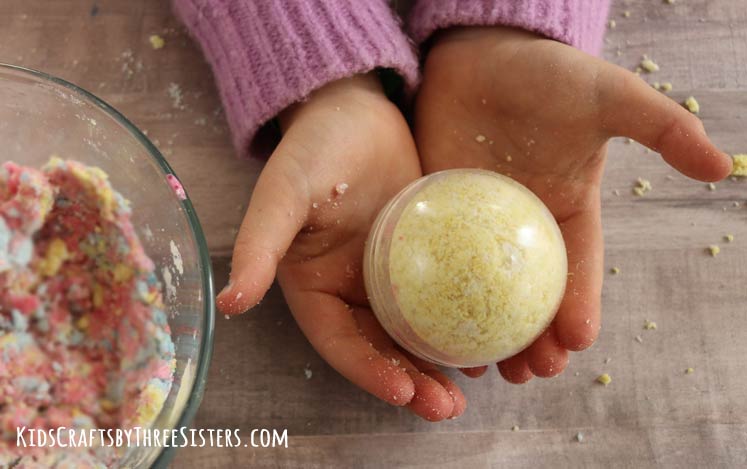
STEP 9: Tap the outside of the container with a spoon to loosen the bath bomb and slowly take apart the plastic. NOW DROP IT IN WATER AND WATCH IT FIZZ! Shown in the video below!
What others are reading
 How to Make Fluffy Slime with Saline Solution
 Fluffy Paper Plate Animals
 How to Make DIY Dinosaur Soap with Kids
 Egg Carton Craft – Flower Art – DIY Mother’s Day Wall Art
 DIY Fairy Jar – Night Light or Party Decor
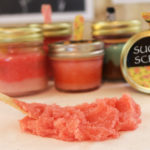 Easy Homemade Sugar Scrub Recipe for Kids with Coconut Oil
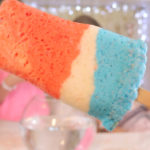 DIY Popsicle Bath Bomb Recipe
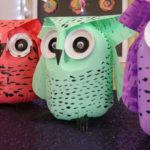 Earth Day Owl Milk Jug Craft


I’m definitely going to be doing this for a party
Based on your ingredients. How many bath bombs does this recipe yield?
Hi Ami, 4-5 bath bombs.
Hi. I am just wondering how many bath bombs you made with this recipe? I am wanting to make it with a class of 19 students and was wondering how many batches I would need to make.
Thanks!
Hi Sefora, The recipe yields about 4-5 bath bombs. Also, keep an eye on texture of the bath bombs. If the mixture looks too dry, then add a little more oil or a tablespoon of corn starch.
I tried this recipe. The bathbombs came out beautiful. Only after 30 minutes out on the counter they had almost completely disolved (at room temperature)?!?
Hi Bea. I’m sorry to hear that your bath bombs crumbled sitting on the counter. If the bath bombs aren’t formed tightly when they are molded, they will tend to crumble. If that happens, the mixture is most likely too dry. Try adding more oil or water to moisten it and then let them sit again to dry.
Hi girls! Thank you for the recipe. I tried this last week with our daughters and they turned out great. Keep up the good work.
That’s wonderful Racheal! If you post a photo make sure to tag us so we can see it. #KidsCraftsThreeSisters
I made these and put them in the freezer. After a few hours I took them out and they exploded on the counter ( they were still in the mold and it expanded so much it busted the mold open!) what did I do wrong??? They worked amazing aside from this issue
Hi Lauren! I’m really sorry to hear that! There’s no doubt that bath bomb mixtures are sensitive. If your bath bombs are expanding in the mold, this means the mixture is too wet and the fizzing reaction is happening prematurely. If you use a colorant or fragrance that contains water, this can cause the bath bomb mixture to fizz. In addition, bath bomb mixtures can fizz prematurely due to moisture in the air. Reduce the amount of colorant or water added.
[…] using them! Full disclosure – this is on our list to do this week, and I’m planning to use these instructions from Kids Crafts by Three Sisters. Fun Easter tip, since that’s right around the corner – if you don’t have a bath bomb […]
Wonderful!
I just made these today and substituted tapioca flour for corn starch. Turned out perfectly! Well be distributing them for Christmas gifts!!! Thank you!
Hi Meredith! Wonderful. What a great idea to substitute tapioca flour for corn starch.
I want to make these with my son, but I don’t have a bath bomb mold. Can they be made in a silicone muffin ‘tin’? Or do they have to be in an enclosed mold? Thanks!
Hi Corinne, Thanks for commenting. No, it doesn’t have to be a “bath bomb mold”. You could put them in silicone muffin tin, just press the mixture in tightly and freeze for a day or two.