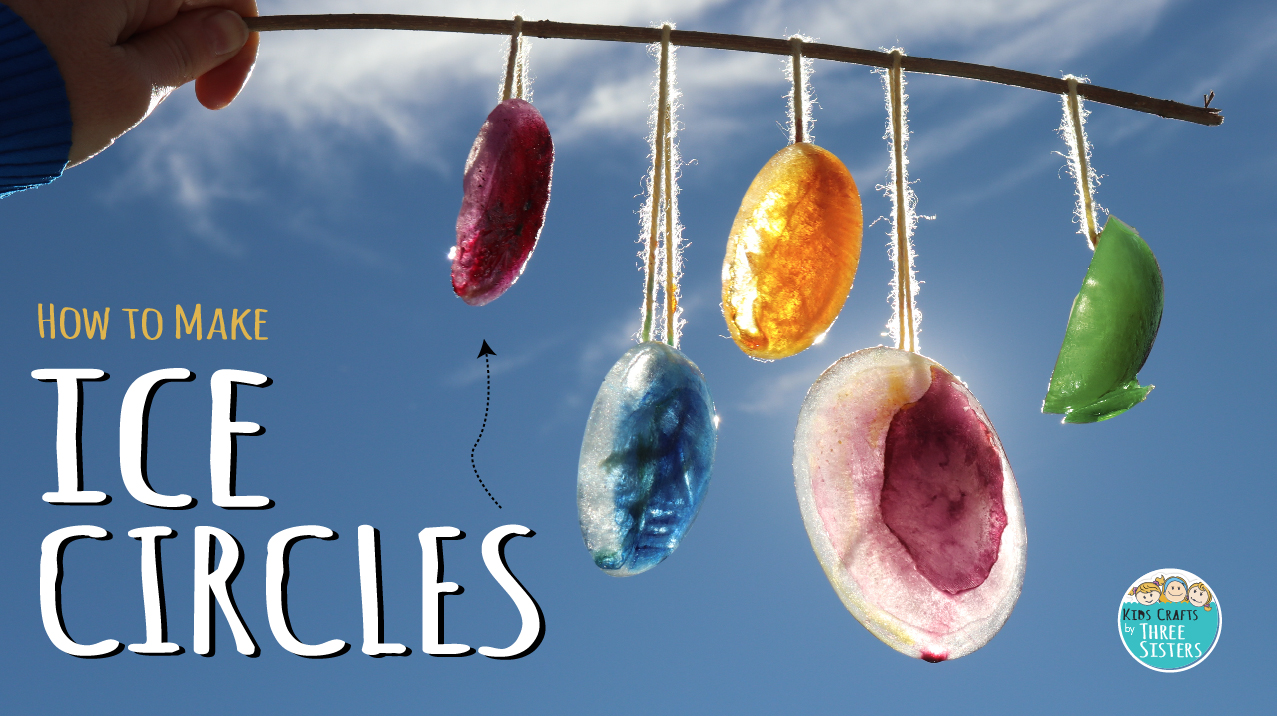
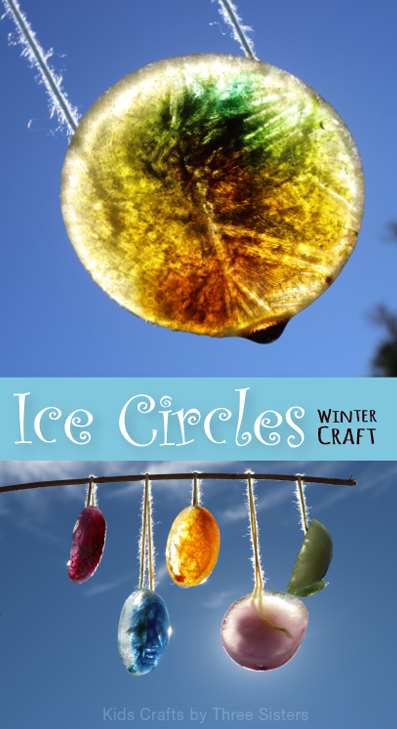
Make Ice Circles an Easy Winter Craft
 This is probably one of the easiest kids crafts we've ever done on our blog, but the results were so beautiful we had to share. If you live in a cold climate, you'll especially enjoy the beauty of this winter craft. Using just a couple of ingredients you can adorn those bare trees outside with ice circles.
Unfortunately, or fortunately depending on how you look at it, we live in Arizona so our ice circles didn't last very long. We'd love to see samples of what you make though by tagging us on Facebook or Instagram. One of our favorite aspects of this winter craft is that you ONLY need 3 ingredients! Best of all, you probably have them in your house right now.
ITEMS NEEDED TO MAKE THIS EASY WINTER CRAFT:
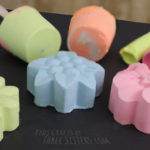
• 1 soap or ice tray mold
• Food coloring (we used plant based food coloring from Whole Foods)
• String or yarn
• Water
STEPS TO CREATE ICE CIRCLES, OUR EASY WINTER CRAFT:
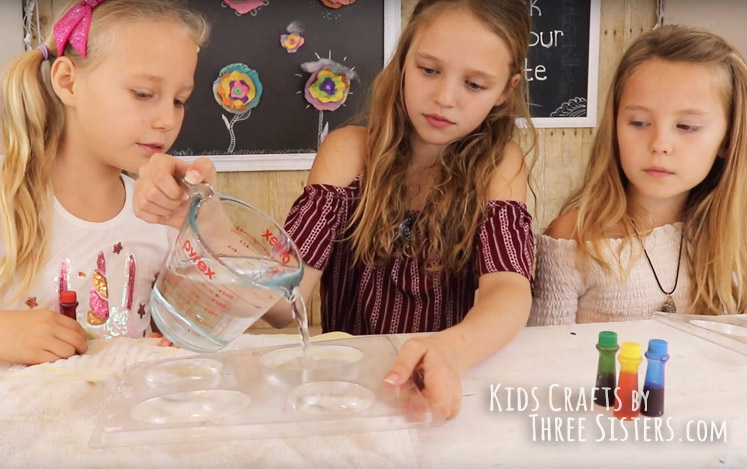
STEP 1: The first step is to pour water into your mold.
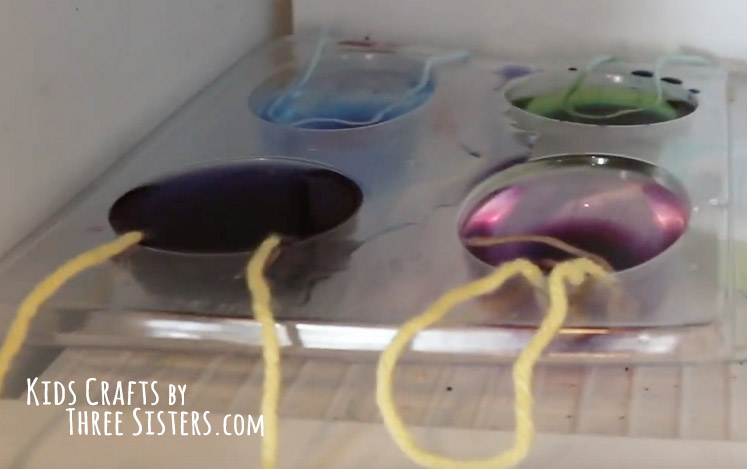
STEP 2: Next you'll add a few drops of food coloring to each soap mold. Because the ice circles will eventually melt outside, we opted for food coloring that was plant based. That means as our ice circles begin to melt outside, the color will be safe for the environment and good for the soil.
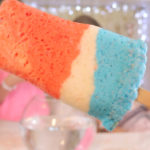
NOTE: Start with just a few drops of food coloring (2-4). If you add too many drops of food coloring your ice circle will become opaque and less transparent. In other words, too much color will prevent the sun from beaming through the ice circle. We found around 4 drops was perfect. Feel free to try mixing colors as well!

STEP 3: The final step before tucking them in the freezer is to cut yarn or string and dip the ends in into water. This is how you'll hang them on the trees.

STEP 4: Now put them in the freezer for a couple of hours or overnight.
NOTE: We discovered that the more drops food coloring in the ice circle, the longer it took for them to freeze. It's all personal preference, but keep that in mind while freezing this winter craft.
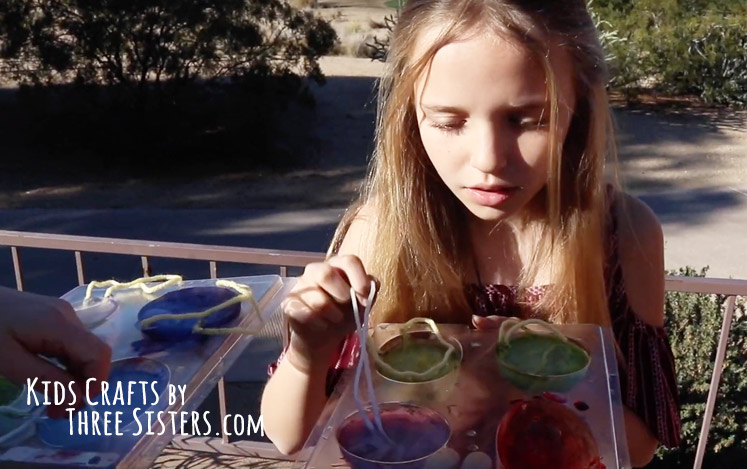
STEP 5: Slowly pull the ice circles from the mold.
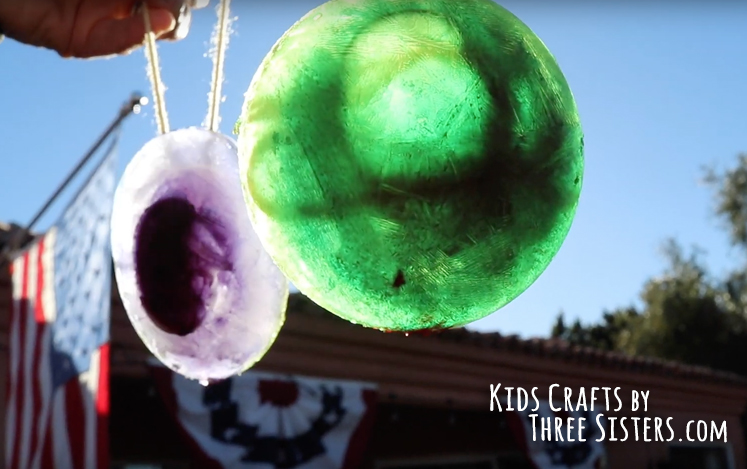
STEP 6: Hold them up the sun to see the light shine through. Wouldn't they look beautiful on a bare tree in the middle of winter? We think so.
That's really all there is to making ice circles. Give it a try and let us know how your's turns out! Hey, if you'd rather watch a video tutorial, click the image below.
What others are reading
 How to Make Bird Newspaper Art for Kids
 How to Make Christmas Magazine Angels
 Egg Carton Craft – Flower Art – DIY Mother’s Day Wall Art
 How to Make Cheesecloth Ghosts for Halloween
 How to Make a Popsicle Memory Game
 How to Make easy DIY Bath Bombs with Kids
 How to Make Bug Magnets – Bug Crafts
 Rescue the Reindeer: Kids Christmas Game