Mixed Media Art for Kids Using Junk
 Earth Day is April 22nd and what better way to teach kids in a classroom about repurposing and recycling than making art. This week, we wanted to share our mixed media art project made from items in our junk drawer.
Regardless of how organized we are, we always seem to have one drawer in the house that collects odds and ends. The other day the kids and I made a pact to start spring cleaning a little early. Instead of tackling a huge project, such as our garage, we started with our junk drawer. Easy as that sounds...it was tedious!
While combing through the drawer contents, one of my daughters suggested that we save the items we no longer use then create our next art project using them. It was not only resourceful, but a perfect idea to coincide with Earth Day, spring cleaning and recycling.
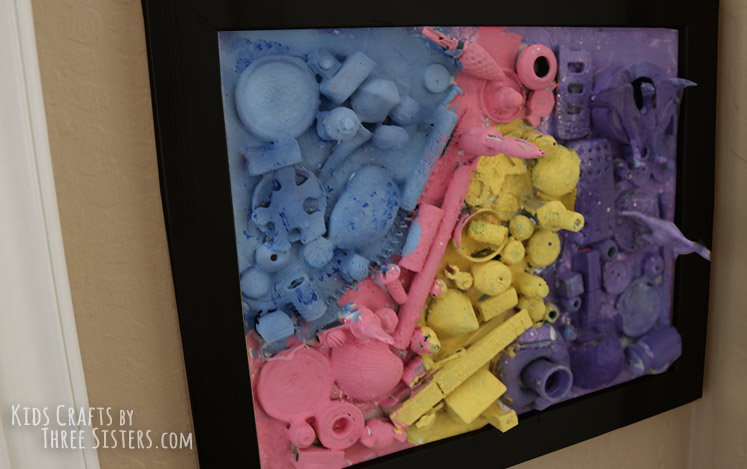
Furthermore, mixed media art allows kids to think about items in a different manner. They can play with spatial relationships, break items down into smaller units or layer elements on top of each other. My girls thought this was the coolest piece of art they've made so far.
Have a look through your drawers and begin to collect items to create your own mixed media art. They'll have a blast making them and you'll be stunned to see how beautiful they look on the wall!
 ITEMS NEEDED TO MAKE OUR MIXED MEDIA ART PROJECT FOR KIDS:
• 1 - 8 x 10 Flat Canvas
• 1 - 8 x 10 Frame (Glass will not be used)
• Junk
• Mod Podge (Elmer's glue will not be strong enough. You may opt for a hot glue gun for heavy items)
• Acrylic Paint
• Paint Brushes
•Glitter (Optional)
STEPS TO CREATE OUR MIXED MEDIA ART PROJECT:
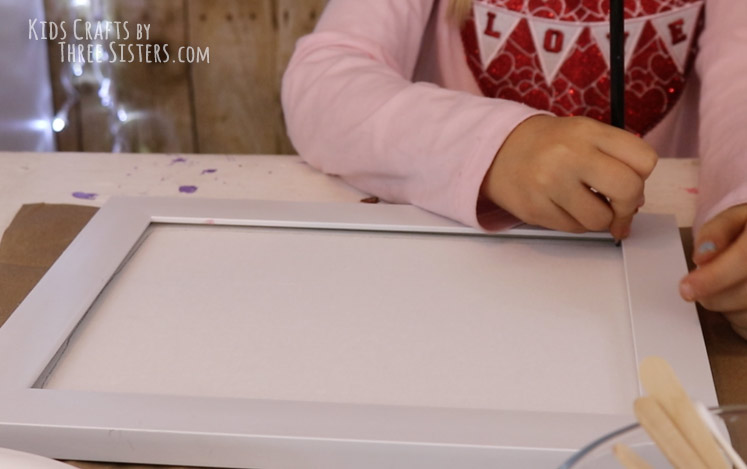
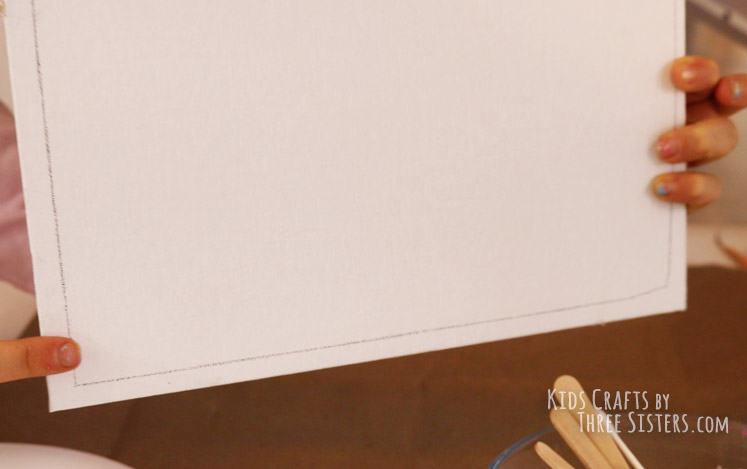
STEP 1: The first step is to pop the glass off the 8 x 10 frame then tuck the 8 x 10 canvas inside the frame. From there, flip over the frame so the front of the frame and blank canvas is facing you. Now trace the inside of the framed border with a pencil.
IMPORTANT NOTE: The penciled border will be a glue guide. None of the items glued to the canvas should go past the border. If they do, the canvas will not fit back into the frame.
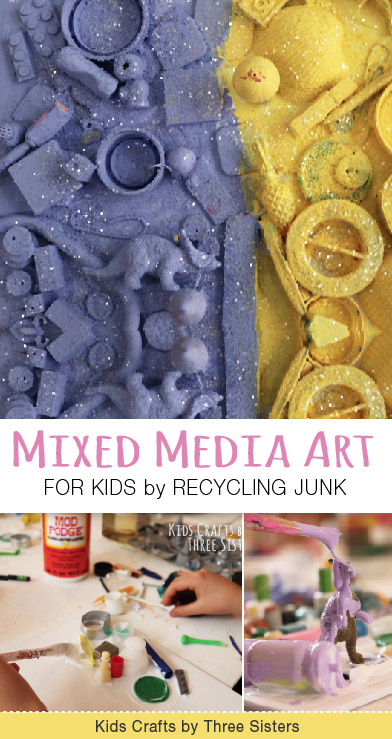
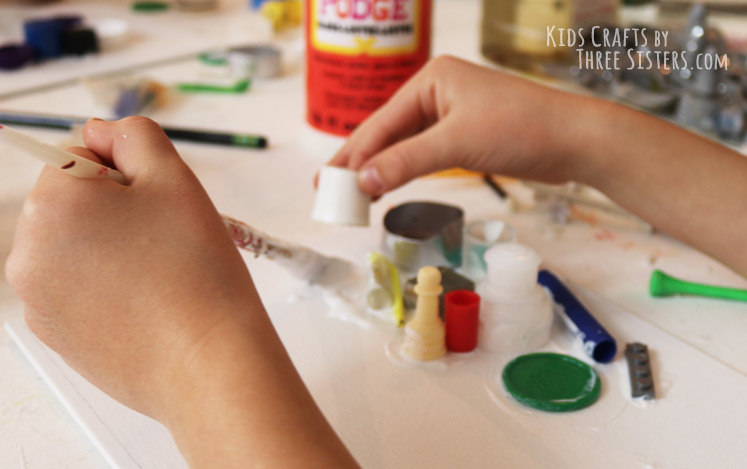
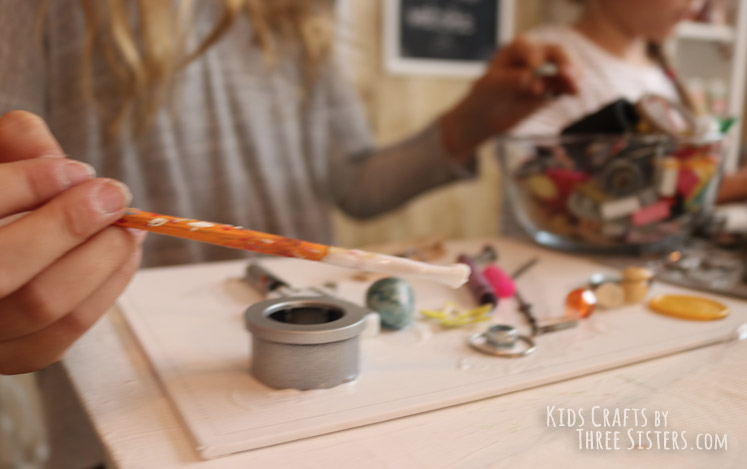
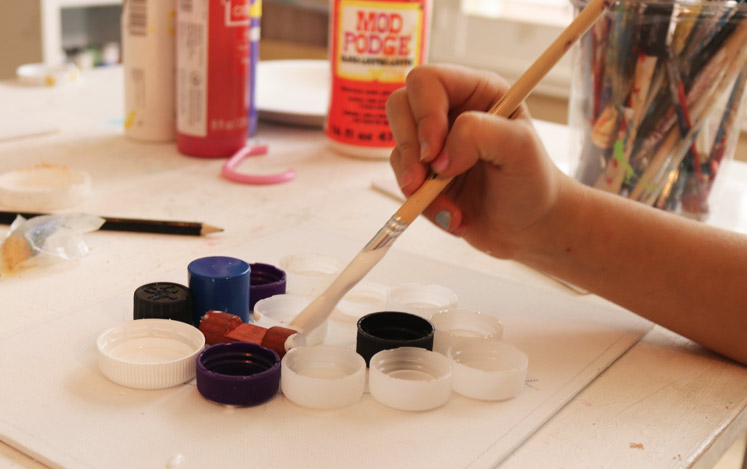
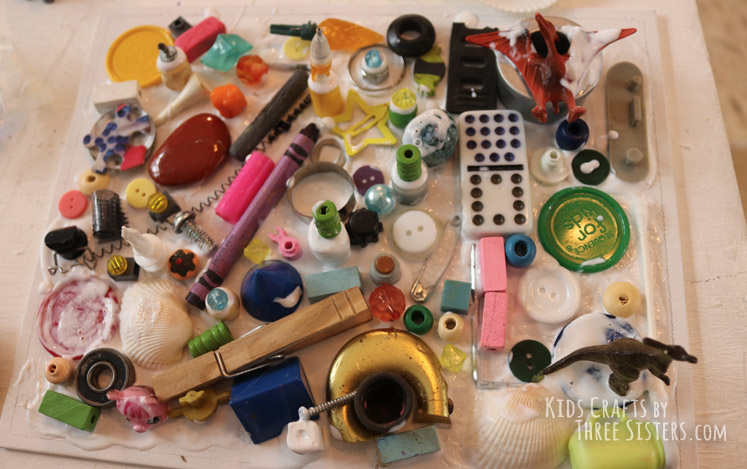
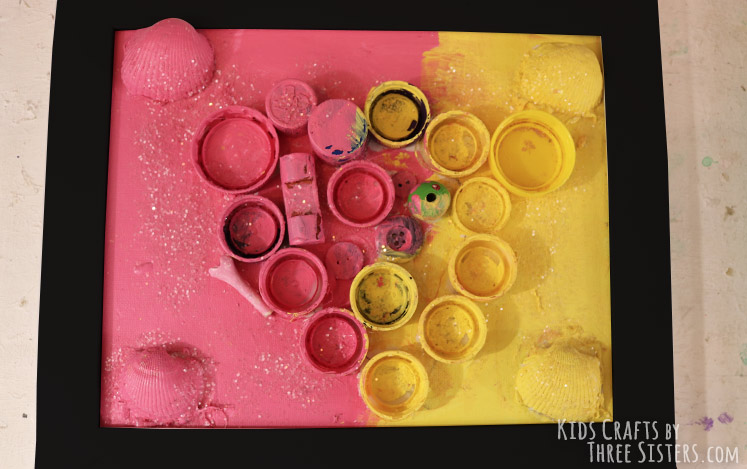
STEP 2: Start gluing items on the canvas. We used bottle caps, pen caps, empty tea lights, buttons, beads, q-tips, old mini toys, old game pieces, screws, legos, crayons, etc. This is where children can think about alternating heights and layering items on top of each other.
IMPORTANT NOTE: We used Mod Podge for our project because it's a heavy decoupage glue. It's stronger than Elmer's glue and perfect for this type of art project. You can also opt for a glue gun if you want to adhere heavier items to the canvas.
STEP 3: Once your finished gluing all your items to the canvas, let the glue dry.

.
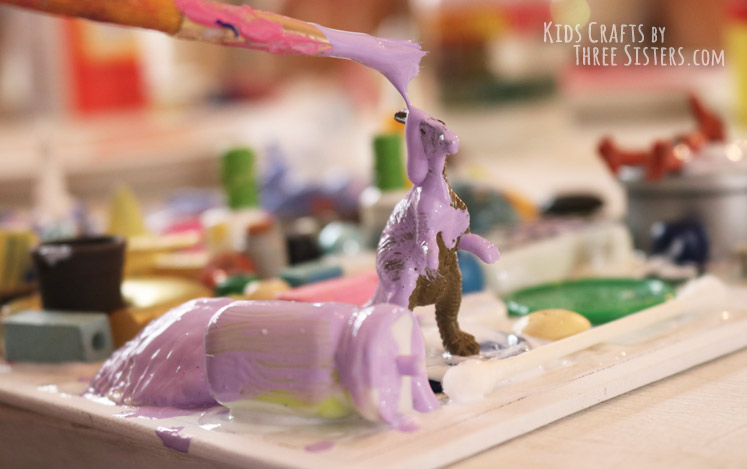
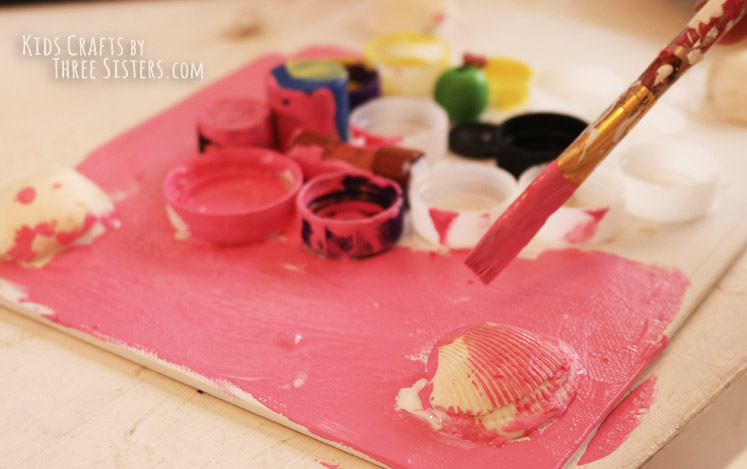
NOW THE FUN PART...PAINTING!
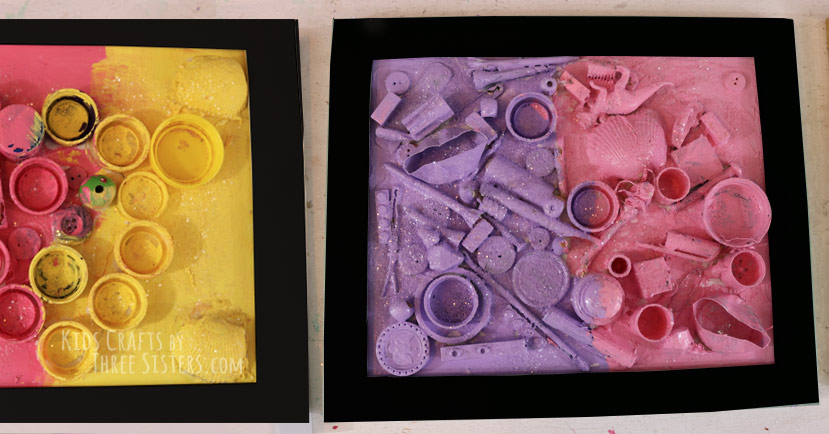
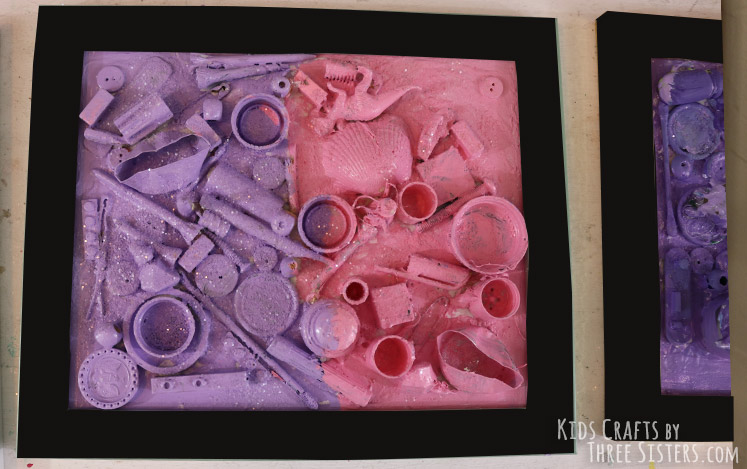
STEP 4: Once the glue is dry, start painting. Let your children choose whether they see their mixed media art as a one, two or multiple color project. Each of my girls did something a little different.
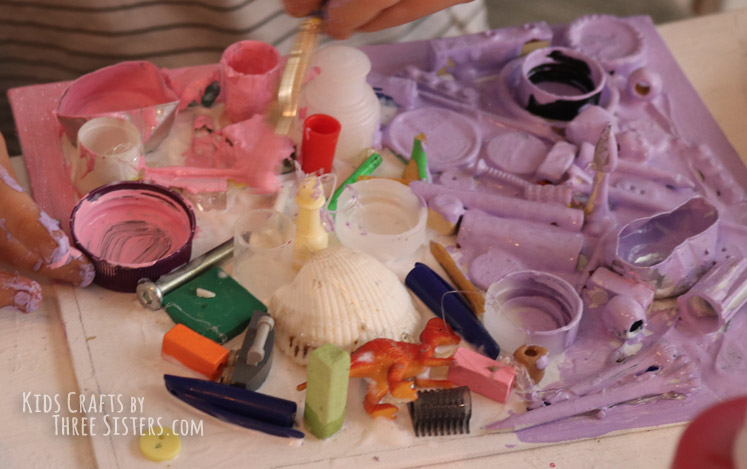
STEP 5: This step is optional and probably only appealing to girls. But if you'd like to add a little bling to the artwork before the paint dries, sprinkle the entire canvas with white glitter.
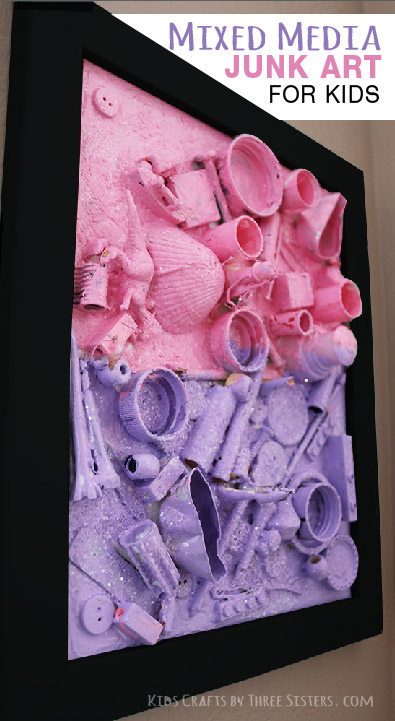
STEP 6: Let the paint dry and pop them inside the frame. As long as the items glued to the canvas stayed within the penciled border, the art will fit seamlessly into the frame.
That's all there is to it. Give it a try and let us know how your's turns out! Check out our video on YouTube:
What others are reading
 How to Face Paint a Bunny, Dog & Cat using Arteza Face Paint for Kids
 Easy Homemade Sugar Scrub Recipe for Kids with Coconut Oil
 How to Decorate Room Letters – Wood or Cardboard
 Popsicle Stick Pallet Coasters
 Egg Carton Craft – Flower Art – DIY Mother’s Day Wall Art
 How to Make Nail Polish Washer Necklaces
 Toilet Paper Roll Craft – Caterpillars
 How to Make Slime Ball Popsicle Stick Bracelets