How to Make Ceramic Tile Coasters
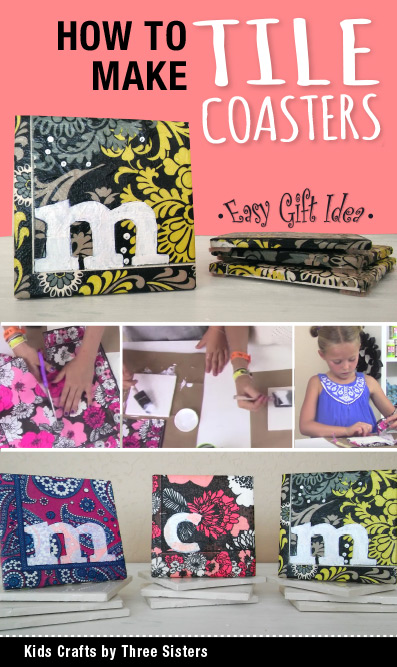 In this tutorial Kids Crafts by Three Sisters shows you how to make ceramic tile coasters using a technique called decoupage. Decoupage means "the art or craft of decorating objects with paper cut-outs." You'll learn how to use decorative paper napkins, Mod Podge & ceramic tiles to create beautiful gifts for teachers, hostesses and even holiday parties.
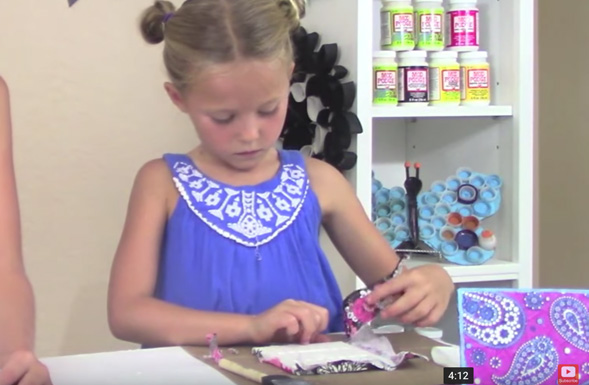
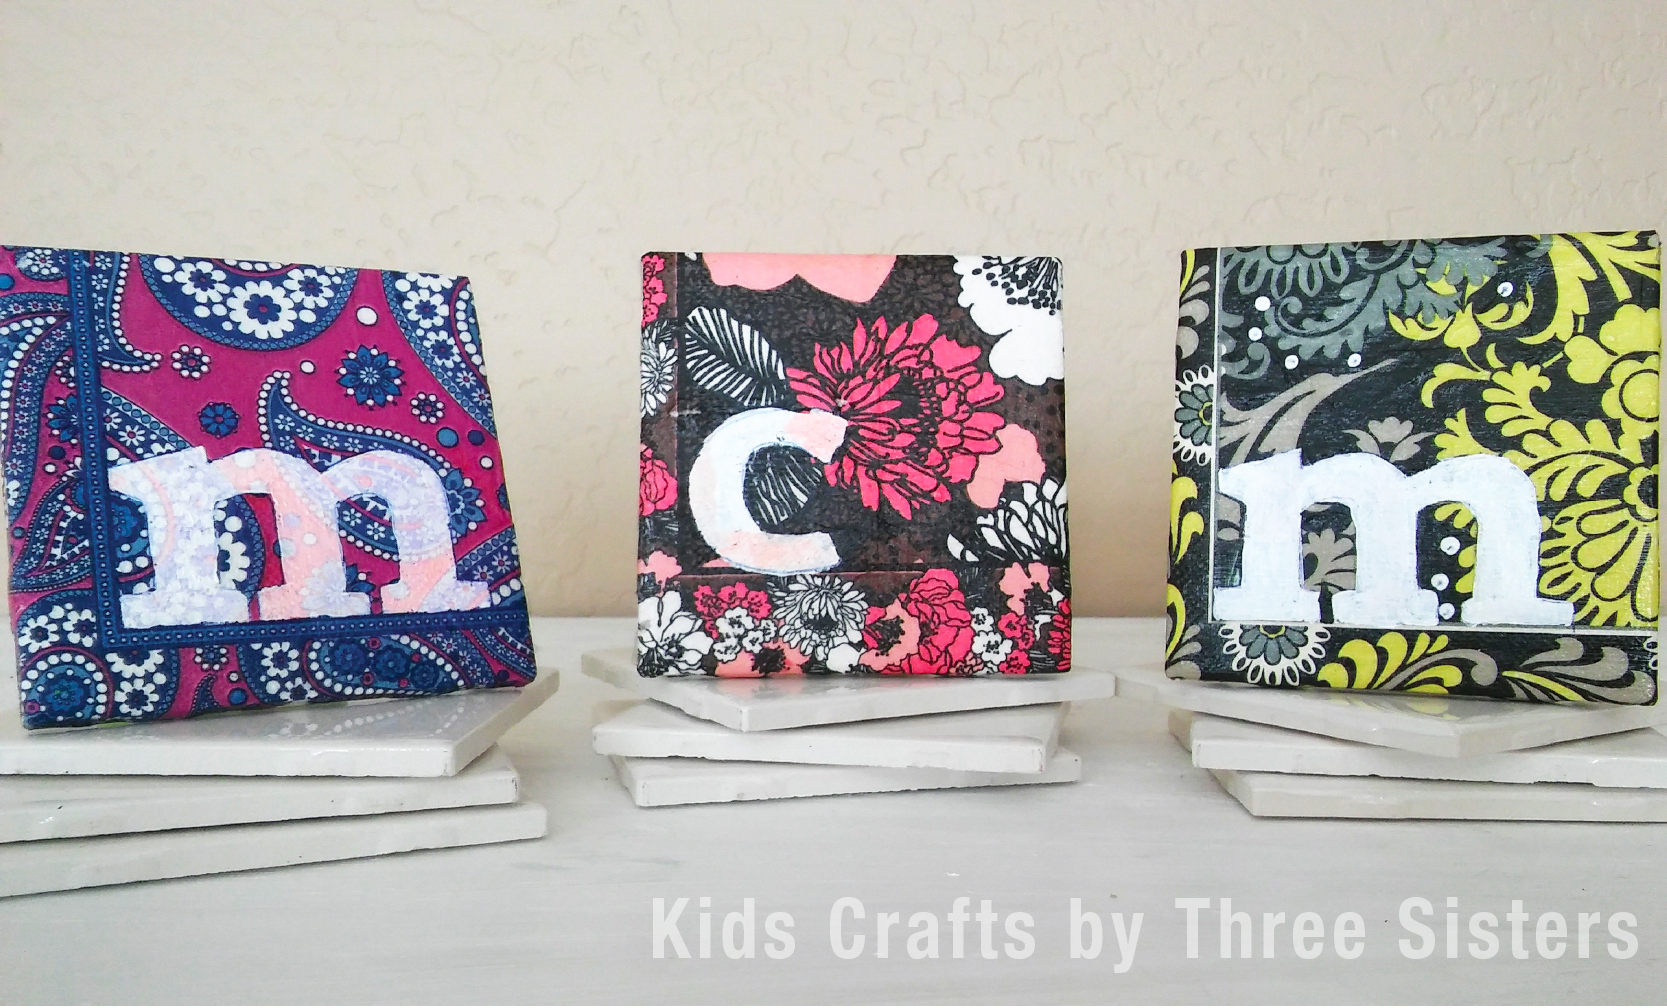
You can personalize your ceramic tile coasters with monogram letters and paint or let the napkin design stand alone. The possibilities are really endless and the kids had a great time making these for family.
ITEMS YOU'LL NEED TO MAKE CERAMIC TILE COASTERS:
- 4 x 4 Ceramic tiles - We found ours at Home Depot for 16¢ each.
- Decorative napkins - Source these from any party or craft store. We've even seen them at the Dollar Tree.
- Mod Podge - We used Gloss Mod Podge on our tile coasters.
- Paint
- Monogram Letter(s) - OPTIONAL, but great if you're interested in personalizing your coasters.
- Felt or cork - We used a small felt triangle in the corner on the back of each tile coaster.
- Waterproof poly or glaze - Spray your coasters when totally finished to protect them from moisture.
STEPS TO CREATE CERAMIC TILE COASTERS
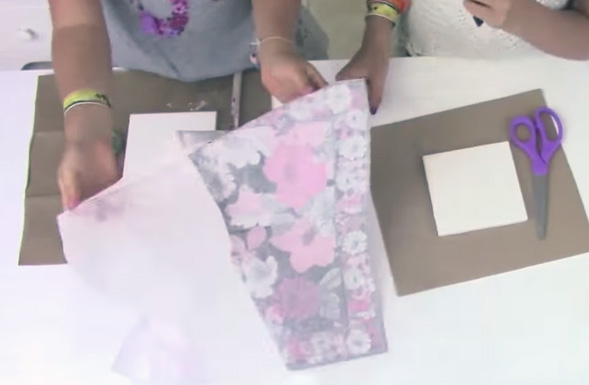
STEP 1: Unfold your decorative napkin and peel apart the white backing from the printed side.
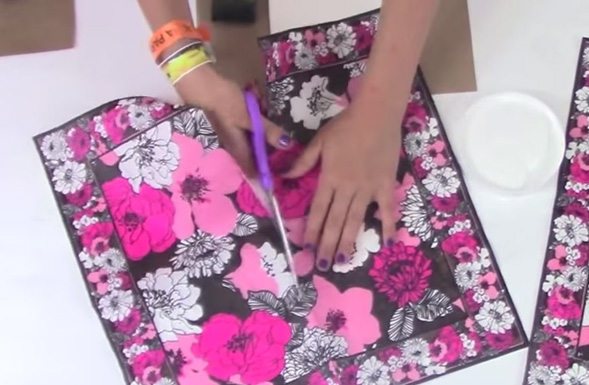
STEP 2: Place the napkin flat on the table. Notice the fold lines? You'll cut along each of the folds which will give you four squares (quadrants) = four tile coasters.
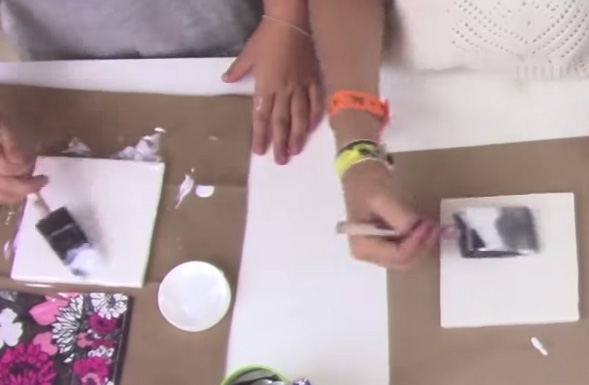
STEP 3: Apply a layer of Mod Podge to the ceramic tile. We used Mod Podge Gloss, but you can use whatever Mod Podge you have.
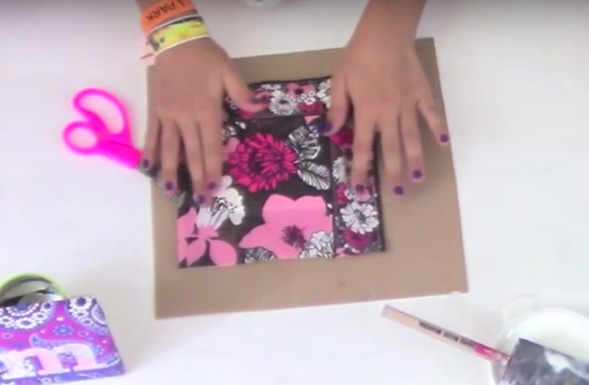
STEP 4: Carefully place your decorative napkin over the Mod Podge coated tile and press from the inside out, top to down. In this manner, we received less wrinkles. Although if they do appear on your tile coaster. It's not a big deal.
NOTE: We purposely laid one of our napkin designs with the napkin border to the left and bottom. This provided a baseline for the monogram letter. For the other 3 tiles we positioned them more randomly.
STEP 5: Flip the ceramic tile over. Spread Mod Podge on each edge of the tile and fold the decorative napkin over the sides.
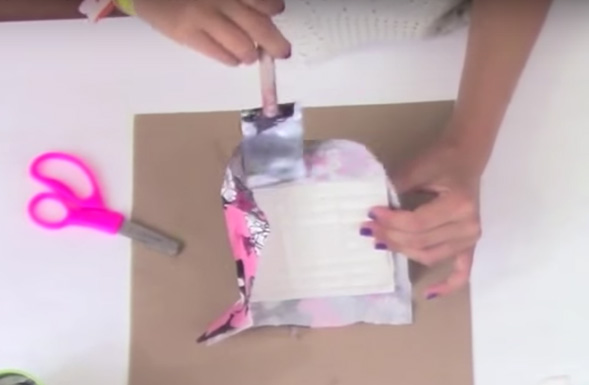
STEP 6: Gently tear the excess napkin away from the ceramic tile. If it rips along the edge a little, that's fine, it will give your coaster a "Vintage" look. SHOWN IN THE VIDEO.
STEP 7: Mod Podge any stray napkin edges on the back and sides of the ceramic tile.

STEP 8: NOTE: If you're not doing a monogram or adding paint to the napkin design, skip this step. Position the monogram letter at the left hand edge and bottom border of the napkin design. Trace the letter with a pen & fill the letter in with White paint. You could also probably use a White paint Marker for finer control on the letter. Let the paint dry for about 15 minutes.

STEP 9: Put one coat of Mod Podge over the entire ceramic tile coaster. Let dry for about 15 minutes and coat the tile coaster one more time with Mod Podge.
STEP 10: To make ensure wet glasses do not damage your design, seal them with a waterproof poly or glaze.
STEP 11: Glue or stick felt circles or triangles or even cork on the back corners of the coaster. This will protect your table from scratches. We picked ours up at the hardware store for a couple of bucks.
.
That's all there is to it. For under $10 you could make several sets of tile coasters.
What others are reading
 Ghosts & Goblins Halloween Game for Kids
 How to Make Glowing Ghost Jugs
 How to Decorate Room Letters – Wood or Cardboard
 How to Make Bug Magnets – Bug Crafts
 How to Make Toilet Paper Roll Wall Art – Butterflies & Flowers
 DIY Fairy Jar – Night Light or Party Decor
 Toilet Paper Roll Craft – Caterpillars
 Popsicle Stick Pallet Coasters


These are so adorable. I love that you personalized them!
Thank you Karen.