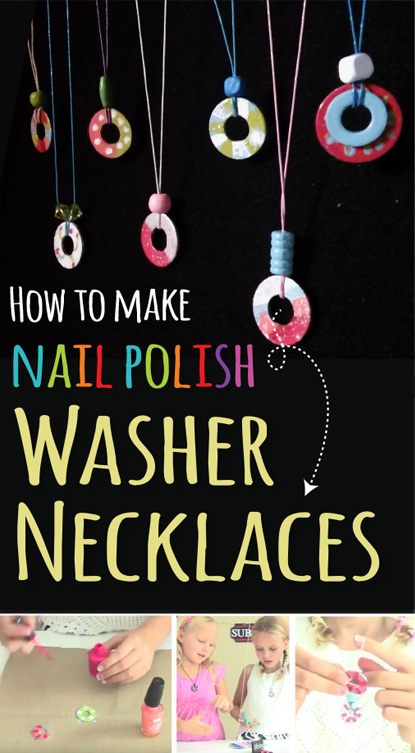
How to Make Nail Polish Washer Necklaces
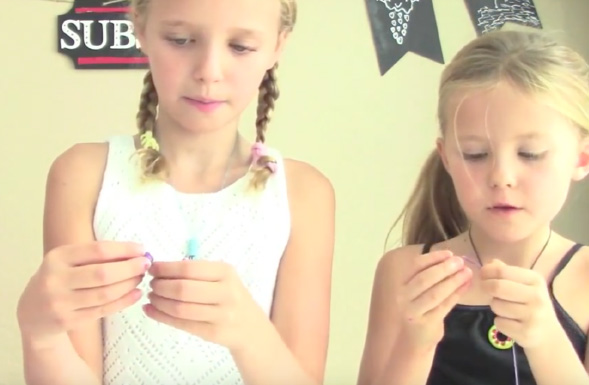
In this learning tutorial, Kids Crafts by Three Sisters turns everyday washers & nail polish into beautiful washer necklaces. These make great gifts for Christmas, birthdays, craft shows or kids gatherings.
Before going to the hardware store or local craft store for washers, take a peek inside Dad's tool box. (With his permission, OF COURSE). A variety of sizes is okay, because the washers can be threaded on top of each other and painted in different colors for really cool layered effects.
This craft didn't cost us more than $5. We already had nail polish & washers. All we needed was string. And we picked up ours for about $2 at the local big box store. (You could also use yarn).
ITEMS NEEDED TO MAKE YOUR OWN NAIL POLISH WASHER NECKLACES:
• Metal washers in any size
• Nail polish in a variety of colors
• String (TIP: we really preferred the elastic string because it was easy to put over our heads. However; if you can't find that, anything will do....even yarn).
• Beads – Optional
• Scissors
STEPS TO MAKE NAIL POLISH WASHER NECKLACES:
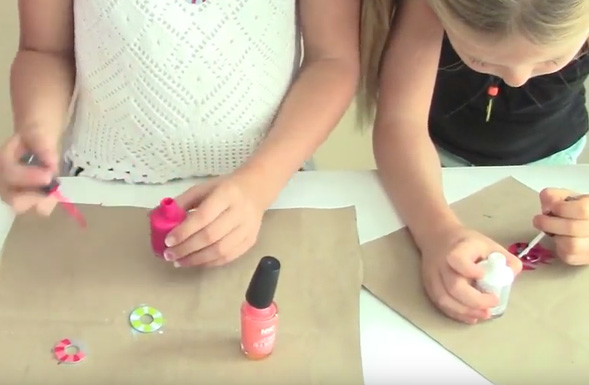
STEP 1: Paint your washers with nail polish on one side.
NOTE: There are many techniques to try. You can use a toothpick to create a swirl effect or use the paint brush that came with nail polish to create stripes. We also were a fan of polka dots and achieved this look by dipping the back of a paint brush into the nail polish and tapped it against the washer.
We also painted our colors right on top of each other successfully without the colors bleeding. Results may vary depending on the nail polish brand.
STEP 2: Paint the reverse side of the washer. Duplicate the pattern on the back or come up with a different design. The possibilities are endless.
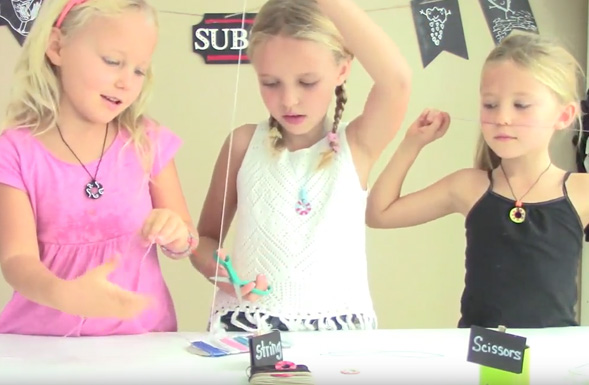
STEP 3: Cut your string to a desired necklace length.
STEP 4: Fold the string in half.
STEP 5: Thread the closed loop through the middle of the washer.
STEP 6: Spread the closed loop open.
STEP 7: Take the open end (two strings) and weave them over the washer and through the closed loop.
STEP 8: Pull the two strings through until the loop is closed.
STEP 9: Now your string is hanging on the washer in a snug manner.
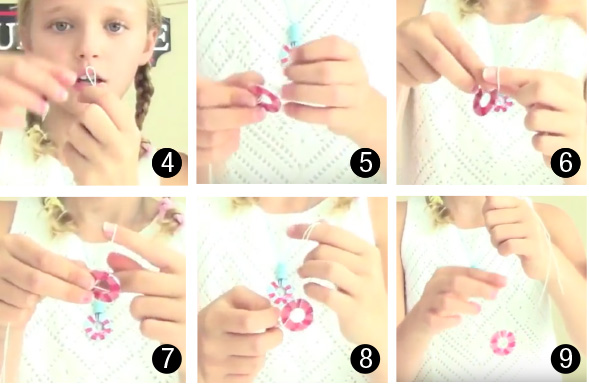
STEP 10: (OPTIONAL) Thread a bead through the two open ends, pushing the bead to the top of the washer.
STEP 11: Thread both necklace strings through a bead and tie a simple criss-cross knot right at the top of bead so it doesn't slide up the string.
GRANDMAS TIP: For additional knot strength, paint the knot with clear nail polish.

That's it! Wear them, make them as Christmas gifts, birthday gifts or for local craft shows.
What others are reading
 How to Make Popsicle Stick Bracelets
 How to Make Fluffy Slime with Saline Solution
 How to Decorate Room Letters – Wood or Cardboard
 Easy Halloween Crafts for Kids to Make
 Rescue the Reindeer: Kids Christmas Game
 How to Make Christmas Magazine Angels
 Popsicle Stick Pallet Coasters
 How to Make a Pine Cone Monster Halloween Wreath