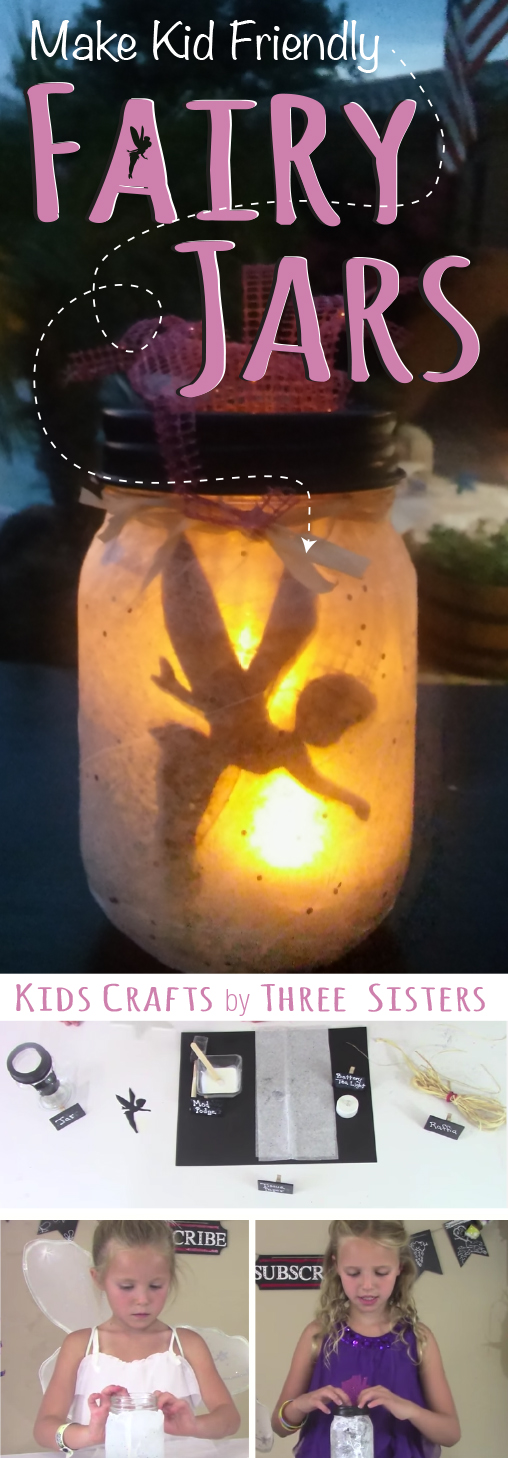
DIY Fairy Jar – Night Light or Party Decor
There are a lot of Fairy Jar variations on the internet and we tried a few before falling in love with this method. We can say first hand we didn't have much luck with the Glow in the Dark Paint version. You may have better results; however for us the paint wasn't very vibrant in the dark. Too faint.
Mom wouldn't let us attempt the Glow in the Dark necklace version for safety reasons. (There's glass in the middle of the necklace and the paint is toxic). We also were wondering why go through all that work if the glow would only last for one night. Although the results do look amazing on YouTube!
This Fairy Jar technique FIT US BEST! And better yet, it will last us for months or years. All we have to do is periodically replace the battery operated tea lights that get dropped in the jar. So have fun making your own fairy jars and let us know what you think.
Best of all we made this Fairy Jar using key items from the local dollar store. Who doesn't love a great deal?
• 1 Glass or Plastic Jar
• Tissue Paper (we chose the version with sparkles to make it more fairy in appearance).
• Watered down Mod Podge (glue) to easily spread on the jar.
• 1 Fairy Silhouette which can be downloaded here.
• 1 or 2 battery operated tea lights.
• Glue gun to tack the Fairy to the inside of the jar.
• Raffia and or Ribbons to decorate your fairy jar.
And don't just stop at fairy jars. This kids craft is super adaptable for girls and boys. Make the jar into any theme by simply changing out the silhouette and jar decorations. Instead of a fairy, you could make a lighting bug or big foot silhouette.
What others are reading
 How to Make Ceramic Tile Coasters
 Ghosts & Goblins Halloween Game for Kids
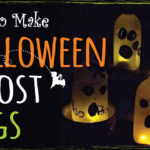 How to Make Glowing Ghost Jugs
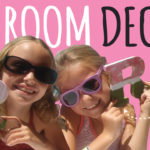 How to Decorate Room Letters – Wood or Cardboard
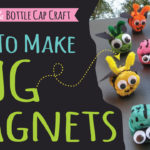 How to Make Bug Magnets – Bug Crafts
 How to Make Toilet Paper Roll Wall Art – Butterflies & Flowers
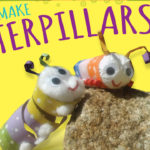 Toilet Paper Roll Craft – Caterpillars
 Popsicle Stick Pallet Coasters


Thank you for the tutorial . Have you tried other colors of paper, or is it necessary to use white?
Hi Becky! Yes, you can use any other color. Although we found it works best with pastel colored tissue papers. Create a sea theme if you like.
[…] Source: kidscraftsbythreesisters.com […]
[…] 7. How to Make Light-up Fairy Jar […]
[…] 7. How to Make Light-up Fairy Jar […]
[…] 7. How to Make Light-up Fairy Jar […]